5 Engaging Lettering Exercises To Spark Creativity

If you want to learn Bullet Journal lettering, especially brush lettering, it’s all about practicing and doing lettering exercises.
Practicing lettering exercises can provide a great platform to express yourself visually while developing valuable artistic skills.
To get you started on your journey of creativity refueling through lettering, I’ve got 5 engaging lettering exercises that will help you explore new possibilities and boost your confidence with your creative work!
With the right tools and guidance, these exercises can take your lettering from ordinary to extraordinary. So prepare your brush pens and get ready for some fun!

In this blog post, I am excited to unveil five exciting brush lettering exercises that will not only help you improve your skills but also unleash your boundless creativity.
So, grab your favorite brushes and get ready to embark on this artistic adventure together. Let’s explore these exercises that will elevate your lettering skills to new heights and ignite a spark of creativity within you.
Oh, and be sure to check the end of the post for some sick freebies that will help you with all these exercises!
Why and How Of Brush Lettering
When it comes to adding that special touch to any project, brush lettering is like a magical wand. Its graceful strokes and flowing lines bring a unique and artistic flair.
Imagine flipping through your Bullet Journal and seeing beautiful brush lettered headers, vibrant quotes, and intricate designs. With brush lettering, you can effortlessly transform even the simplest of spreads into works of art that are bound to make you smile every time you open your journal.
But even if you don’t Bullet Journal, brush letteruing can be an amazing hobby, a source of inspiration and a way to express yourself.
And in case you’re thinking you’re not artistic enough to do something that creative, let me assure you that you are. The best part about brush lettering is that it’s all about practice!
Even if you can’t draw and your handwriting looks like a chicken scratch, you’ll still be able to do beautiful brush lettering pieces if you keep practicing.
And I know the practice seems like a boring activity you aren’t really excited to do, but these exercises will hopefully change your mind.
Plus, the more you practice, the better you become, and once you see the progress, the motivation will be right there!
This post may contain affiliate links. They will be of no extra expense for you, but I receive a small credit. Please see my Disclosure for more details. Thank you for supporting Masha Plans!
Best Lettering Supplies
Before we dive into the lettering exercises, let’s talk about supplies because your pen will definitely influence a lot the look of your lettering pieces.
So here are a few of my favorite pens, as well as some other supplies you’ll need to practice:
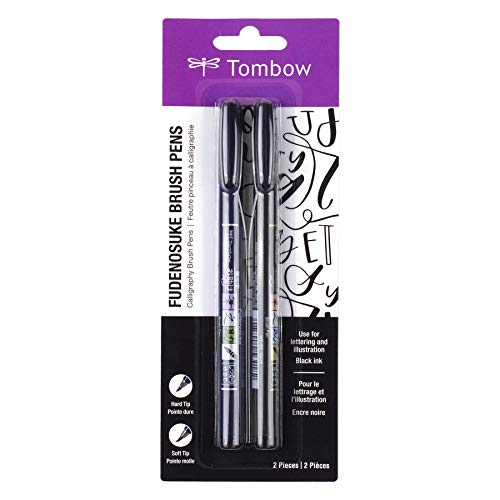
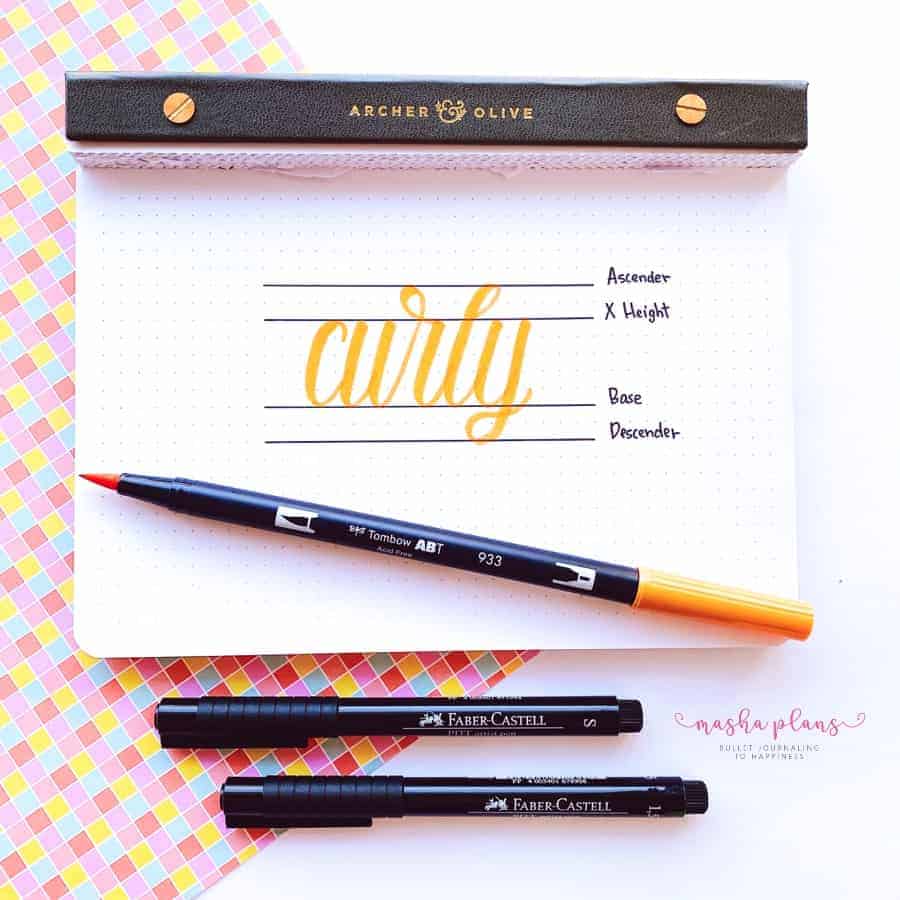
- Tombow Fude Brush Pens – these are some of the best pens to start doing brush lettering with; they are very comfortable and easy to use. Plus, the fact that they have a smaller brush tip means there are more elements you can letter with them.
- Tombow Dual Brush Pens – one more recommendation from Tombow, and for a good reason. This brand has amazing quality, and these brush pens come in so many different colors. They have a larger brush tip and a marker tip, so you could use them for faux calligraphy as well.
- Kuretake Brush Pens – these pens have a medium tip and are sturdy and comfortable to use. Exactly what you’d expect from a set of Japanese brush pens.
- HP Premium Paper – if you are planning to print out your worksheets, you’ll want to use smooth paper that won’t damage your pens, and this paper is the best!
- Marker Paper – the best way to do these drills is to print them out and then do the drill on top by using marker paper, which is a bit transparent.


There are so many more different pens and supplies I can recommend, so be sure to check the end of the post.
Fun and Creative Brush Lettering Exercises
Get ready to unleash your imagination, add a splash of color, and bring your words to life on paper with brush lettering!
These exercises will add that extra dose of excitement and spark to your artistic journey. So grab your favorite brushes, buckle up, and let’s embark on this lettering adventure together!
Exercise One: Basic Strokes
Mastering the art of brush lettering begins with the foundation – the basic strokes. These strokes are like the building blocks that lay the groundwork for creating beautiful and consistent letterforms. So, let’s roll up our sleeves and dive right in!
This is the first exercise you need to start with and the one that is most important for your brush lettering development. Think of them as the ABCs of brush lettering.
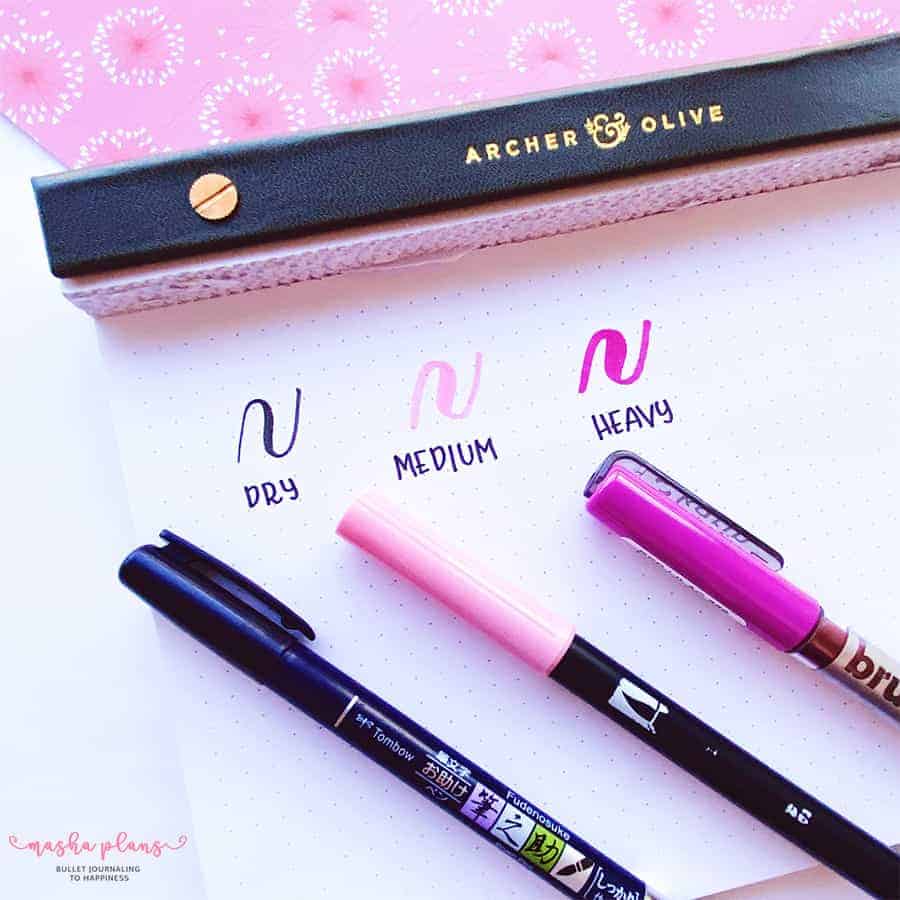
The exercise is also straightforward; it’s an upstroke and downstroke, with the upstroke being a thin line and the downstroke being a thick one. By practicing these, you’ll develop muscle memory and control over your brush pen.
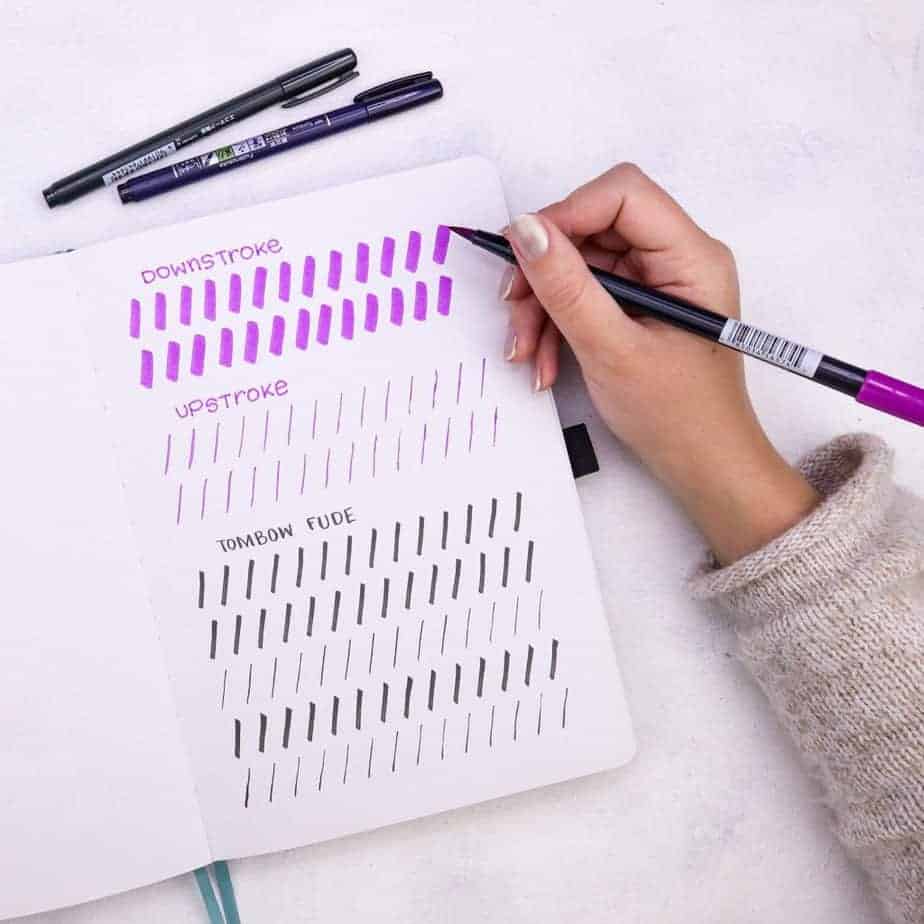
As you practice these strokes, pay close attention to maintaining consistent pressure and stroke width throughout. This will help you achieve those clean and confident lines that make lettering truly eye-catching.
Don’t worry if it takes a few tries to get the hang of it – learning any new skill takes time and patience. Remember, every stroke you practice is a step closer to mastery.
Exercise Two: More Elaborate Strokes
Once you mastered the complete basics of controlling the pressure of your brush pen, time to move to the next set of strokes.
We have the overturn, underturn, compound curve, oval, reverse oval, and ascending loop. Each stroke has its own unique movement and purpose, and by practicing them diligently, you’ll develop muscle memory, and it will help you to move to the next step of actually drawing letters.
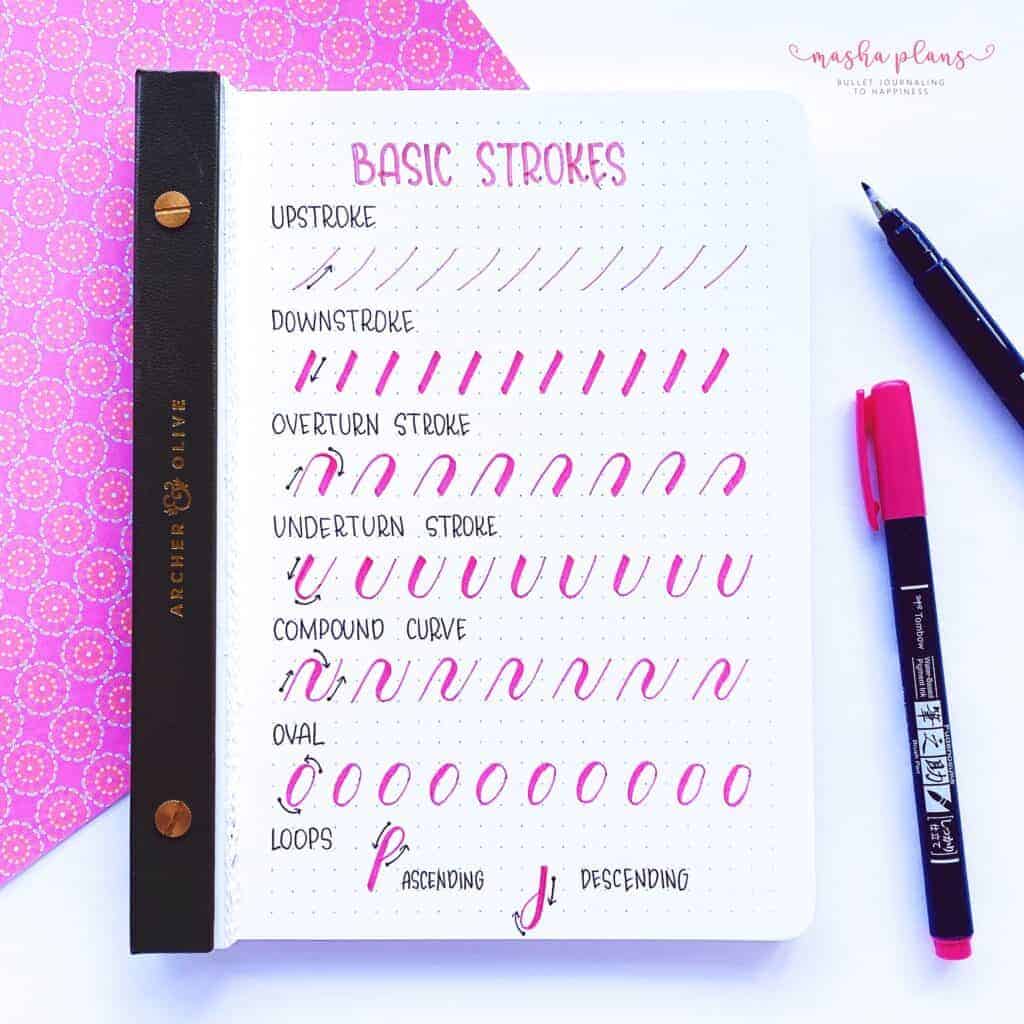
First up, let’s talk about the overturn. This stroke adds a sense of flow and movement to your letters, making them appear effortlessly stylish. Under turn is the same stroke but made in the opposite direction, starting from a downstroke.
The compound curve is all about combining two curves in one, training this stroke will allow you to make smooth connections between letters and draw letters like m or w as you navigate through the curves with precision. Embrace the challenge, and soon enough, you’ll be creating stunning and intricate letterforms that are sure to turn heads.
Ove and reverse oval are there, of course, to help you with letters like b and d. Finally, we have the ascending loop, and the descending loop will allow you to create beautiful l and j letters.
Exercise Three: Words And Letters
This is where we’ll take your skills to the next level by actually writing letters and creating words! This is where the magic happens, as you put your newly acquired skills into practice and watch your lettering come alive on the page. So, let’s dive right in and start unleashing your creativity!
First things first, let’s go back to the basics and practice the alphabet. Yes, that’s right – we’re going back to the ABCs. Write each letter of the alphabet over and over until you feel confident and happy with the way your letters look.
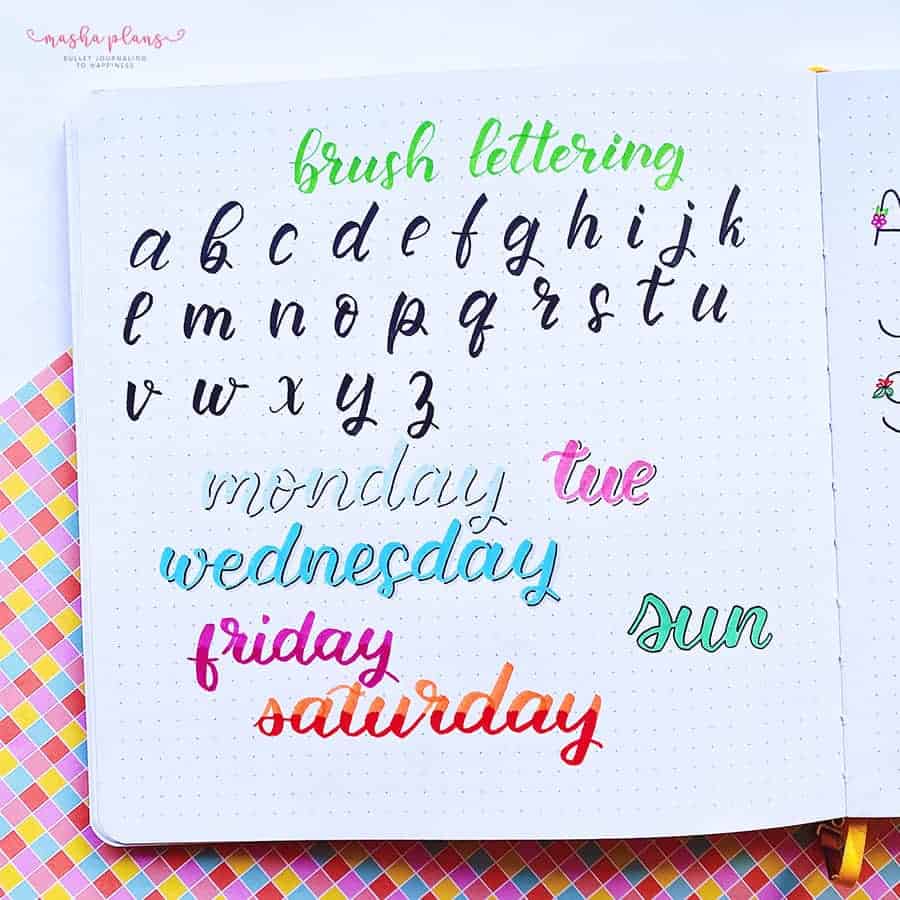
Pay attention to consistency, stroke width, and overall form as you give each letter the attention it deserves. Remember, practice makes perfect, and this is your opportunity to refine your skills and make each letter truly shine.
Once you’ve mastered the alphabet, it’s time to move on to the fun part – choosing a quote, a favorite word, or even your own name to write in brush lettering.
So, grab your brush pen and let your creativity flow onto the page.
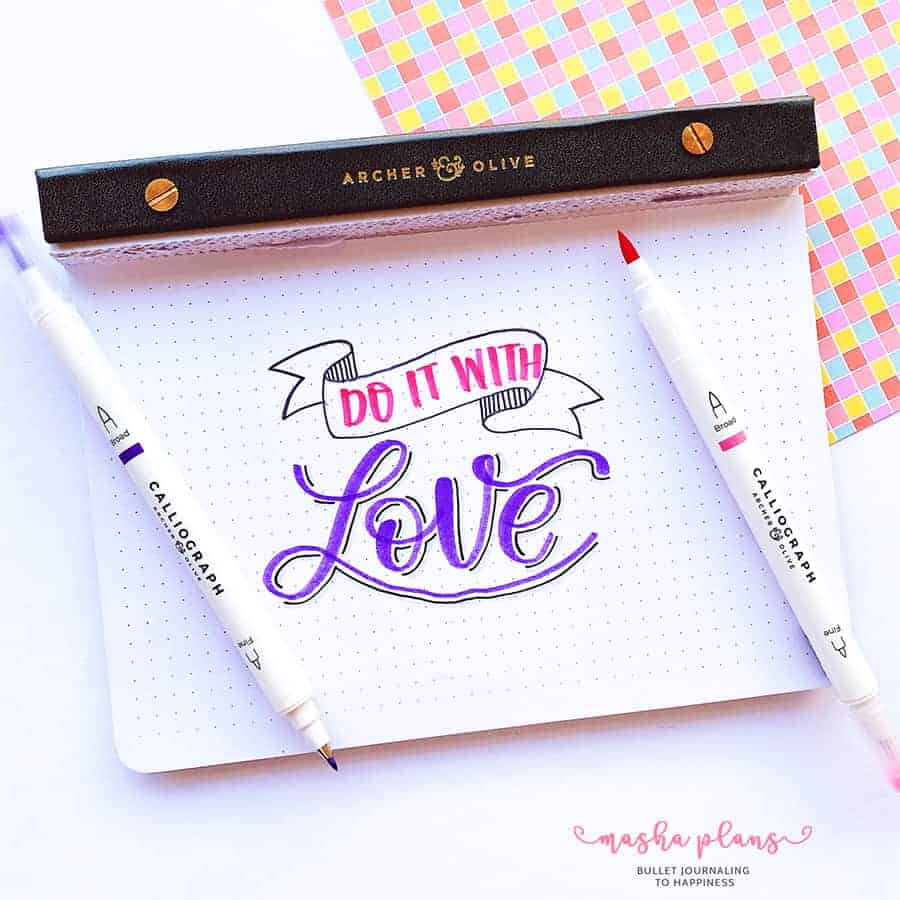
Exercise Four: Try Different Lettering Styles
Now that you know the basics and can draw letters and write words, time to try out another exercise.
You’re ready now to experiment with various fonts and alphabets. You can find inspiration online by searching for different lettering styles on Pinterest, or checking the lettering worksheets in “more resources” section at the end of this post.
Don’t be afraid to play around with letter spacing and slant. Adjusting the space between letters can create interesting visual effects, while adding a slight slant can give your letterforms a dynamic and modern feel.
Not only will this exercise expand your repertoire of lettering styles, but it will also improve your overall control and consistency. With each stroke and style you explore, you’ll gain a deeper understanding of brush lettering techniques and find your own unique voice within the art.
Exercise Five: Try Different Brush Pens
The final exercise I want you to do is to try out different brush pens for lettering.
The first step is to gather a variety of brush pens with different tip sizes and bristle types. This will allow you to experiment and discover the unique characteristics of each pen. Whether you prefer a fine tip for delicate details or a broader brush for bold strokes, having a range of options will give you the freedom to explore different effects in your lettering.
Start by testing out the different pens and pay attention to their flexibility and ink flow. Some pens may have more give, allowing you to create beautiful variations in line thickness with ease. Others may have a more consistent flow, ensuring smooth and controlled strokes.
As you try out each pen, take note of the effects they produce in your lettering. Do certain pens give you more control over thin and thick lines? Do others offer a softer or more defined brush stroke? By comparing the results, you’ll start to understand which pens align with your personal style and preferences.
Remember, there’s no right or wrong answer here. It’s all about finding the pens that make YOUR lettering shine. What may work for one person may not work for another, and that’s the beauty of this creative journey.
Once you’re done with this exercise, you’ll have all the skills and tools needed to create the most beautiful brush lettering artworks!
Brush Lettering Exercises: Conclusion
Congratulations, you’ve reached the end of your journey through the five fantastic exercises to level up your skills. Give yourself a well-deserved pat on the back!
But here’s the thing: this is just the beginning. As with any skill, practice makes progress. So, keep that brush in hand and continue honing your skills. Explore new techniques, experiment with different styles, and push the boundaries of your creativity. The more you practice, the more your lettering will evolve and improve.
Now, here’s a little secret: making mistakes is part of the process. Embrace them! Every smudged line or wonky curve is an opportunity to learn and grow. Don’t be afraid to try new things and take risks. Remember, it’s through these mistakes that we discover new possibilities and refine our craft.
Free Lettering Worksheets
A lot of the exercises above were about practicing different strokes and you’ll need worksheets for that.
Thankfully, I’ve got you covered!
Check out these free lettering freebies that will help you master brush lettering and other lettering styles!
Simply sign up in the form below and once you confirm your subscription, the freebies will be on the way to your inbox.
If you want more, just check the blog posts in the “more resources” section.
More Resources
There is so much more you can learn about lettering! And I’ve got you covered.
Check out these posts next:
- 31+ Free Printable Lettering And Calligraphy Worksheets
- Free Online Brush Lettering Courses
- The Best Brush Lettering Pens For Calligraphy Beginners
Hope this post was interesting. If you find it so, please share! If you enjoy my content and want to show your appreciation, please consider supporting me with a cup of coffee.
And remember: Keep Journaling, and Don’t Be A Blob!


