Memory Journal Ideas: Monthly Memory Page

Memory keeping is one of my favorite types of journaling. It’s a great way to explore your creativity, try out new things, and all while creating something that preserves the beautiful memories of your life.
There are plenty of memory journal ideas you can try out, and in this post, we will be looking mostly at the monthly memory page.
This month, I want to invite you to join me as I walk through how I put together my February memory page from start to finish. Whether you’re brand new to this idea or you’ve been keeping a commonplace journal for years, I hope this gives you some inspiration to document your own month in a way that feels fun, personal, and totally yours.
Let’s get into it!

I started my first memory journal in 2020, and I never looked back since! Yes, there were gaps when I didn’t record anything, but more or less, I’ve been trying to stay as consistent with it.
There are plenty of benefits I got, and I’m sure you will experience as well, from actually spending some time recording your memories.
I noticed I started having a better feeling about my life – suddenly, all the little moments were not forgotten, and I started seeing how rich and interesting my life is, even if it’s all about routine, and in the moment, my day seems the same.
I also enjoy the little time I spend on creating memory pages, and I’m sure you will find this practice just as calming and enjoyable.
Ok, enough introduction, let’s dive into creating a memory page.
If you want to learn more about memory keeping in general and get ideas for how to do it, I will link to more blog posts at the end.
This post may contain affiliate links. They will be of no extra expense for you, but I receive a small credit. Please see my Disclosure for more details. Thank you for supporting Masha Plans!
Stationery I Used
Before we dive in, here’s everything I used to create this page and pretty much all the other pages in my memory journal.
- Pencil – this is the basis of it all. I start every page in any journal with a pencil; it allows me to set the page with fewer mistakes and ensure that all elements are exactly where I want them. My go-to pencil is Pilot Dr.Grip, because it’s so comfortable to hold.
- Fineliners – these are the working horses of any of your pages. Lately, I’ve been using Altenew fineliners. They have beautiful black ink and come in a package with several nib sizes, so you have a variety of line thicknesses.
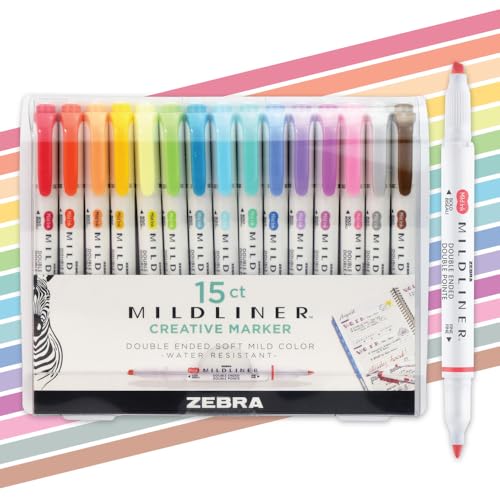
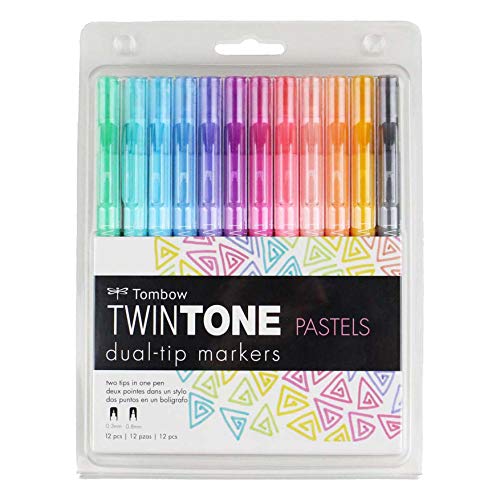
- Markers – I always love adding color to all my pages. My two favorite sets are Zebra Mildliners and Tombow Twin Tone – such beautiful colors!
- Printer – I love my HP SProcket printer for adding photos to my pages. How often do you look at your camera roll? But if you add to your journal, it will never get lost.
These are the main supplies you pretty much can find on all of my memory keeping pages, but of course i use more. I actually use my memory journal to try out different stationery I don’t usually use in my day-to-day planning. This is a good place to experiment and expand creativity!

But enough of talking about supplies, let’s dive in and start creating!
Memory Journal: Monthly Memory Page
There are so many different ways to do memory keeping. Usually in my journla I do weekly memory pages. But I do have some yearly ones and some that are just about special events.
In 2026, I switched to a monthly memory page format, and I’ve been creating layouts that have a tiny bit of structure to them as well. So they are about memories as well as about checking in with myself and seeing how I’m doing.
As an example, here I will show you how I created my February monthly memory page, but you can follow the same concept for any month.
Step 1: Start With a Pencil Sketch
I always — always — start with a pencil. I know it feels like an extra step, but trust me, it saves you from so much stress later.
For this spread, I lightly sketch out the sections I want on the page before committing anything to ink.
As you can see, half of this page is actually planned, and this is the space for the monthly questions I ask myself. They allow me to kind of review the month, see where I’m going, and check in if things are ok and what I can do better next month.
- What went well this month? These are the wins — big and small — that deserve to be celebrated.
- What needs improvement? An honest check-in, not to be hard on myself, but to note what I’d do differently next month.
- What am I proud of? My favorite question. It’s so easy to overlook our own achievements, and this forces me to stop and acknowledge them.
- What were my challenges? The hard parts matter too. They’re part of the full, honest picture of the month.

I sketched out little sections and boxes for each of these prompts. Nothing fancy — just rough shapes so I know exactly where everything is going to land on the page.
Step 2: Outline Everything in Pen
Once I’m happy with the pencil layout, it’s time to ink it in! I go over all my lines, section headers, and any decorative elements with my fineliner.

As you can see, I have half a page organised, and the rest of the page is empty (except for the little TV doodle, which is my section for entertainment that I’ve been consuming that month).
Then the rest of the page is where all the fun happens, because it’s for free planning, meaning I can include and write anything I want.
Step 3: Fill in the Free Space
You can add to the rest page anything you want, but here are some of the things I like adding:
- Entertainment I consumed: books, movies, and shows. It helps me keep track of things I enjoy and how I spend my free time.
- Even though that happens, this is when I look back at my Bullet Journal and check all the events and what happened that month. Because really, if I don’t write them, a lot of things are forgotten by the time the month ends.
- Outfits – I don’t tend to take too many pictures during the events, but I always take a picture of my outfit before I leave, so I add those. Also, because I have been having so much fun with my clothes this season.
- BuJo theme – after all, my Bullet Journal is a big part of my month, so if I have space, I actually add little illustrations about the theme.
This particular page I was creating when it was already halfway into March, so I couldn’t remember a lot of things, so I actually just added that as text.

Since there was still some space, I also used my Altenes Stamps. I thought a little camera stamp would look super cute next to my pictures. And of course, I added some doodles and stickers. There will probably be some washi tape as well.
This section is completely up to you. There are no rules here. Add whatever made your month yours.
Step 4: Add Color and Make It Pop!
This is the final step, and the most fun. With everything laid out, it’s time to bring the page to life with color.
I think adding color makes the page much more exciting. For colors, I like using pens from the same set because I know they’re made to match and look good together.

And just like that, it’s done, and you have a cute little page that clearly encompasses your entire month.
I think it quite clearly covers all the aspects of my life and how my month went, but if you have any more fun ideas for things to include, be sure to let me know in the comments!
More Resources
This is just one page, but I’ve been memory keeping for the longest time, and I have plenty more ideas and inspirations.
So here are a few blog posts for you to check out next:
- Memory Keeping Journal Ideas To Capture Every Special Moment
- How To: Memory Keeping In Your Bullet Journal
- My Favorite Commonplace Journal Ideas (And Why You Need One)
>>> Are you going to try making a memory page this month? Tell me in the comments what you’re planning to include!
Hope this post was interesting. If you find it so, please share! If you enjoy my content and want to show your appreciation, please consider supporting me with a cup of coffee.
And remember: Keep Journaling, and Don’t Be A Blob!


