How To Bullet Journal For Beginners
Diving into Bullet Journaling for beginners can feel like stepping into a whole new world. It’s an exciting journey filled with scribbles, doodles, and a whole lot of productivity!
As a Bullet Journal enthusiast myself, I’ve experienced the joy it brings firsthand.
But navigating the Bullet Journal world can sometimes feel a bit overwhelming, almost like learning a new language. You might even feel a twinge of frustration as you try to figure out what works best for you.
But don’t worry, that’s where this guide comes in! Consider this your friendly roadmap, with all the basics you need to start your Bullet Journal journey. So, let’s embrace the adventure together, armed with our favorite pens and fresh notebooks.
After all, every great story begins with a single word – or in this case, a single bullet point!
There’s a wide world of Bullet Journaling to explore, and I can’t wait for you to dive in! But let’s not get ahead of ourselves – I wouldn’t want you to feel swamped and abandon ship before you’ve even set sail.
So, here’s the plan: in this post, I’ll walk you through the basics, giving you a sturdy foundation to build upon. At the end, you’ll find links to some additional resources so you can delve deeper into the areas that pique your interest.
And there’s more! I’ve put together a FREE course on Bullet Journaling for beginners. This is a fantastic resource designed to guide you, step-by-step, in creating your perfect journal.
I highly recommend signing up, and you can do that at the end of the post as well.
Now, let’s get started!
How To Bullet Journal For Beginners
I always find that it’s much more useful to approach something in a step-by-step guide, and Bullet Journaling is no exception.
But one thing I want to mention here is that your journal is your own. Meaning that these are guides and recommendations, but it’s up to you to decide for yourself what pages you’ll be using or what supplies you’ll be getting.
There is no wrong way to Bullet Journal, so just keep that in mind.
Step 1: Get Your Supplies
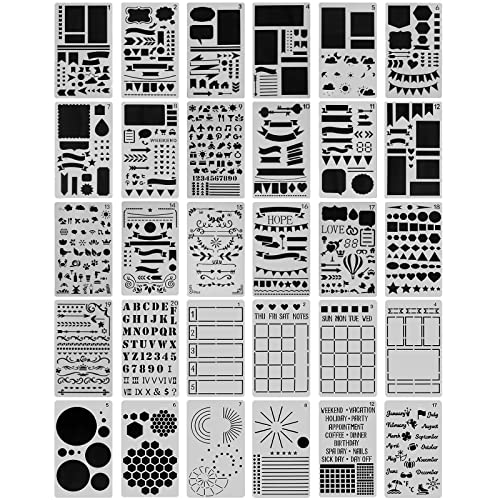
First of all, you’ll need to start with getting some supplies. Or find out if you already have some of these in your collection.
Here are some items that I find essential with recommendations of brand to buy:
- A notebook. This is an absolute must-have! And while you can use any journal you already have, I recommend trying a dot grid journal. Most of the people in the Bullet Journal community just find that the dot grid is a perfect match for providing you with directions while not taking away much attention from your entries. My go-to journal is Archer and Olive (and you can get 10% OFF with my code MASHA10), but you can also start with something more affordable like this great Lemome Journal.
- A pen. You’ll need to create all the pages yourself, so a pen you like using will be great! It doesn’t have to be anything fancy, even if it’s an old ballpoint pen you got from your kids – you can still create a Bullet Journal with it. My choices are the Muji pen for writing and Sakura Pigma Micron for drawing the pages.
- A ruler. Since you’ll be creating your own pages, I find that a ruler is a useful tool to have. Any ruler would work, but I like foldable rulers, so I can carry them with me at any time and have a longer ruler when needed—something like this Midori ruler.
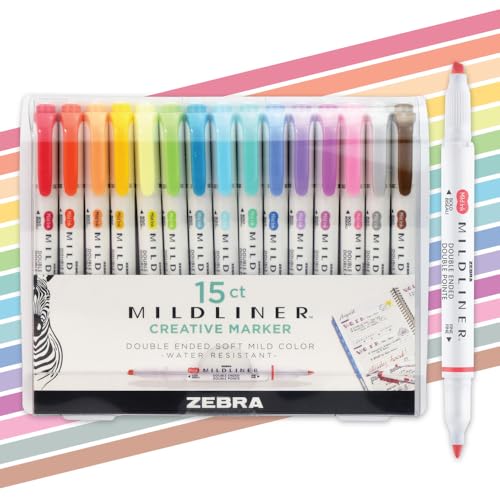
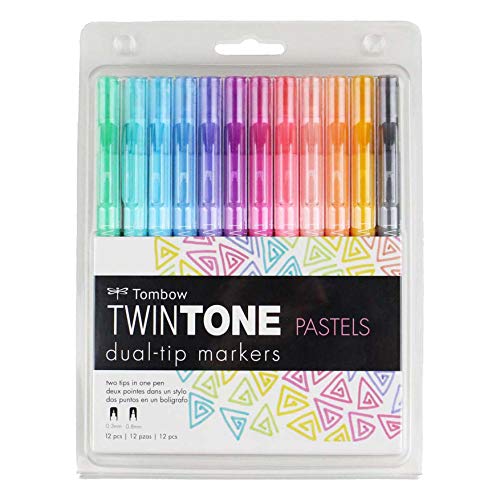
- Markers. That you need only if you’re into adding color to your Bullet Journal, either in terms of drawing or to add color colorful accents. I always recommend Crayola Super Tips markers since they come in so many colors and are pretty affordable.

I could talk about supplies for hours, but these are probably the must-haves to get started.
So, once you figure out what you’ll be using for your Bullet Journal, let’s move to the next step.
Step 2: Your Bullet Journal “Why”
I know what you’re thinking – you’ve got your pens, notebooks, and stickers at the ready, and you’re all set to dive into Bullet Journaling, right?
Well, not so fast, my eager friend! Before you put pen to paper, there’s one crucial step you might’ve skipped: defining your Bullet Journal goals.
Now, you might be wondering, “Goals? For a journal?” Absolutely!
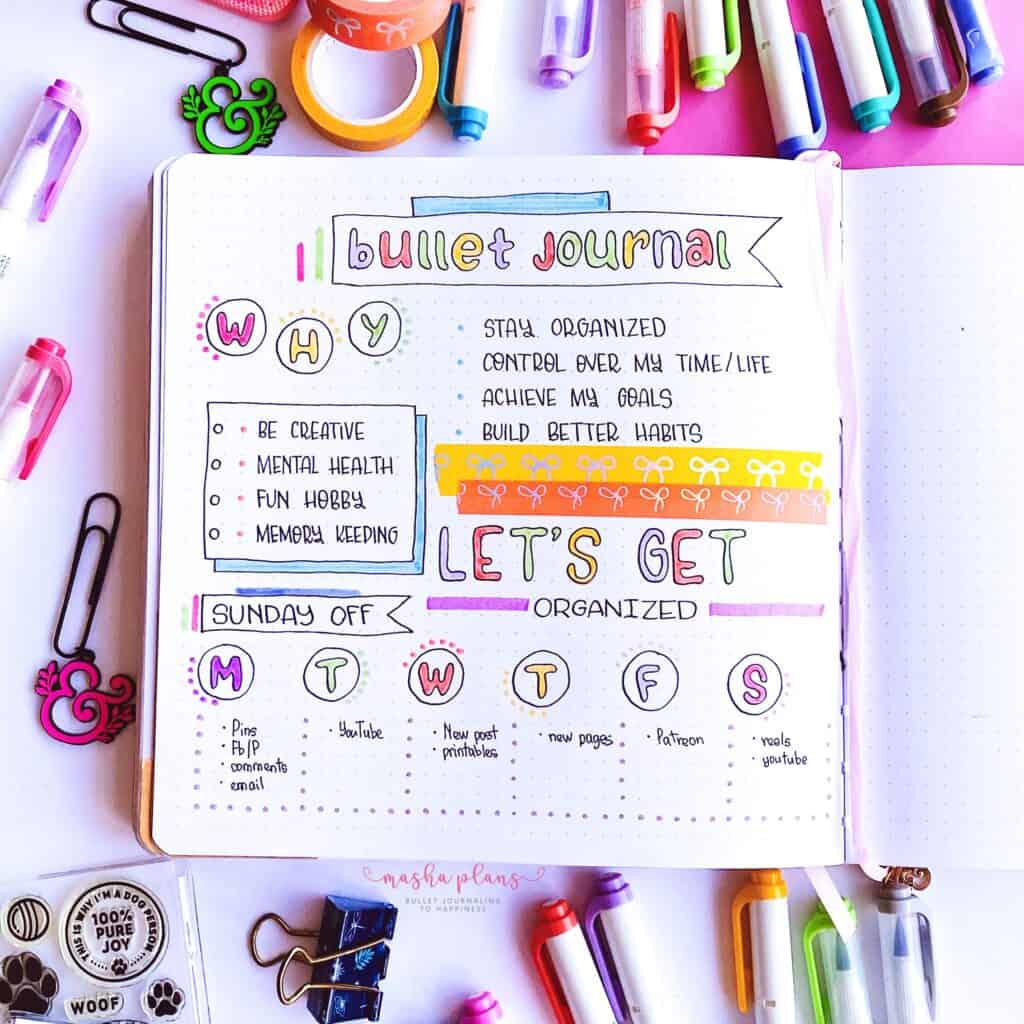
You see, your goals will dictate how you use your Bullet Journal. They’ll guide you in customizing it in a way that truly works for you and your unique needs. It’s like building a house – you wouldn’t start without a blueprint, would you?
Similarly, your goals are the blueprint for your Bullet Journal. So, let’s get those goals sorted, and then we can start creating your perfect Bullet Journal. Trust me, it’s going to be a game-changer!
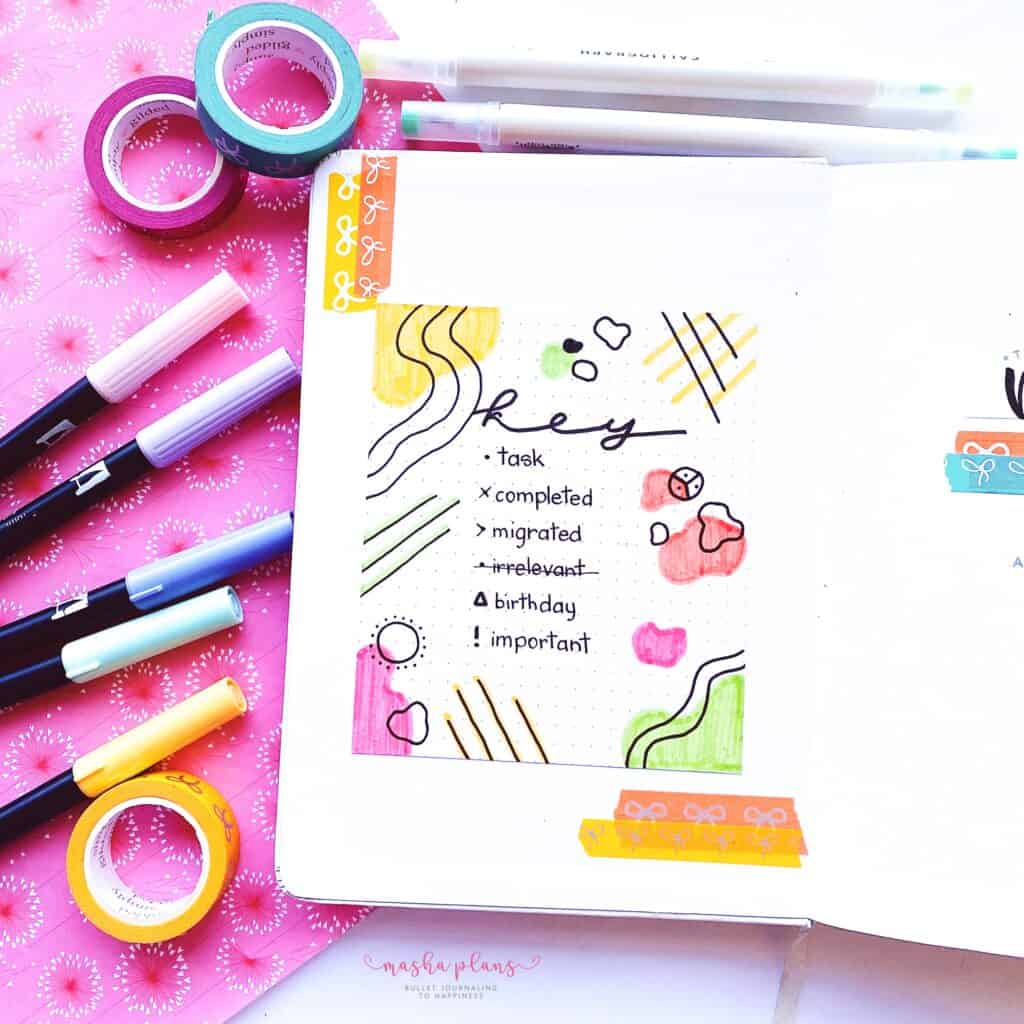
Step 3: Key
Alright, now that you have your goals with your journal figured out, it’s time to crack open that shiny new Bullet Journal of yours.
The key is your journal’s secret decoder ring. It’s where you jot down all those nifty symbols (or signifiers, as we call them) that’ll help you log and structure info in a flash.
The three main symbols that you’ll be using are:
- Dot (•) for tasks (you know, those things you actually have to get done!)
- Dash (–) for notes (because who doesn’t love a good side note?)
- Circle (O) for events (so you never miss out on the fun stuff).
Make sure you include these symbols in your setup spread so you can easily reference them when needed.
Now, here’s the beauty of Bullet Journaling – it’s all about making it work for you. As you get more comfortable with the process, you might want to add new symbols or tweak the existing ones. And that’s totally cool! Just remember, the goal is to streamline your life, not complicate it. So, keep it simple, my friend.
But don’t forget, part of the joy of Bullet Journaling is experimenting. So, feel free to play around with new symbols, maybe even throw in some color-coding until you hit on that perfect blend that makes your journal uniquely yours.
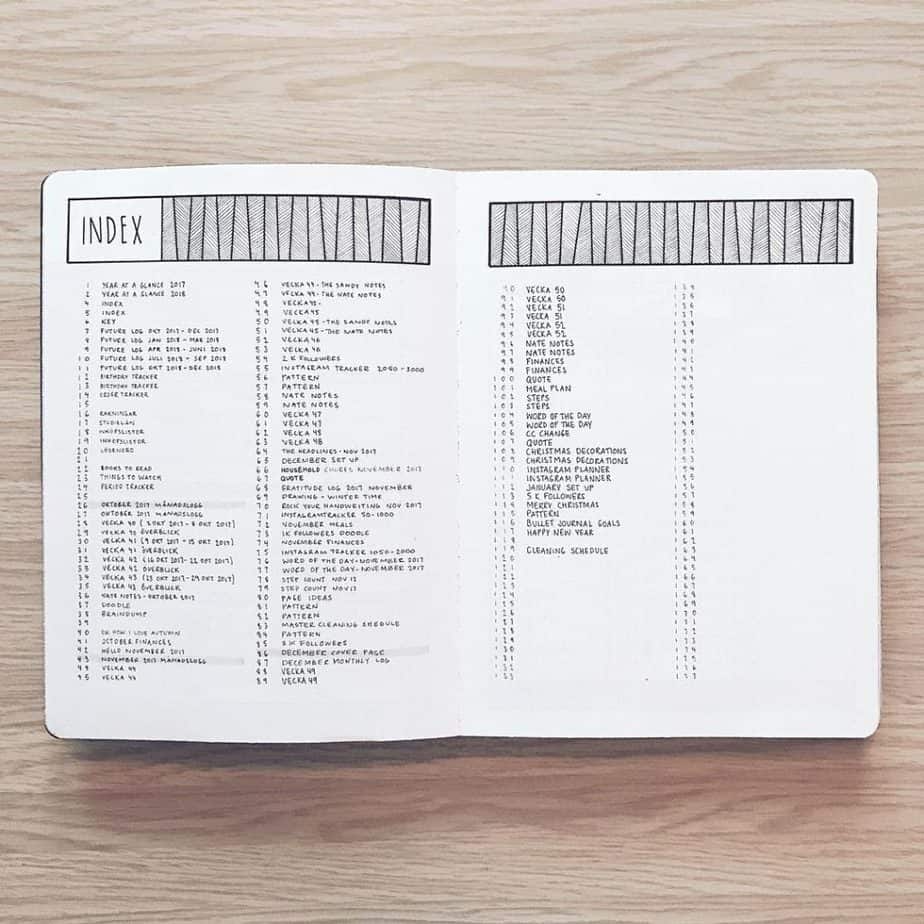
Step 4: Index
Next, grab your favorite pen and dedicate the first few pages to something called an “Index”. Think of it as your journal’s personal GPS – it’s going to help you navigate your way through your entries like a pro!
It’s basically a table of contents for your Bullet Journal. Slap it right at the front, and you’ve got an instant guide to all your entries.
Whenever you create a new section or add some fabulous content, just give it a page number and jot it down in your Index. This way, when you’re on the hunt for that brilliant idea you scribbled down or that doodle that made you smile, you can simply flip to your Index, find the page number, and voila! No more endless flipping through pages – your Index has got you covered.
Now, here’s where I get real with you. Full confession – I don’t actually use an Index in my Bullet Journal. Shocking, I know! But remember, Bullet Journaling is all about personalization.
So, even though the Index isn’t my cup of tea, I highly recommend giving it a go, especially if you’re just starting out. Try it out, see how it feels, and then decide if it’s a fit for you.
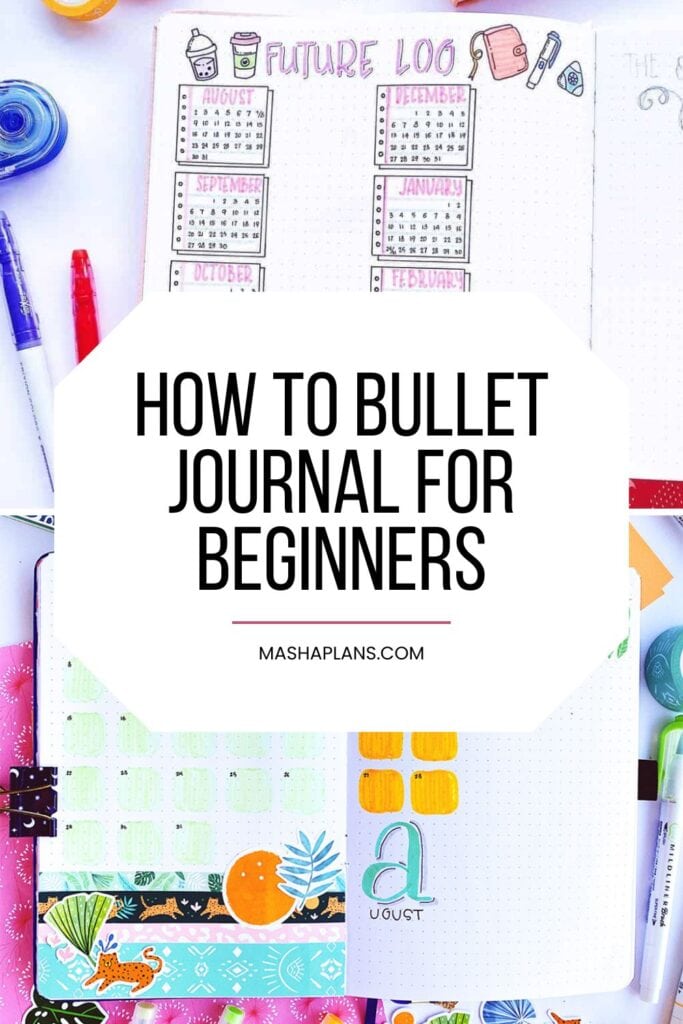
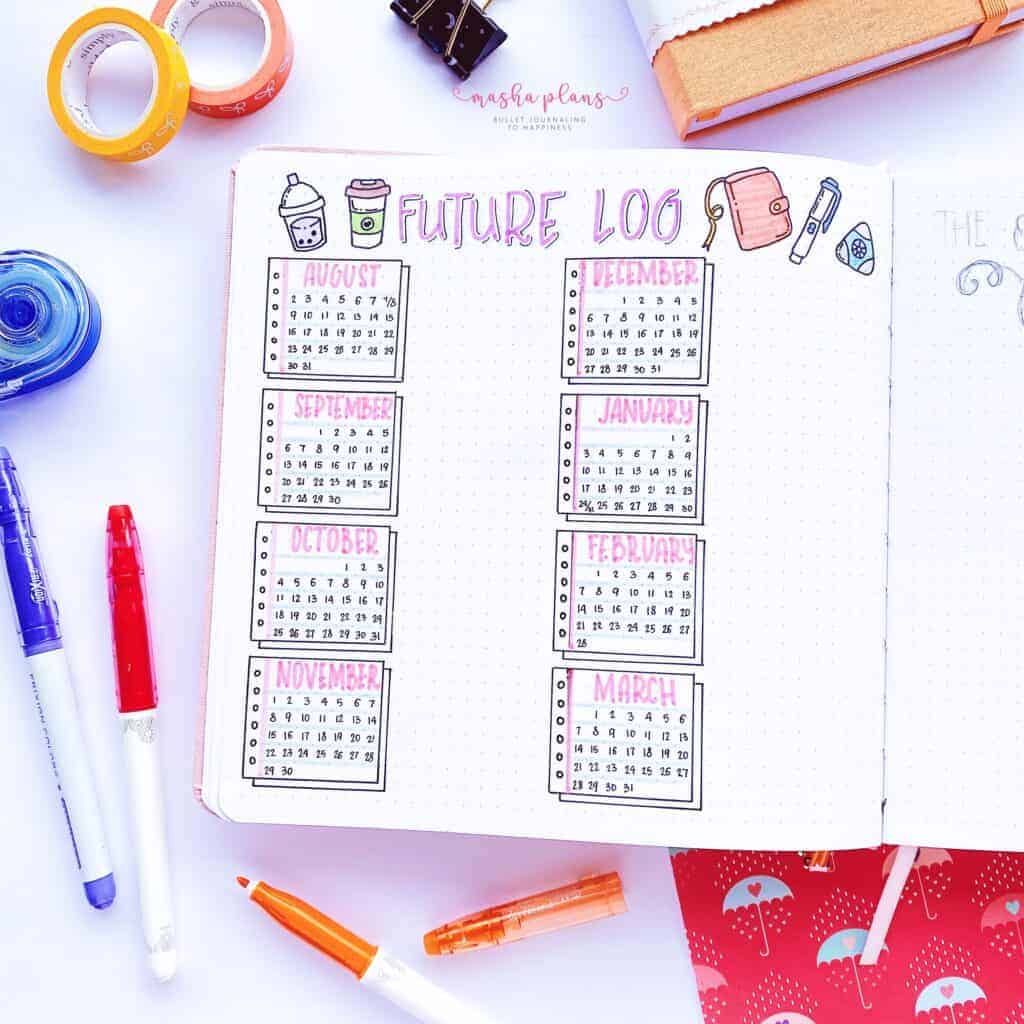
Step 5: Future Log
Alright, now that we’ve got your Index sorted, let’s move on to the next big thing in your Bullet Journal adventure – the Future Log.
Think of it as your personal time machine; it lets you peek into the future.
The Future Log is where you can note down any upcoming events, tasks, and deadlines that fall beyond this month. Whether it’s Aunt Sally’s birthday bash in three months or that big project deadline at work, the Future Log has got you covered. It gives you a bird’s-eye view of what’s coming up, so you’re always prepared.
Setting up your Future Log is as easy as pie. Take two pages, draw three horizontal lines across both, and then two vertical lines down each one. And there you have it – twelve boxes for twelve months of the year. Need more space? No problemo! Just grab four pages instead and repeat the process.
You can also get a bit more detailed, as I prefer with calendars for each month, but it’s really an extra thing if you feel like doing it, not a necessity. My tip is always to start small and simple, not to overwhelm yourself.
Once you’ve got your Future Log set up, it becomes your go-to for transferring relevant events and tasks to your monthly and daily logs, helping you stay on top of things both in your personal and professional life.
Don’t forget to pop back to your Index and add the page numbers for your Future Log. It’s all about keeping things neat and tidy, so you can find what you need when you need it.
Step 6: Monthly Log
It’s time to turn that page and venture into the realm of monthly logs. But here’s the kicker – you don’t have to wait for the start of a new month to get going.
Your monthly log can kick off right in the middle of the month you’re currently in. How’s that for flexibility?
Now, I know some folks love to jazz up their monthly logs with a fancy cover page. And if that’s your jam, go for it! But if you’re more of a “keep it simple” kind of person, you can just scribble the month’s name at the top of two pages and call it a day.
However, I’m the type of person who does extra with these things, and I really prefer the calendar format of a monthly log, so here is an example of how I do it.
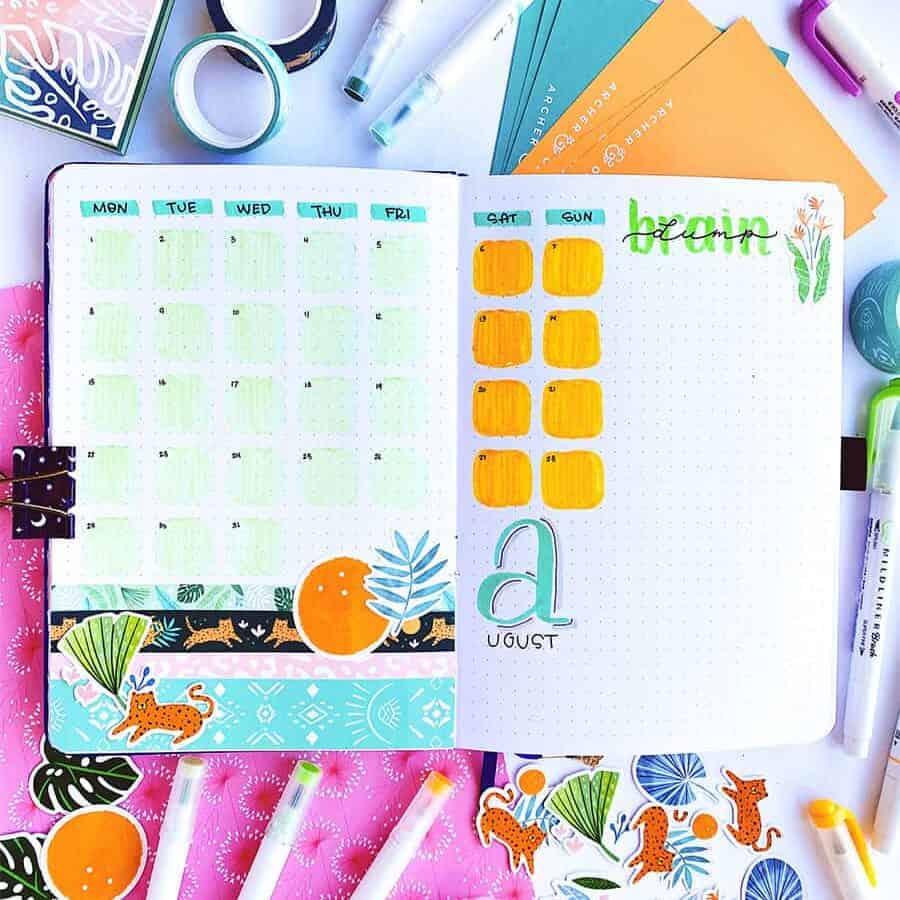
But here is the easy way to set it up. On the first page, list down the dates of the month and their corresponding days. On the second page, it’s time to jot down your monthly task list.
You know, all those important things you’ve got lined up this month.
These two pages are basically an overview of your month, and writing down all your monthly tasks that way is very helpful to avoid feeling overwhelmed and lost in all the responsibilities.
Step 7: Daily Log / Weekly Spread
The bread and butter of your Bullet Journal are the weekly and daily spreads. These bad boys are going to be your secret weapons in the battle against disorganization!
Think of your weekly spread as your bird’s-eye view of the week. It’s where you map out all those tasks and goals that you’re going to crush. The beauty of it? You can see your entire week at a glance. Talk about a productivity booster!
Now, here’s where you can get creative. Set up columns for different categories like tasks, events, or notes. This way, you can easily sort through your info and decide which tasks need your superpowers this week.
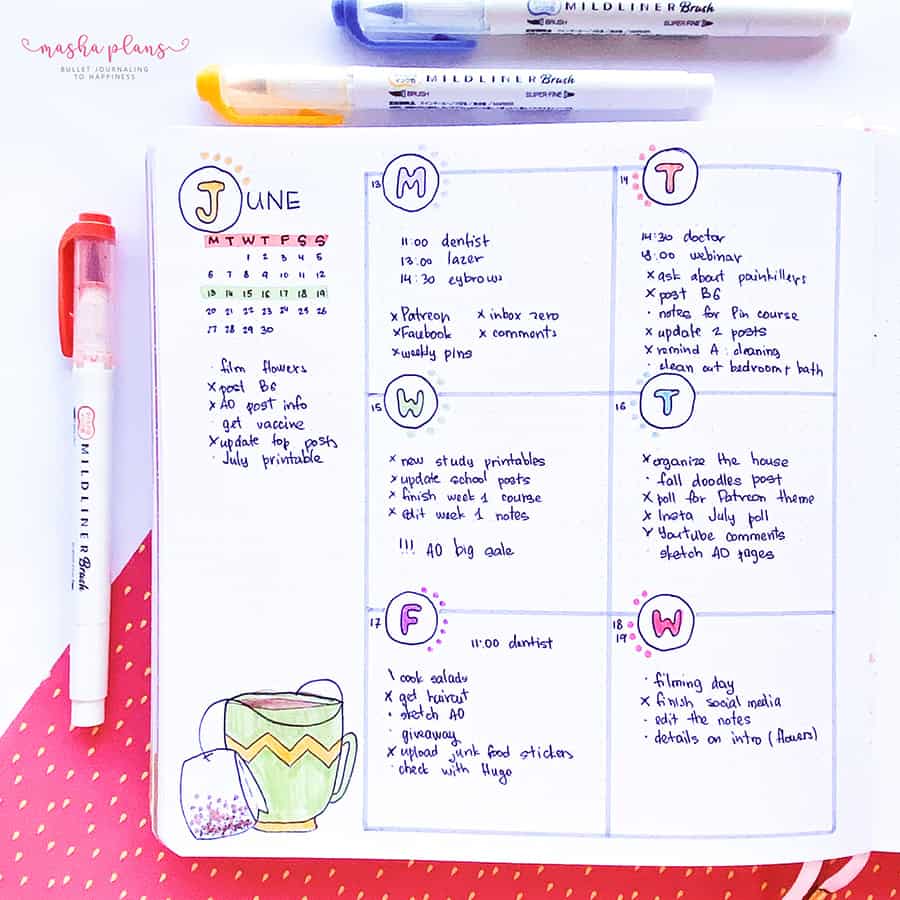
But hey, some days demand more attention than others, right? Enter the daily spread. This layout is all about diving deep into the nitty-gritty details of your day. It’s like your weekly spread’s detail-oriented cousin.
Just like its weekly counterpart, you can also organize your daily spread using columns or categories. Because who doesn’t love a good system?
Now, I know what you’re thinking: “This sounds complicated”. But trust me, it’s not. Creating spreads is all about finding a style that feels like home to you.
You don’t have to use both of these formats at once; you don’t have to choose one format and keep at it forever. Your Bullet Journal grows and changes with you, so the key is to keep changing things up if you feel like it’s not working for you anymore.
Step 8: Migrate And Evaluate
I think this is the most important step, yet a lot of people forget to do it.
But before you dive into the new month, take a moment to look back at your past daily and weekly logs.
You see those tasks that didn’t quite make it to the finish line? Now’s the time to give them a good, hard look. Ask yourself, “Are these tasks still important? Are they worth my precious time?” It’s like a reality check for your to-do list.
If you give a task the green light, mark it with a right arrow (>) and give it a new home in your upcoming monthly log.
Now, what if you come across a task that doesn’t need your immediate attention but will be important down the line? No worries! Just flip back to your future log and jot it down there. Mark the original entry with a left arrow (<) as a friendly reminder that its future lies in your future log.
This little exercise is what we call migration. Think of it as a way to re-categorize and re-evaluate your tasks. And the fun doesn’t stop at the monthly level. You can do this at the end of the year or even when transitioning between Bullet Journals.
But also, it’s important not just to evaluate your tasks but your Bullet Journal itself. See what pages worked for you and which ones didn’t. Check with yourself what are some areas of your life you struggle with and how a new Bullet Journal page can help with that.
It’s important that your journal doesn’t stay stagnant and turns into yet another chore or something that drags you down. It needs to grow and change with you, so take a minute every month to see if you use it to the fullest.
More Bullet Journal Ideas
We’ve covered the basics, but believe me when I say – this is just the tip of the iceberg! Your Bullet Journal is like a magical toolbox that’s bursting with potential. It’s ready to morph into whatever you need it to be.
Do you have a brilliant idea for a new page? Go ahead and bring it to life! Want to track your habits, mood, or the number of times you’ve resisted the siren call of that delicious chocolate cake? (Trust me, I’ve been there!) Your Bullet Journal has got you covered.
Now, I could go on and on about all the fascinating ways you can harness the power of your Bullet Journal (and trust me, I’d love to!). But if I start rambling on now, we’ll be here until next Tuesday!
So, to save you from my enthusiastic chatter, I recommend checking out the posts at the end of this article. They’re filled with more cool ideas and inspiration for your Bullet Journaling journey.
And remember, the sky’s the limit! So, go ahead and let your creativity run wild.
But also, don’t overdo it. I know when I started my Bullet Journal, I tried to use ALL the pages at once, and it was a mess. In no time, journaling became a chore I had to do rather than something I enjoyed and found helpful.
So experiment, yes, but try not to do everything at once. Maybe one or two new pages a month is enough. You want it to work for you and not the other way around.
Free Course: Bullet Journaling For Beginners
Are you eager to dive into the world of Bullet Journaling but unsure where to start? Or maybe you’ve already taken the first steps but need a little guidance on how to maximize the potential of each page? Perhaps you’re just looking for fresh ideas to take your journaling game to the next level? Well, my friend, I’ve got just the thing for you!
I’d like to invite you to join this FREE course tailored especially for Bullet Journaling beginners. It’s packed with all the information, advice, and inspiration you’ll need to create a Bullet Journal that truly reflects your needs and aspirations.
Simply sign up in the form below, and once you confirm your subscription, all the details will be sent directly to your inbox.
More Resources
I know how it is to start something new. There is a lot of information out there, and you want to learn it ALL.
But trust me, the best is to take it in smaller doses to make sure you actually start doing it instead of drowning in the research.
That being said, there are still more things I think you should know as a beginner. So check out these posts next:
- 21 Bullet Journal Myths That Keep You From Starting
- 11 Things You Need To Know Before Starting A Bullet Journal
- 11 Bullet Journal Layouts For Beginners
>>> What are you struggling with as a beginner? Share with us in the comments!
Hope this post was interesting. If you find it so, please share! If you enjoy my content and want to show your appreciation, please consider supporting me with a cup of coffee.
And remember: Keep Journaling, and Don’t Be A Blob!


