How To Doodle For Beginners For Fun And Mindfulness
Welcome to our step-by-step guide on how to doodle, especially designed for beginners. Don’t worry, we’ll take it nice and easy.
Doodling is not just about creating beautiful art—it’s a journey of self-expression and mindfulness that’s as fun as it is therapeutic. And you know what? It’s a fantastic way to jazz up your Bullet Journal too.
Imagine flipping open your journal to see pages filled with your own delightful doodles. Sounds exciting, right? So grab your favorite pen, and let’s get started on this amazing doodling adventure together!
Before we dive in, let me just mention a few things.
First of all, at the end of the post, you’ll find a FREE doodling course for beginners that will help you work through all the things we’ll be talking about in this post.
Secondly, also at the end of the post, you’ll find links to several more blog posts on doodling to help you become an absolute master.
Now that we’ve got that covered, let’s talk about some benefits of doodling. After all, if you’re starting this new hobby, wouldn’t it be nice to know all the benefits you can get from that?
Doodling And Its Benefits
Have you ever found yourself mindlessly sketching on the corner of your notebook during a meeting or while on hold on the phone? That, my friends, is doodling in its purest form.
It’s a spontaneous act of drawing that, believe it or not, holds a treasure trove of benefits.
First off, doodling is like a gym workout for your creativity muscles. It’s a free-flowing expression that allows your imagination to stretch and flex.
Secondly, it’s an unsung hero in stress relief. Doodling acts like a mini escape, offering you a breather from the hustle and bustle of daily life.
And let’s not forget how it can boost focus. Yes, you heard right. Doodling can help you concentrate by providing a light mental break, keeping your brain engaged, and preventing it from drifting off into daydreamland.
Apart from all these benefits, doodling is also an easy and fun way to create unique Bullet Journal pages and use any theme you want for your monthly setup.
Now that you’re hopefully even more jazzed up about starting your doodling adventures let’s dive into the first important step – supplies.
This post may contain affiliate links. They will be of no extra expense for you, but I receive a small credit. Please see my Disclosure for more details. Thank you for supporting Masha Plans!
Doodling Supplies
Before we delve into the world of squiggles, swirls, and strokes, let’s talk about the tools of the trade. After all, a carpenter wouldn’t start building a house without a hammer and nails, right?
Now, the important thing for you to remember is that you don’t need anything extra to start doodling; you can use whatever you already have, even if it’s just a ballpoint pen.
But if you do want to get some stationery, here are my recommendations:
- Pencil and eraser. These are the basics you need, and I recommend looking for a pencil with a comfortable grip since you’ll probably be using a pencil a lot. My top choices are Pilot Dr. Grip pencil and Sakura Foam Eraser. It’s the most comfortable pencil I’ve ever used, and the eraser works well and doesn’t leave any streaks behind.
- Fineliner. Fineliners are the best pens to use for doodling. They have incredible smooth ink, create bright black lines, and usually have archival links, meaning the color stays as bright as the first time. I love Sakura Pigma Micron, which also come in sets with different nib sizes, which can add line variety to your doodles.
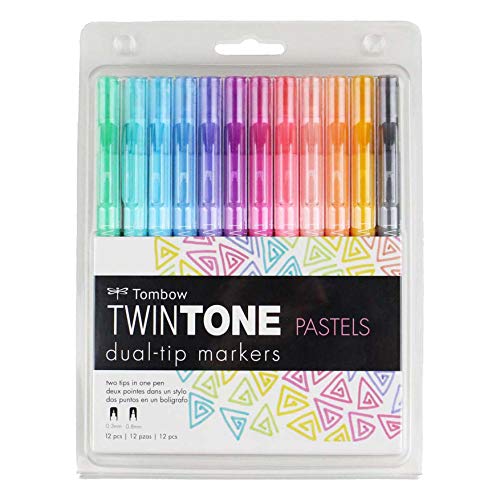
- Markers. In case you love your doodles in color, you might want to get some markers. I recommend trying Crayola Super Tips, since they come in so many colors and are pretty affordable. My other choice would be Tombow Twin Tone markers.
- Notepad. I’ve been talking about pens, and we totally missed that you also need some paper to doodle on. I recommend getting a dot grid since it would help keep the proportions of your doodles and generally will allow you to have a bit more guidance. If you plan on using any markers, I also recommend using high-quality, smooth paper; otherwise, the markers can get damaged. You could get something like a Rhodia notepad.

Now that you have all your supplies ready let’s dive into doodling itself.
Starting Your Doodling Journey
First things first, the golden rule of doodling (and pretty much anything in life) is practice, practice, and more practice.
Just like how you wouldn’t run a marathon without training first, you can’t expect to become a doodling Picasso overnight. So, make a pact with yourself right now: you’re going to doodle every day, no matter what. Promise? Great!
Now, if you’re staring at your blank paper, feeling a bit overwhelmed, don’t worry. We’ve all been there.
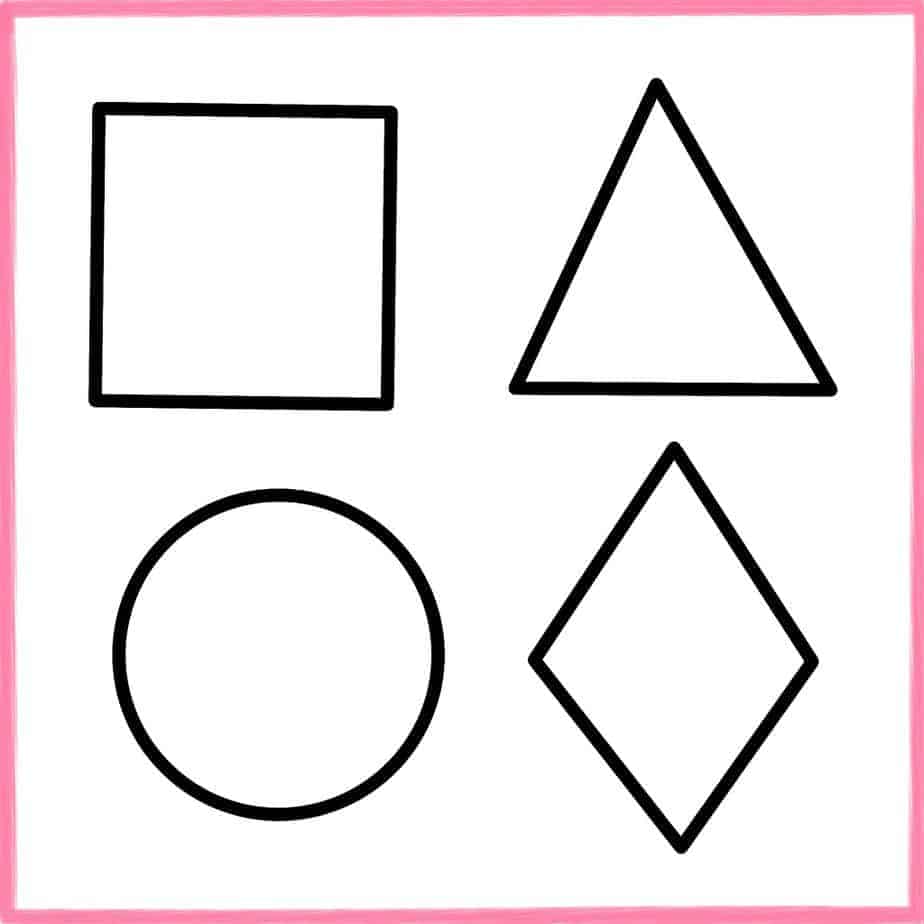
The trick is to start with simple shapes. Circles, squares, triangles – they’re all your best buddies in the beginning. You’d be surprised how many doodles start with just a humble circle or a straightforward line.
And hey, remember this: it’s okay to make mistakes. In fact, embrace them! Some of my most creative doodles have come from what I initially thought was a blunder.
That smudge could turn into a cute little cloud, or that wonky line might just be the perfect start for a funky abstract pattern. So, don’t be afraid to mess up. In the world of doodling, there are no errors, only happy accidents.
So, are you ready to embark on this doodling adventure? Remember, keep it light, keep it fun, and most importantly, keep doodling! Let’s get those pens moving, shall we?
Basics Of Doodling
Here is the greatest trick that will help you be able to doodle anything you want. Ready?
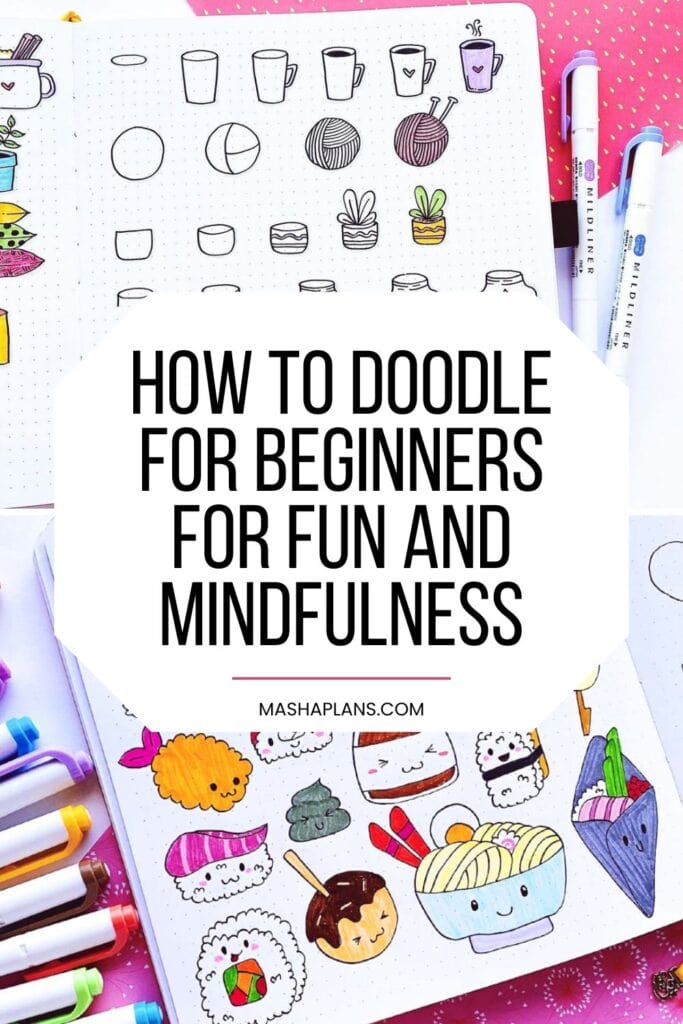
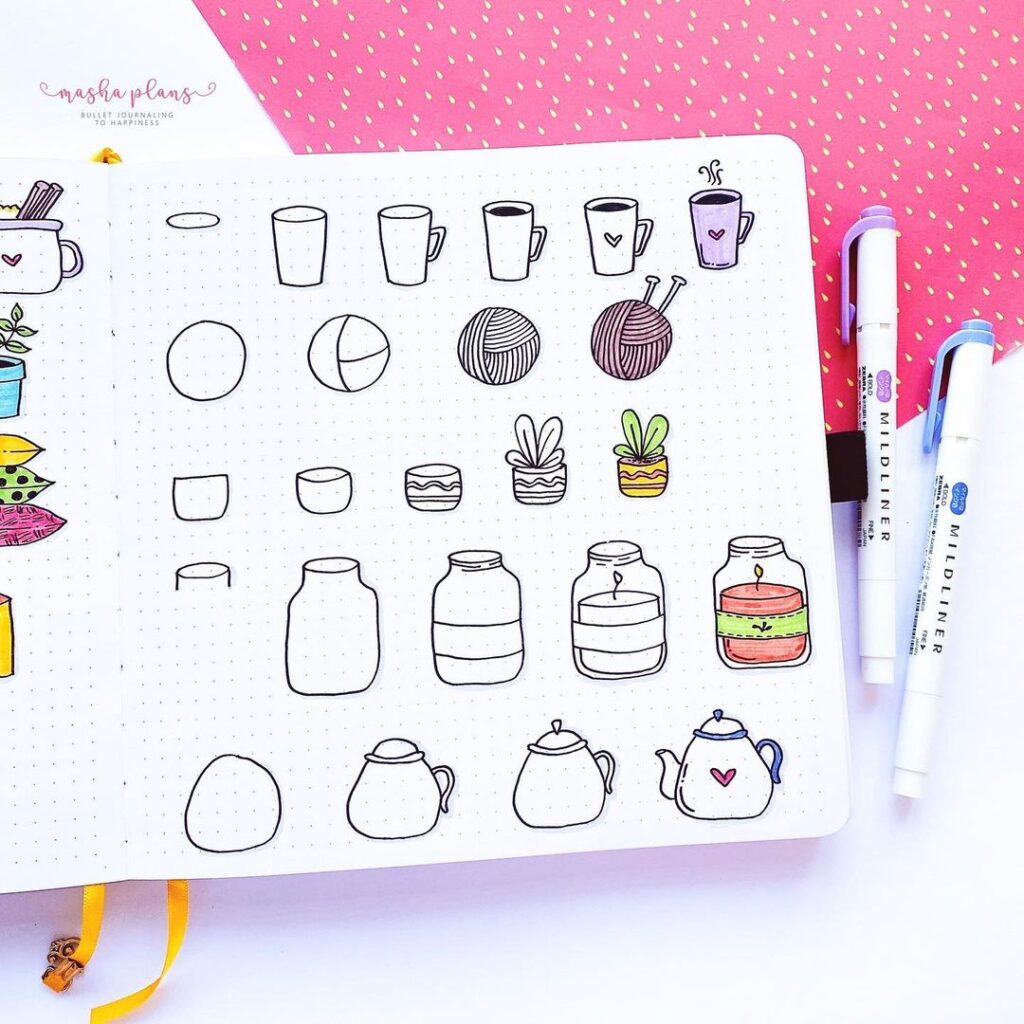
Everything consists of basic shapes!
Yup, if you can doodle things like circles, squares, and triangles you can doodle anything you want. It’s really that simple.
So start your doodling sessions by just drawing these shapes. Try out different pens, different sizes – fill out pages with these fun patterns.
Now, you must be thinking, “That’s all well and good, but my doodles look like a geometry textbook.” Well, fear not! Here comes the fun part. Let’s combine these shapes to create some doodle magic.
Start with this easy exercise – draw several circles and try to come up with different doodle ideas for each circle.
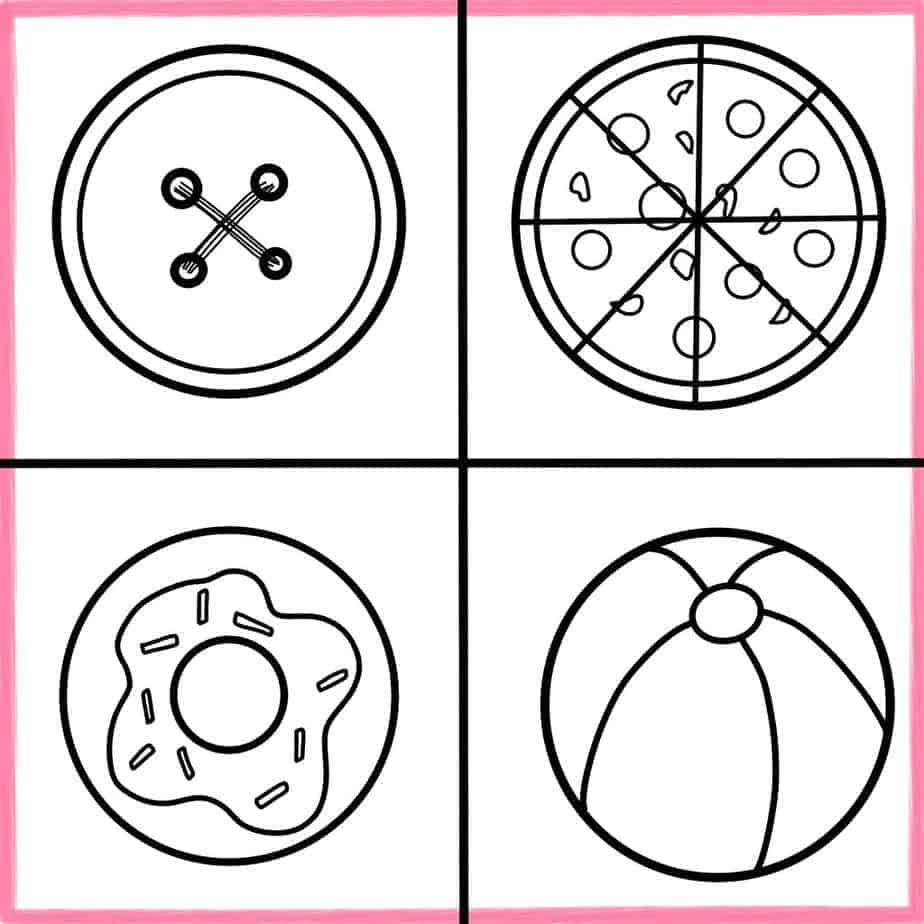
Try it out with other shapes as well.
Why are we doing that? Easy, this is training your most important skill – learning to see the basic shapes in every doodle.
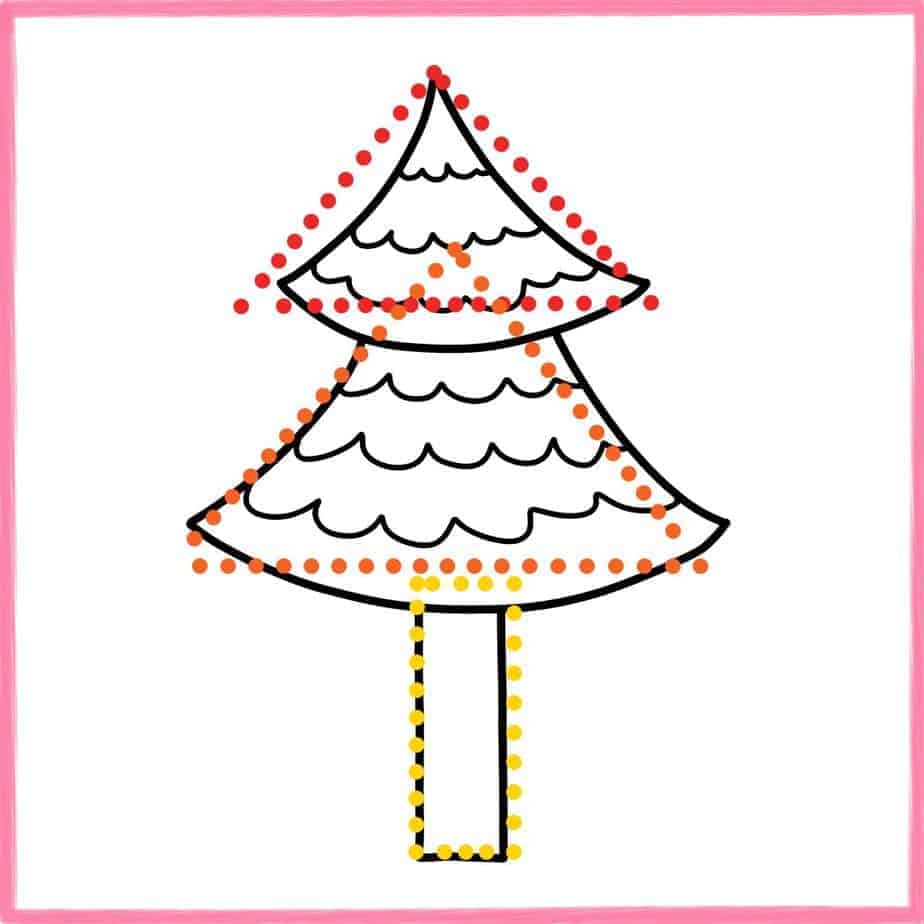
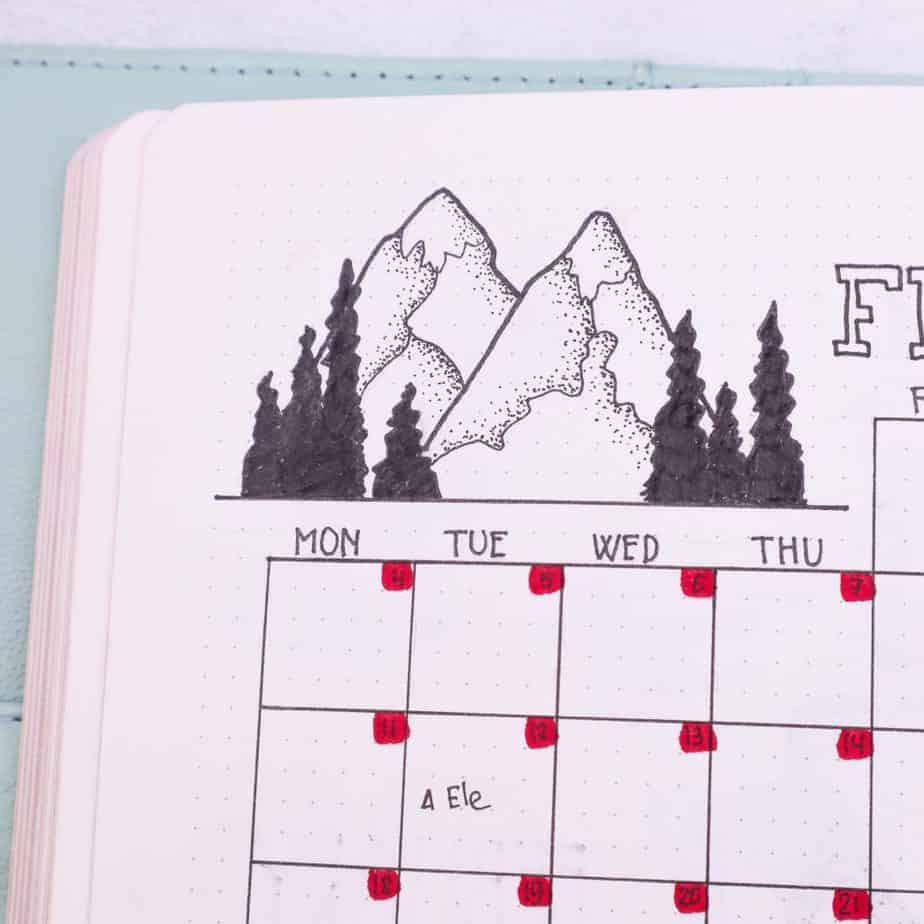
Just check out this Christmas tree – you can easily see that it’s just a few triangles and a rectangle.
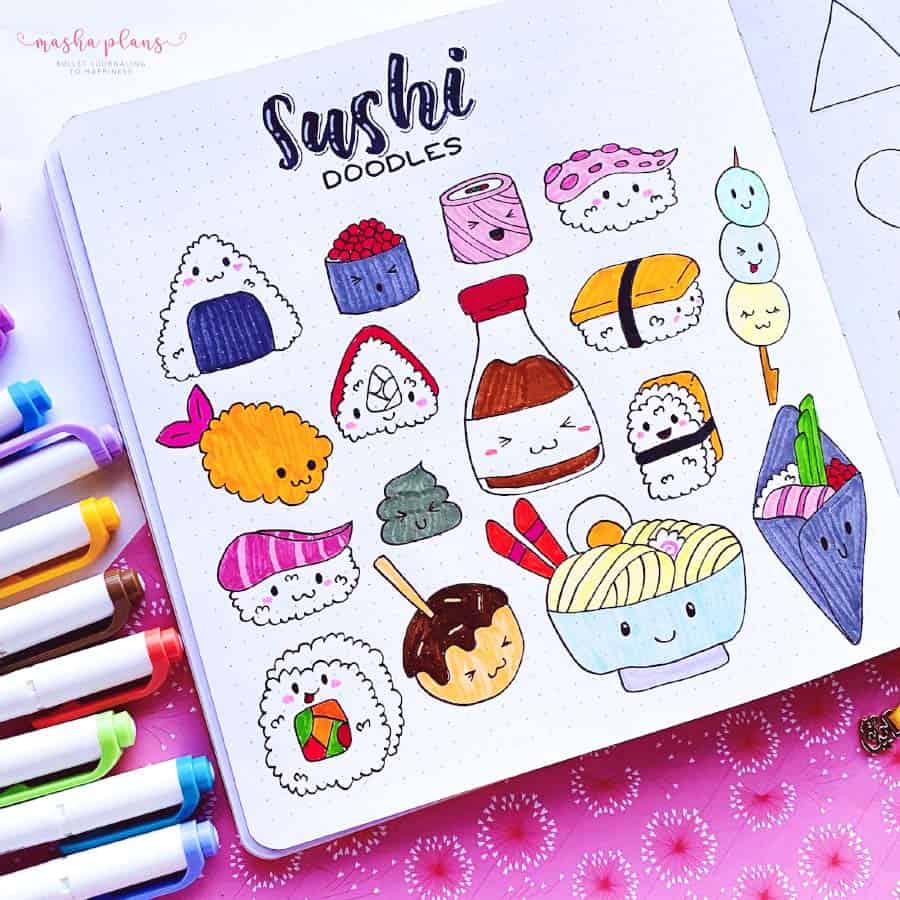
Start with simple things, like tea cups, cacti, pens, and notebooks. and once you feel comfortable doing simple doodles, you can try and switch to more elaborate ones that include more shapes in them.
Just like that, you’ve mastered the most difficult part of doodling; the next step – refining your basic shapes and making them look more like the thing you want to actually draw.
And this is all about practice, and the more you doodle, the better you’ll be able to refine them. And if you’re looking for some ideas on how to get better, I’ve got you covered.
And keep on scrolling cause I left the juiciest part on how to style your doodles to the end.
How To Practice Doodling
As I always say, doodling is not about perfection; it’s about practice. Here are some fun and effective techniques to help you shake things up a bit and inject some extra creativity into your doodling sessions.
1. The Non-Stop Doodle Dash: This is like a mini-marathon for your pen. Set a timer for 5 minutes and let your pen run wild across the page. You can doodle anything – shapes, letters, patterns, whatever comes to mind. The key here is not to worry about what the end result looks like. This exercise is all about letting your creativity flow freely and without judgment. So, ready, set, doodle!
2. The Shape Shifter Challenge: Choose a simple doodle that you’re comfortable with (a coffee cup is a great start!). Now, challenge yourself to draw it 10 times, but make each version slightly different from the last. Experiment with different sizes, angles, patterns, or even feelings. You’ll be amazed at how many unique variations you can come up with!
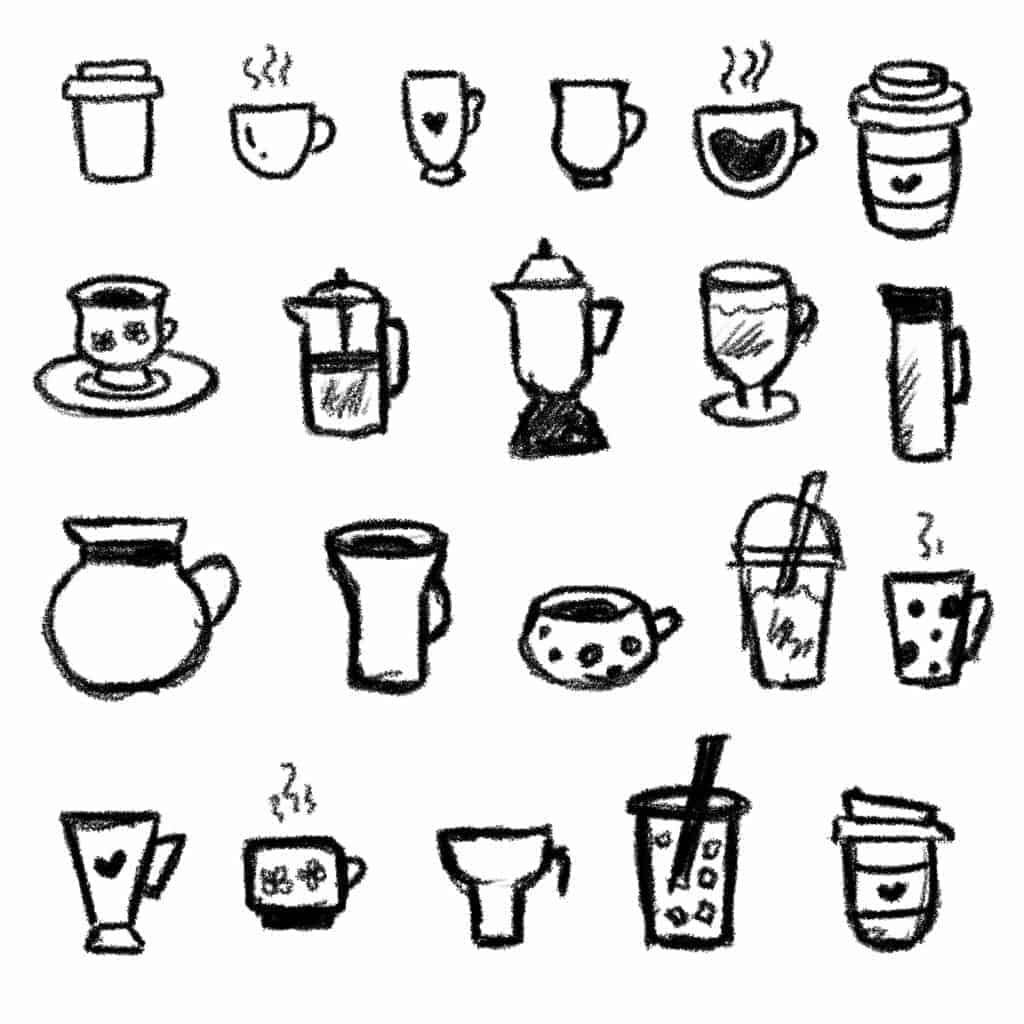
3. Bring Your Doodles to Life: Ever wondered what your coffee cup might look like if it could express emotions? Well, why not give it a try? Add some eyes, a mouth, and maybe even some arms and legs. Before you know it, your simple coffee cup doodle has transformed into a cute little character with its own personality. This is a great way to add some fun and whimsy to your doodles.
4. Follow a Tutorial: As a beginner, one of the best ways to practice doodling is by following along with a tutorial. This gives you a clear guide to follow, and you can learn new techniques and styles as you go. At the end of this post, you’ll find links to some of my favorite doodling tutorials, so be sure to check them out!

Remember, my dear doodlers, the journey of a thousand miles begins with a single stroke. So grab that pen, flex those creative muscles, and let’s get doodling!
Also, I won’t leave you here without some tips. So here are a few golden nuggets to help you on your practice journey.
Tips For Doodling
I’ve got a handful of tips to help you level up your doodling game. So, grab your favorite pen, settle into your comfiest chair, and let’s dive right in!
- Practice Makes Perfect. Remember when you first learned to ride a bike? You probably wobbled, fell, and scraped your knees a few times, right? But with practice, you got the hang of it. The same goes for doodling. The more you do it, the better you become. So make doodling a daily habit. Even just 10 minutes a day can make a world of difference!
- Be Your Own Best Friend. We’ve all been there – you make a mistake and it feels like the end of the world. But guess what? It’s not! In fact, some of my best doodles have come from what I initially thought were mistakes. A smudge here, a squiggly line there – they can all add character to your doodles. So, be kind to yourself and embrace those “happy accidents.”
- Warm-Up. Just as athletes warm up before a big game, doodlers should warm up before diving into their masterpiece. Start with some simple shapes or lines, or even just scribble freely on a piece of scrap paper. This will get your hand loosened up and your creative juices flowing.
- Start Simple. If you’re new to doodling, don’t pressure yourself to create a Mona Lisa right off the bat. Start with basic shapes like circles, squares, and triangles. Once you’re comfortable with these, you can start combining them to create more complex doodles.
- Have Fun! At the end of the day, doodling is all about having fun and letting your creativity run wild. So, don’t get too caught up in making everything perfect. Let loose, play around, and most importantly, enjoy the process!
Remember, my doodling friends, every master was once a beginner.
And now you’ve got an arsenal of knowledge, and it’s time to talk about my favorite part – refining your doodles.
Refining Your Doodles
Now, you can already doodle simple things and are practicing with more elaborate doodles. I’m so excited about your doodling journey!
But I often find that the most fun part of doodling is making them your own, adding a bit of style and character. And I’ve got a few techniques to help you with that.
So, grab your pens, pencils, and markers, and let’s get started!
- Shading and Texturing Techniques
Remember that sunny afternoon when you were lazing around under a tree, and you noticed the pattern of the bark? That’s texture for you! And guess what? You can bring that same richness to your doodles with some simple shading and texturing techniques.
Start with basic hatching – it’s as simple as drawing parallel lines close together. The closer they are, the darker the shade! Want to get fancy? Try cross-hatching, where you draw two sets of parallel lines crisscrossing each other. It’s like weaving a shadowy tapestry on your page!
Or my favorite way – use dots! Draw them closer to each other for a darker shade and further apart for a lighter effect.
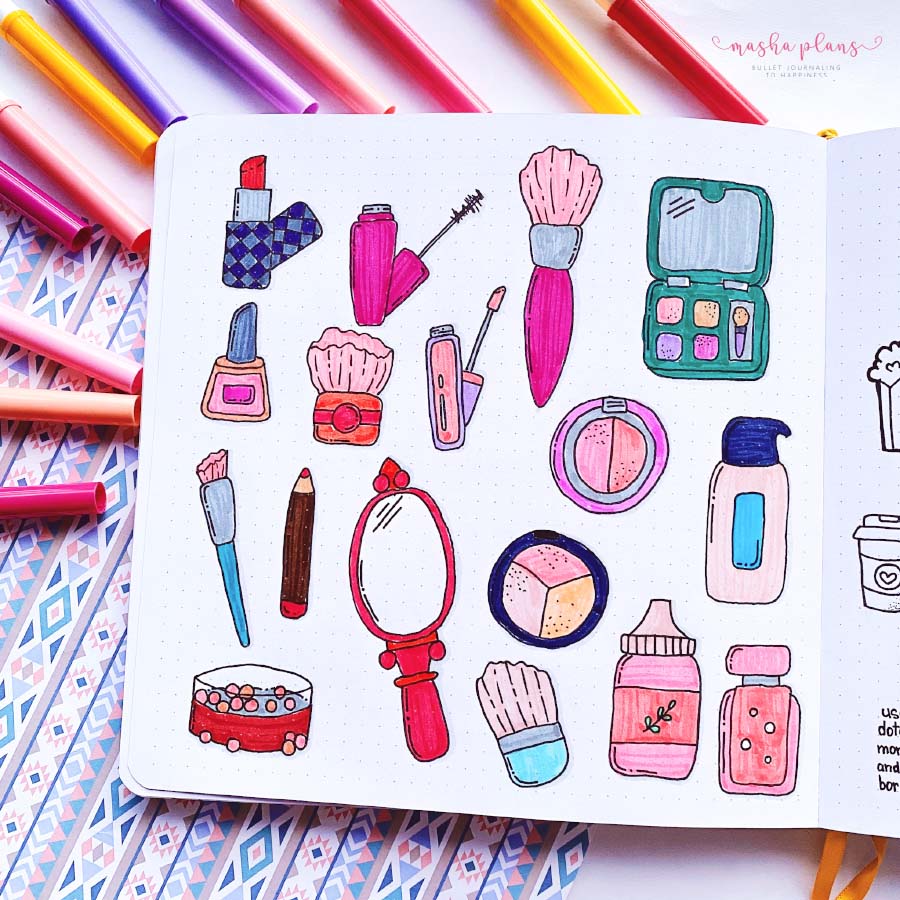
- Incorporating Colors into Your Doodles
Now, who doesn’t love a splash of color? Adding color to your doodles is like adding spices to your food. It enhances the flavor and makes everything pop!
Start with a basic color palette. Use colored pens, markers, or even watercolors if you’re feeling adventurous. Remember, it’s your doodle, and you are the master chef of this visual feast!
As a beginner, I often found that adding color to doodles helps hide some imperfections, so maybe that is what you’d like to try as well.
- Experiment With Line Thickness
Just as a good story has its highs and lows, a good doodle needs its thick and thin lines. It’s like the difference between a whisper and a shout in a conversation. It adds depth, emphasis, and a whole lot of visual interest.
So, go ahead and make some of those lines extra thick. You’ll be amazed at how it brings your doodles to life. I find that it adds a special look if you outline the entire doodle in thicker lines.
Or maybe just a part of it, to create a bit of dimension!
The best part? Playing with line thickness is as easy as switching between a fine-tip pen and a broad marker. Or, if you’re really feeling adventurous, why not try a brush pen? The pressure you apply can create a variety of line widths, all with a single stroke!

How To Doodle For Beginners: Conclusion
And there you have it, my doodle-loving friends! We’ve journeyed through the worlds of shading, color, depth, dimension, and line thickness. And guess what? That’s just scratching the surface of the vast universe of doodling!
I encourage you to keep practicing, keep experimenting, and most importantly, to keep having fun with your doodles. Doodling is not about creating perfect pieces of art. It’s about letting your creativity flow, making your mark, and enjoying the process.
I know you’re itching to get started, and I can’t wait to see what you create. But before you dash off, don’t forget to check out the end of this post. I’ve included some fantastic doodling tutorials and prompts to help kickstart your doodling journey. They’re a great place to start, and who knows, they might just spark your next big doodle masterpiece!
Free Doodling Course
You know, there was a time when I couldn’t doodle to save my life. My stick figures looked like they’d been run over by a truck, and my flowers looked more like squashed bugs. But, just like you, I had this burning desire to add a creative touch to my bullet journal.
So, I did what any determined doodle-dreamer would do – I created my own little system to teach myself that skill. It was a journey filled with smudged ink, crumpled paper, and countless cups of coffee. But guess what? I got there. I went from doodle dud to doodle dynamo, and I’m convinced that you can too!
That’s why I’ve put together this free course, especially for you. It’s a step-by-step guide that will take you from “I can’t even draw a straight line” to “Wow, did I really create that?” It’s packed with all the tips, tricks, and techniques that I wish I had known when I started my doodling journey.
Simply sign up in the form below, and once you confirm your subscription, all the deets on how to join will be delivered straight to your inbox.
More Resources
Ready to dive deeper into the world of doodling? I’ve got you covered with so many more posts to help you on your journey:
- Doodling Prompts To Get You Working On Your Creativity
- 17 Easy Doodles To Draw In Your Bullet Journal
- How To Boost Your Creativity: 9 Simple Drills
>>> What are yopu doodling struggles? Let us know in the comments below!
Hope this post was interesting. If you find it so, please share! If you enjoy my content and want to show your appreciation, please consider supporting me with a cup of coffee.
And remember: Keep Journaling, and Don’t Be A Blob!


