19 Bullet Journal Dutch Door Weekly Spread Inspirations

Crafting a Bullet Journal weekly spread is like designing your personal blueprint for successful day-to-day planning, but have you ever considered adding a unique twist with a Dutch door?
This innovative approach adds flair to your journal and boosts its functionality. In this post, we’re diving into some inspiring Bullet Journal Dutch door weekly spreads designed by talented creators.
I know cutting into your Bullet Journal sounds very scary, but I know I was terrified to try out this format for the first time. But once you see these inspirations, you’ll be itching to give it a try!
After all, this interesting and brave technique allows you to add so much more space and customization to your weekly spreads! It’s definitely something worth trying out, and I hope this post will inspire you to do just that.

The Dutch door concept in your Bullet Journal weekly spread is a game-changer for those seeking to optimize both space and creativity. By simply cutting or folding parts of your pages, you can create sections that reveal information from multiple days at once, providing a seamless, continuous view of your week.
This feature not only conserves valuable page space but also enhances the overall functionality of your journal.
Moreover, the Dutch door approach invites a heightened level of creativity. With more room to play, you can incorporate intricate designs, trackers, logs, or even doodles that reflect your personality and style.
It’s an opportunity to experiment with layouts that not only serve a practical purpose but also bring joy and inspiration every time you open your journal.
But be careful; too much space to plan might lead to feeling the pressure to add more things and turning your planning from functional to overwhelming. So be sure to monitor yourself and see how well a Dutch door format works.
And before we dive deeper into this weekly spread format, let me mention that I have several FREE printable weekly spreads, together with many other freebies to help you with your Bullet Journal, which you can find at the end of the post.
How To Create A Dutch Door Weekly
In a home, a Dutch door is uniquely designed to split horizontally, allowing the top half to swing open while the bottom remains closed.
Originally, this clever design served as an early form of a window, letting in a refreshing breeze through the open top. Meanwhile, the lower section stayed shut to ensure pesky critters stayed where they belonged—outside.
The same concept applies to your Bullet Journal as well. You cut our parts of your pages, so you always have some sections that are visible and some sections that you can flip through.
It’s not so easy to explain this in words, so the inspiration below will definitely help you get a better idea. But generally here is how the process goes:
- Plan your weekly – this what sections you want to be always visible and which sections will be on the part that’ll be cut off.
- Vertical or horizontal – you can divide your page vertically or horizontally. I would recommend starting with a vertical format, because if you cut horizontally you’ll be cutting close to the binding and that might get tricky. When cutting close to the binding, you need to be careful not to damage it, and it’s best to already have it, especially when cutting your journal before you commit to it.
- Mark everything in pencil – make all the calculations and mark where you’ll be cutting and what elements you’ll be adding on which pages and sides. You don’t want to make any mistakes!
- Cut and set up your weekly spread!
It’s all pretty simple, but also note that cutting your journal can disbalance it a bit. So, if you want to use lots of Dutch door weekly pages, try to cut them all differently and don’t use them on every weekly spread.
As long as you’re careful and attentive to details, you’ll do perfectly!
This post may contain affiliate links. They will be of no extra expense for you, but I receive a small credit. Please see my Disclosure for more details. Thank you for supporting Masha Plans!
Stationery Recommendations
You’ll need some supplies for setting up a Dutch door weekly spread, so let me mention a few things.
As always, you can get away without using fancy supplies, but they really do help with managing the scary task of cutting your journal pages.
- Craft knife – this is perfect for very precise cutting of the pages, especially if you are cutting horizontally close to your binding.
- Scissors – also for cutting, and I recommend using small sewing scissors for more detailed work and craft scissors for cutting larger pieces.
- Paper cutter – if you’re planning to cut vertically, a paper cutter is really a great way to do it, giving you a very straight edge.
- Corner rounder – since you’ll have some new corners once you cut, you might want to round them like the other corners of your journal. This tool will help you to do that! It’s also a great item to have when you’re using printables.
Apart from these special cutting items, you might want to get some pens and markers to actually set up your weekly spreads. So here are a few of my favorites:
- Fineliners. These are the basics for every Bullet Journal page, perfect for drawing and doodling. I recommend Sakura Pigma Micron, which also comes in a set with different nib sizes, allowing you a variety of line thicknesses.
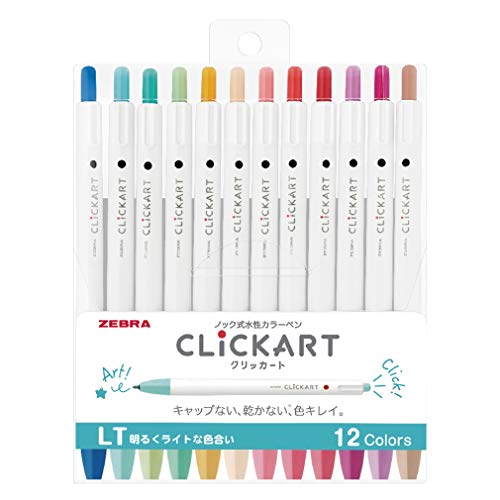
- Markers. If you want to add color to your pages, you’ll need some markers. Your choice will depend on what colors you like. My top choices are Zebra Mildliners and Tombow Twin Tone.
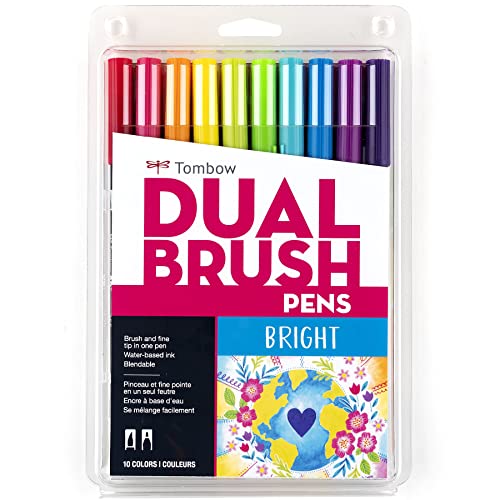
- Brush pens. To add beautiful brush lettering to your weekly spreads, you need a good set of brush pens. I recommend Tombow Fudensuke since they are smaller tips and pretty easy to master. If you’re looking for a larger brush pen and something with tons of colors, you can’t go wrong with Tombow Dual Brush Pens.
- Stencils. These little helpers are great to allow you to set up your weekly spreads faster. I recommend these weekly spread stencils that are built specifically for your weekly pages.

Ok, now we’ve talked about all the supplies and stationery you need to absolutely rock your Dutch door weekly setup, so let’s look at some inspirations.
Bullet Journal Dutch Door Weekly Spread Inspirations
There are so many ways to set up a Dutch door weekly spread and even more ways to decorate it. But not to overwhelm you, in this blog post, I only gathered 19 different pages.
Each is from a different creator with their own style and needs from a weekly spread, so it will give you plenty of ideas on how you can customize your page to fit you.

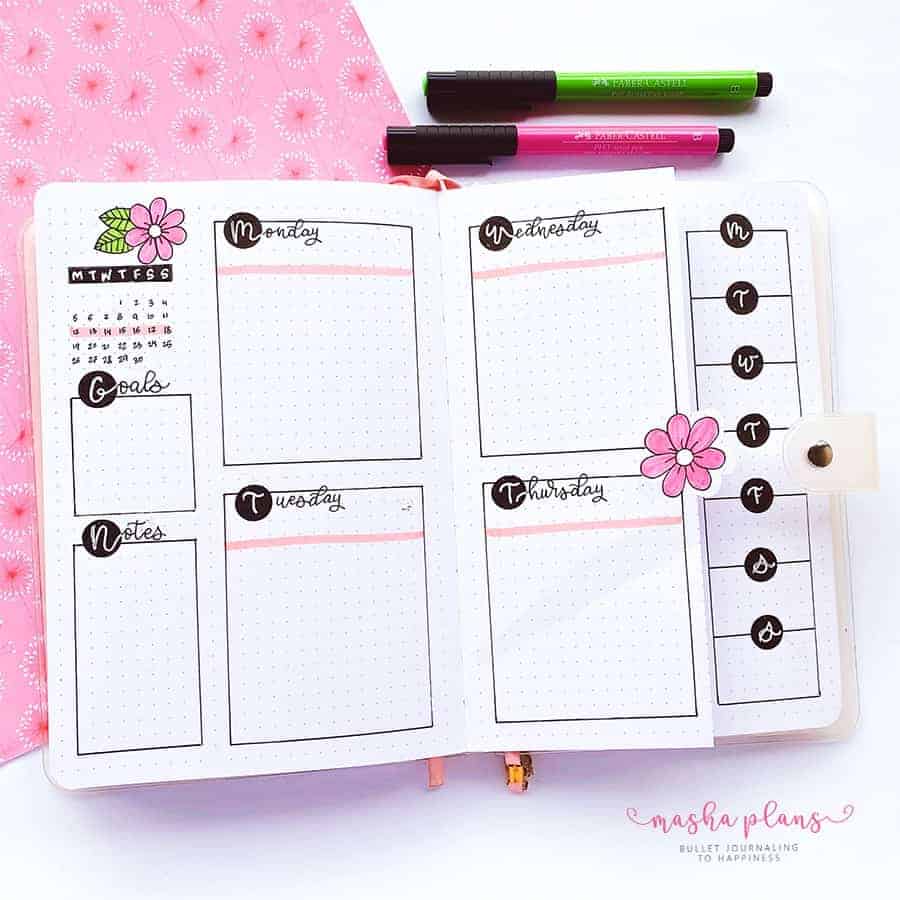
People often use a Dutch door weekly spread because they want more space for their day-to-day planning. This is a great example of this approach.
I also really like that the creator still added a weekly overview at the top, so no matter which day you're planning, you still have a good sense of the entire week.

Vertical format, as I mentioned before, is much easier to start with. This is a very neat-looking weekly spread that gives plenty of space to plan day-to-day things while still showing the outlook of the entire week and the little trackers on the right.

I mentioned several times that one of the main reasons people use dutch door pages is because they want more space. But actually, the different way works as well.
On this page, the creator combined all four weeks of the month in one page, and they even fit a monthly habit tracker!

Another beautiful Dutch door spread that gives you so much extra space to plan your days. But this is also a good example of some of the things you can add to your daily section to fill it up.
As you can see, the creator did some journaling and a flower-a-day doodling challenge.

Sometimes, you can create a Dutch door spread to have more space to add decoration to your journal. This is an excellent example of this approach.
A Dutch door allowed the creator to add beautiful floral designs and a positive quiet to keep their spirits up during the week.
I don't use this format often. I don't usually need much more space on my weekly spreads, and I don't think this format works very well with my personal planning needs.
But when I do use it, I go for something pretty simple to do, like this vertical format that basically allows me to have larger daily boxes.

Here is another fun and creative approach to a Dutch door weekly: You cut out a certain shape to fit your daily boxes.
I think it worked very well for this aesthetics, and I love the beautiful colors and a little girl's illustration on the flop.

There are so many different ways to cut out your Dutch door. I love that here, the creator chose to cut off the bottom part. You don't see this format often, and it's nice to see something different.

Jess always has such neat and well-organized spreads, and I'm totally obsessed with her handwriting!
This particular page is also a great example of different things you can include in your daily section, like your intentions, challenges, and successes for the day.

Do you want a Dutch door to express more of your creativity? Here is a fantastic example for you. Grinch is definitely a flop here, and it might just be decorative. But it might also have a little something hidden on the other side.

Another idea is to use a Dutch door to add other sections, not just your daily boxes. In this example, I created small Dutch door flops to have enough space to plan my meals daily.

Here is another example of adding variety to this format and using the flip for more decoration and a bit of extra space. I love that the creator added an area for happy thoughts, it's such a cute addition to your weekly routine.

Apart from this layout looking so stylish and aesthetic, it's also functional, and it actually includes all the weeks of the month!
I also like that the creator added the little tabs for each week, making it pretty easy to navigate between them.

I'm very confused by this weekly spread because the days of the week are all mixed up. But I thought either way, this is a great example of how you can easily create a unified style and theme by using a set of washi tape and one color.

Here is another inspiration on how you can use a Dutch door to create an overview of the entire month, but here, the creator used a larger part of the page to plan the weeks, so you get more space for your daily boxes each week,

The moment I saw this page, I knew it had to be included in this lineup. The florals here are absolutely breathtaking! And I must say I really love the creator's handwriting—it's so neat and stylish

This Dutch door weekly actually gives you almost half a page for your daily planning. Even though I'd personally get super stressed trying to fill out all the space, it's actually a great way to establish some new daily habits, like journaling.

I absolutely love the style of this weekly spread and the beautiful font the creator used for the headers. Also, note how the creator rounded the corners of the cut out parts to ensure that they seamlessly fit the whole style of the journal.

Last but not least is this beautiful weekly spread. The creator used so many decorative elements, such as kraft paper, washi tape, and stickers, that it really gives me the feeling of a cozy scrapbook.
Free Printable Bullet Journal Weekly Spreads
Before you go, don’t forget to grab your free printable weekly pages! Simply go to the Resources Vault and download them.
If you don’t have access yet, you can always sign up in the form below.
Once you confirm your subscription, you’ll get the password to get 50+ free Bullet Journal printables, stickers, and worksheets to use right away.
If you’ve never used printables before, be sure to check my post How To Use Printables In Your Bullet Journal.
It’s pretty basic, and you can find all the supplies you need in my post Supplies For Using Bullet Journal Printables.
More Resources
Are you looking for some more ideas and inspiration for your weekly spreads? Considering how many weekly pages you need to create each year, I’m always up for more ideas.
Check out these posts next:
- 19 Weekly Layout Bullet Journal Ideas
- Bullet Journal One Page Weekly Spread Inspirations
- 9 Types Of Bullet Journal Weekly Spreads You Need To Try
>>> Have you ever tried using a Dutch door in your journal? Share your experience in the comments!
Hope this post was interesting. If you find it so, please share! If you enjoy my content and want to show your appreciation, please consider supporting me with a cup of coffee.
And remember: Keep Journaling, and Don’t Be A Blob!


I love your emails, but I would love it even more if I could figure out how to log into your “freebies & discounts”. Up above it said to fill out the form below, so I am hoping this is the correct form, because I do not see any other form.
Hello Tracy, I see that you already got the weekly spreads. If you want more (aka the Resources Vault access) you can sign up HERE and once you get the password you can log in HERE. Hope that clarified things!