Finding Your Style Of Bullet Journal Weekly Spread

Today we will be talking about Bullet Journal weekly spreads, which are arguably the working horses of your journal.
There are so many interesting ways to set up your weekly log that it’s easy to get lost; that’s why I included this post in my series of Bullet Journaling for beginners.
I’m excited to help you discover the weekly spread style that suits you best!
Together, we’ll explore some of my favorite formats and find out which ones align perfectly with your planning needs. Let’s make your Bullet Journal a tool that truly enhances your life!

Before we dive into the weekly logs, I think I should mention something very important.
What I share here are my experiences and tips. Everyone’s perfect weekly will be different.
I’m sharing here my best tips and some directions, but the best way to find your perfect weekly spread is to try them all and see what works best for you.
Another secret – you might not actually have the same perfect weekly spread throughout your entire journal. As your life moves on and changes, your Bullet Journal changes with you.
So if you ever feel like your perfect weekly is not that perfect anymore – that’s ok, just try some other formats and see if they match better your current situation.
With these two important things out of the way, let’s dive in and figure out your next perfect weekly format.
Oh, and be sure to scroll until the end to get some FREE printable Bullet Journal weekly spreads you can use right away.
How To Choose A Bullet Journal Weekly Spread
When it comes to setting up your Bullet Journal weekly spread, there are several basic formats to choose from, each with its own perks and drawbacks. The key to picking the right one lies in considering how you envision your upcoming week.
Will it be jam-packed with activities or more laid-back? How much planning space will you need to keep everything organized? Think about what else you might want to include in your spread—perhaps a habit tracker, meal planner, or even a gratitude log.
For instance, do you thrive on long vertical lists where you can see your entire week at a glance, or do you prefer neatly divided columns that segment your tasks by day or category? Each format has its unique charm, but ultimately, it should make your life easier and more enjoyable.
Remember, your Bullet Journal is a personal tool meant to help you stay on track while also reflecting your individual style. As I’ve mentioned before, a lot of these considerations will become clearer after trying out different styles of weekly spreads.
It’s all about finding what resonates with you. But, having these questions in mind when you start can set you on the right path to effective planning and a more organized week.
And once we dive deeper into each format, we’ll look in detail at all the benefits of using that particular format.
This post may contain affiliate links. They will be of no extra expense for you, but I receive a small credit. Please see my Disclosure for more details. Thank you for supporting Masha Plans!
Weekly Spread Bullet Journal Supplies
As always, let’s first of all remember – you only need a notebook and a pen to Bullet Journal, so don’t overthink much here.
However, if you want to upgrade and maybe add some more spark and color to your journal, I’m here to help you fill out your shopping list.
I get most of my supplies from Amazon. I found that with Amazon Prime I usually get a better price and a two-day free delivery.
Let me dash through some of my favorites for a weekly spread creation before we go into the actual meat of this post.
- Fineliners. Black fineliners are the bread and butter of my journal, and I can’t recommend them enough. Smooth, with very black ink, waterproof, and usually available with different tip sizes – fineliners will transform your weekly spreads! Some of my favorites are Faber Castell Pitt Artist and Sakura Pigma Micron.
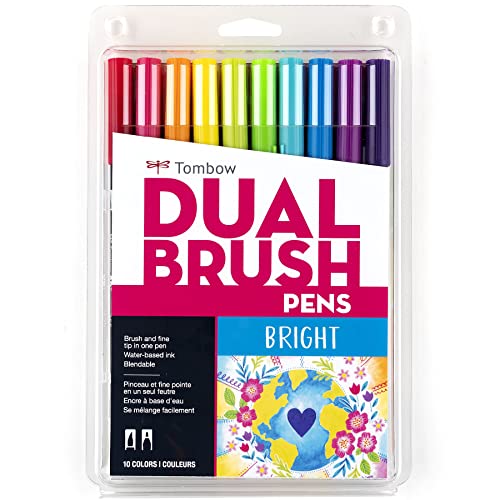
- Markers. There are so many amazing markers to add color to your journal! My current favorites are Crayola Super Tips. Some other options I love are Tombow Dual Brush Pens and Zebra Mildliners.
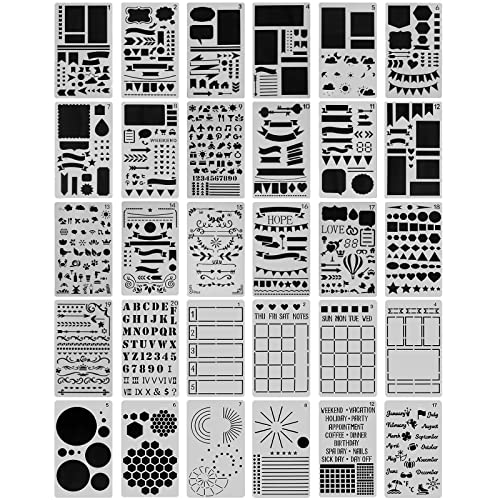
- Rulers and stencils. Rulers are of course a must-have if you want to have perfectly straight lines, even though I still manage to screw it up from time to time. There are also awesome rulers like this Westcott one that can help you add more fun shapes to your weekly spread. I love using it to create perfect little boxes for my to-do lists, as well as circles for dates. A while ago, when I just started journaling, I got these stencils off Etsy, and they really were a game changer!

Ok, enough about stationery, let’s talk about weekly spreads!
Bullet Journal Weekly Spread Styles
Ok, you’ve got all the knowledge and you have all your supplies ready, so let’s look into different weekly layouts.
I like playing around with different styles, so I always try to come up with something new and different. But you might be ok just finding your perfect style and sticking to it, without spending time to try them all.
So here they are, and here is why you should choose each one of them.
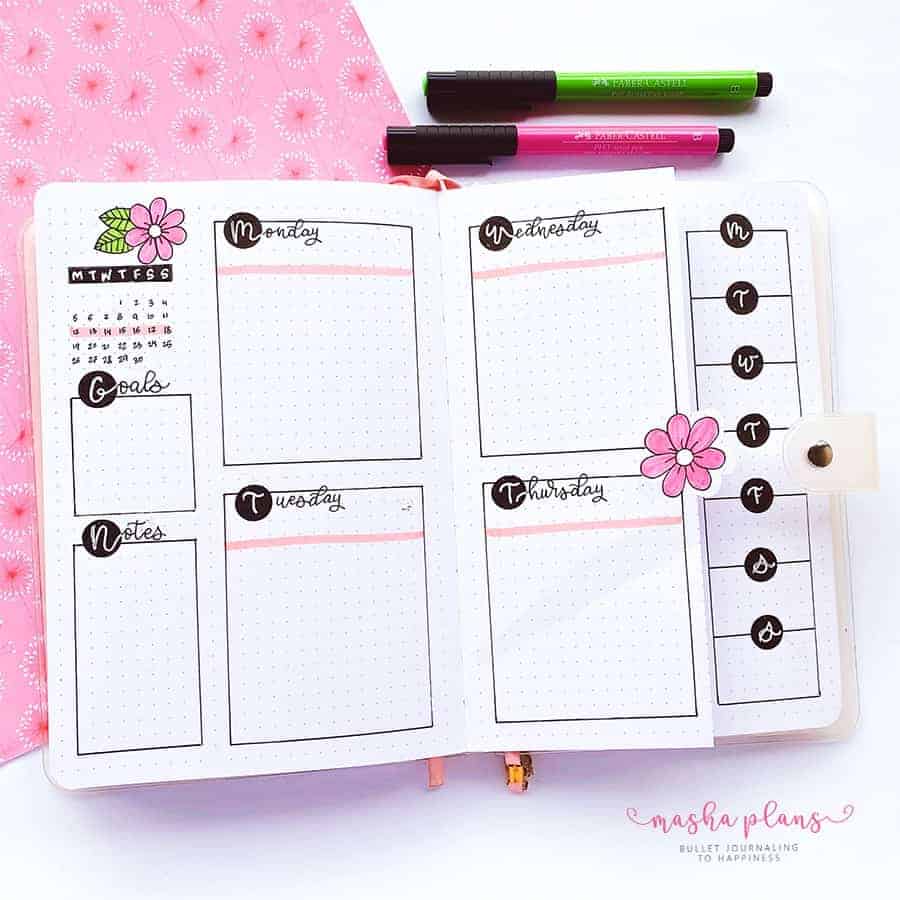
Daily Boxes Weekly Spread
This is probably the most common weekly format, and the easiest to create.
The common denominator here is that this is usually a two-page spread with 7 boxes for 7 days of the week, or maybe 6 for 5 days of the week and one for the weekend.

I love that with boxes you can also customize them according to your theme.
The great thing about this format of weekly spreads is how much you can customize it – you can create vertical or horizontal boxes.
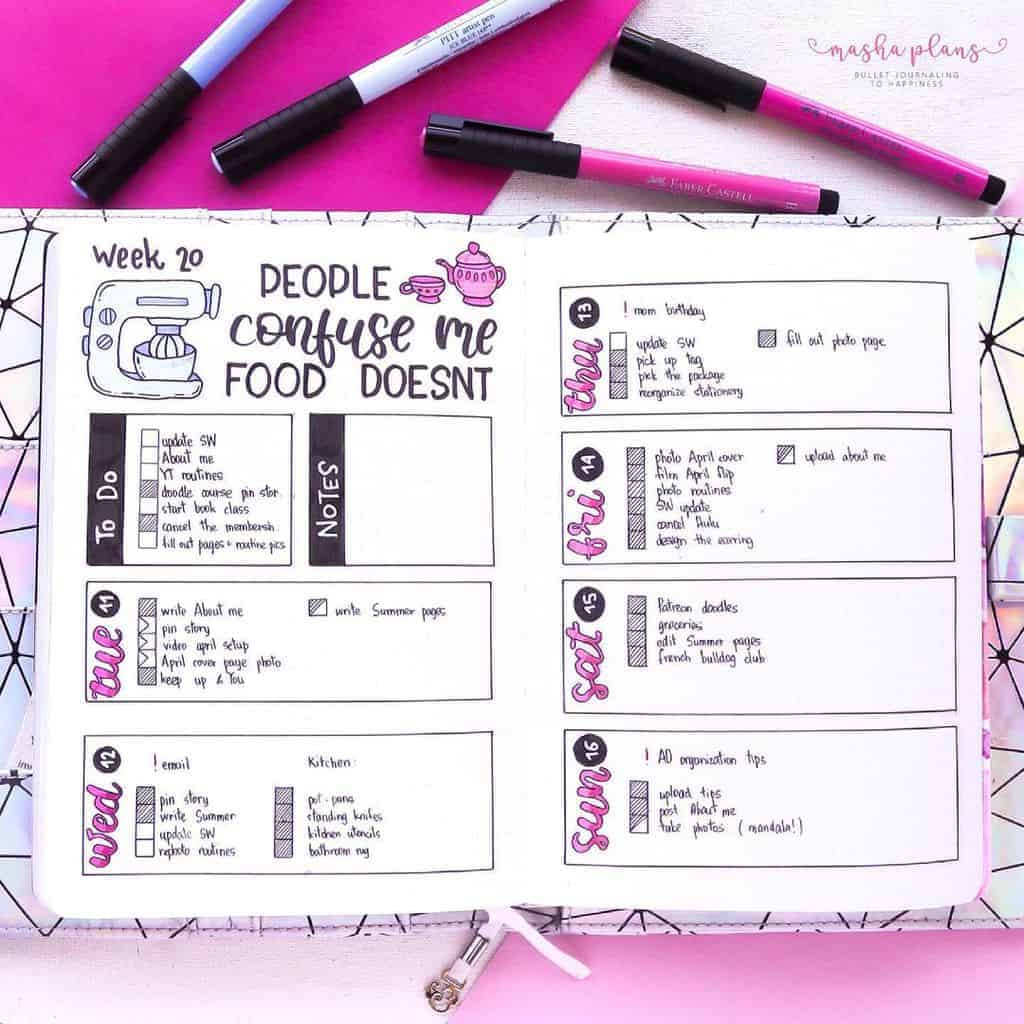
You can make them bigger or smaller depending on what your planning needs are.
If you want to make your setup even quicker, you can skip drawing the boxes and just go for daily headers. This is something I often do since I don’t really like drawing lines.
On this page, I also used stamps for headers – a great way to create beautiful headers without the need to be a lettering pro.
Using stamps can get a bit messy, with the ink and the need to clean them afterward. But once you get a hand at it, they are pretty convenient to use.

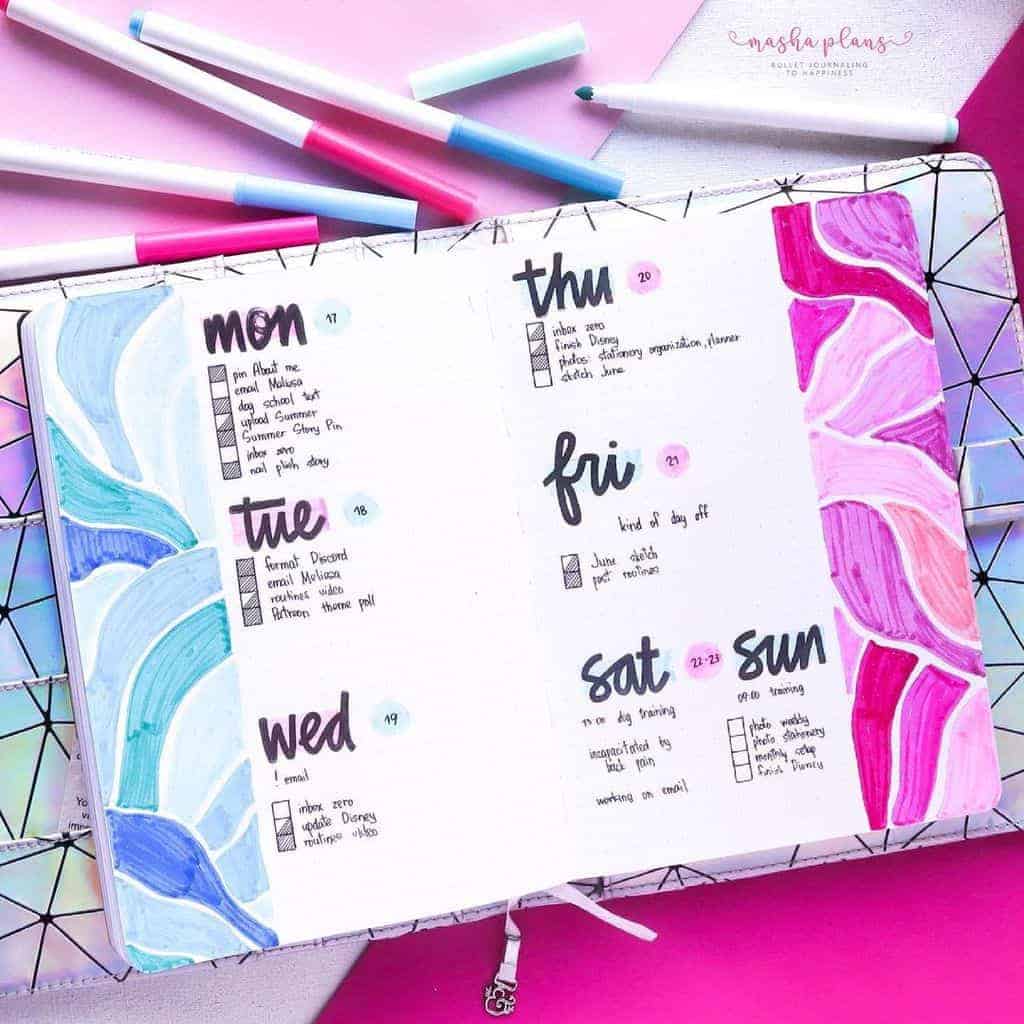
A vertical box weekly without actual boxes – probably my favorite format ever.
A cool trick for creating these weekly spreads is to use your grid guide – it will help you to quickly divide the page for creating the boxes.
PROS:
- They are super customizable
- There is a lot of inspiration for these types of weekly spreads
- Your week looks more organized with all the tasks fitted in daily boxes
- Easy to set up – the basic setup
CONS:
- Because there are many variations, it might take time to figure out which one works the best
Setup time: 15 min to 1 hour
One Page Weekly Spread
This is a very similar format to the weekly with daily boxes, but here it occupies just one page.
This type of weekly spread is very easy to set up, and sometimes it might be precisely what you need.

I like using one page weekly when I use a larger journal like Nuuna. It simply gives me enough space for all my tasks on just one big page.
I also like using one-page weekly spreads when I’m just too busy – one-page weekly is easy to set up, it doesn’t require a lot of decoration, but at the same time, it has enough space to write two to three main things to do every day.
PROS:
- Simple to set up
- No creative skills required
- Very clean and productive layout
CONS:
- No space to do more with your weekly setups (trackers, weekly to-do list ets)
Setup time: 15 minutes
Dutch Door Weekly Spread
Dutch door weekly is a very fun and creative concept. Even though I don’t use them much personally, I still see the benefits of this setup.
To put it in two words, to create a Dutch door weekly, you cut out a part of your page so you get more space to plan during the week.
The scary part here is, of course, to cut your journal. But believe me, it’s not really that hard, and you end up with a weekly spread that gives you so much more space for planning.
It’s a great weekly spread if you want to include something more, like daily journaling, doodle prompts, or daily gratitudes into your weekly spread.
PROS:
- Lots of space to include different things in your spread
- You can do daily gratitudes, creativity challenges, and journaling on the same page as your daily planning
- You have more space to be creative
CONS:
- You need to actually cup your journal pages
Setup time: 1 hour
Running List Weekly Log
This is a very simple concept: you have your long list of things to do, and on the side, you have a little table where you can note which day you actually completed the task.
The best way to set it up is to write on the left side with the first letters of each day horizontally, and on the right side, you can write your tasks.
Once you complete the task, just color the box that correlates with the day on which you completed it.
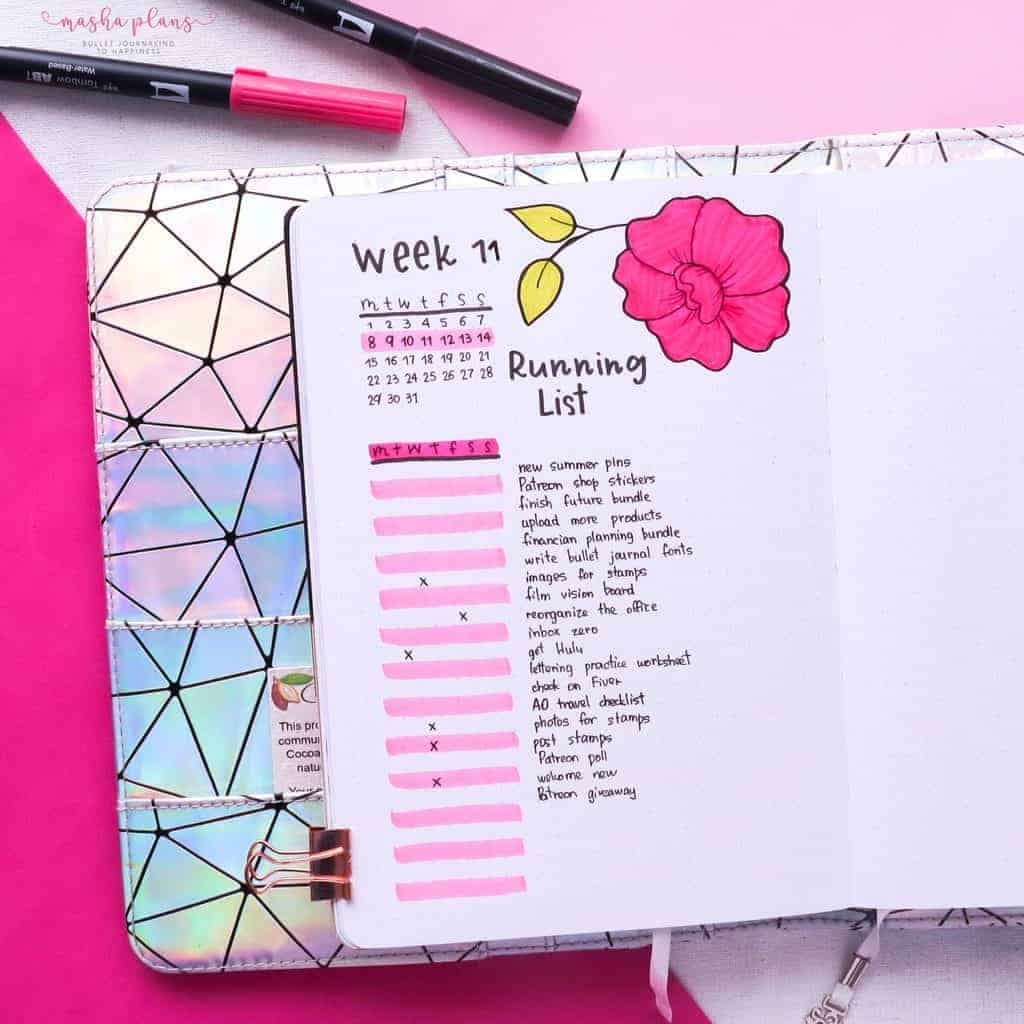
To keep track of the dates, you can add a banner with the dates for the week.
I found that this format usually works very well if I add a one-page weekly schedule, since I usually have tasks that are specific to a particular day.
PROS:
- Fast and easy to set up
- Can increase productivity
- Easy to see all the weekly tasks and plan your week accordingly
CONS:
- Might be difficult if you have day-specific tasks
Setup time: 10 minutes
Plan As You Go Weekly Spread
This is actually the original Bullet Journal concept, and even though I’ve never used that format myself, it might be something that works for you.

This style ensures that you don’t waste space in your journal, as well as always having enough space for however busy your day is.
With this style, you set things up as you go day by day, so you always spend just as much space as you need for all the tasks for the day. All you need is each day create a header for the day, and you’re done.
PROS:
- No need to set up anything in advance
- No waster of space on the days when you don’t have many tasks
- Very fast to just start planning right away
CONS:
- Don’t have the overview of the week
- Don’t have the weekly to-do list
Setup time: around 5 minutes daily
Free Bullet Journal Weekly Spread Printables
Of course, I couldn’t leave you without a freebie, so be sure to drop by the Resources Vault and get your free printable Bullet Journal weekly spreads.
If you don’t have access yet, you can always sign up in the form below.
Once you confirm your subscription, you’ll get the password to get 50+ free Bullet Journal printables, stickers, and worksheets to use right away.
If you’ve never used printables before, be sure to check my post How To Use Printables In Your Bullet Journal.
It’s pretty basic, and you can find all the supplies you need in my post Supplies For Using Bullet Journal Printables.
Finding your perfect weekly spread takes a while. You just need to try all of them and find what works for you at the moment.
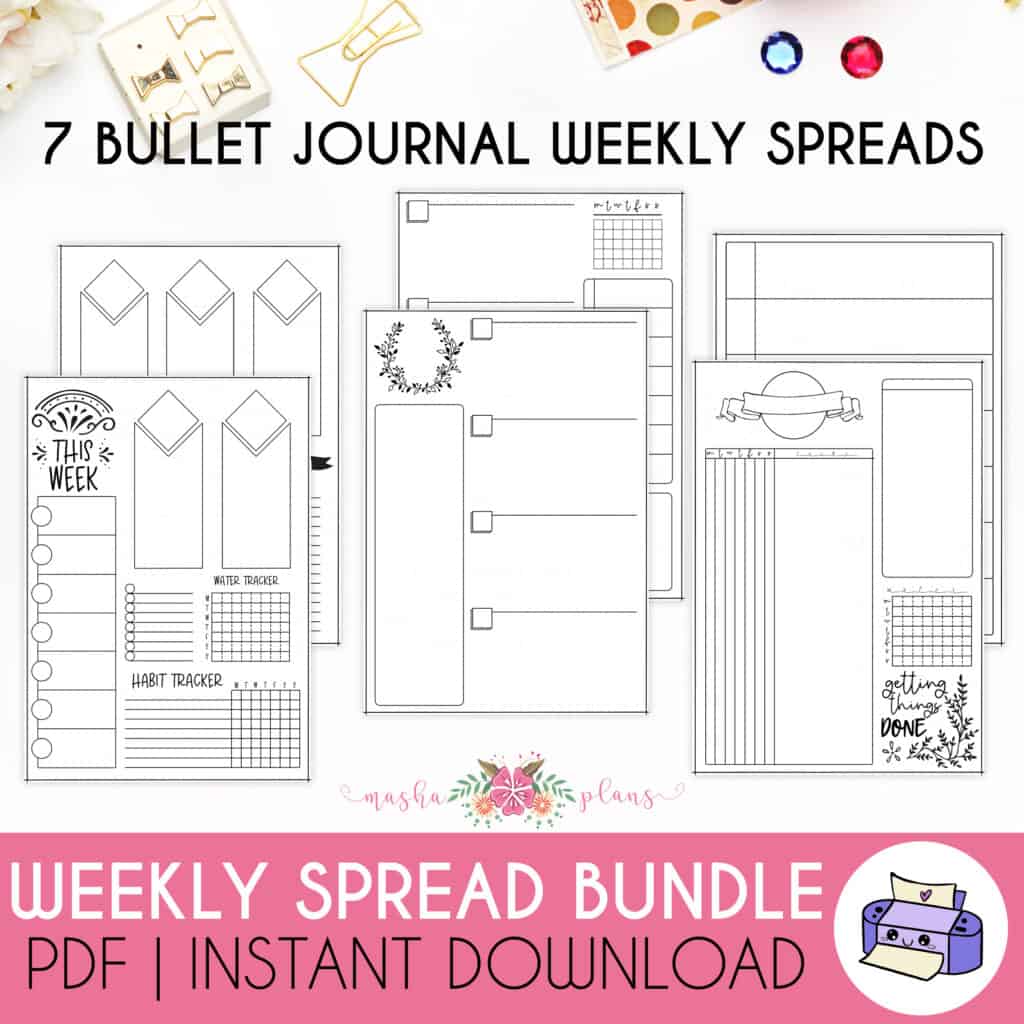
And if you want to experiment without spending a lot of time setting up different weekly spreads, I also have got you covered with my printable weekly spread bundles I have in the shop!


More Resources
There is so much more to learn about a weekly spread and so many more inspirations on how to set up a perfect weekly layout for you.
So be sure to check out these blog posts next:
- 15 Amazing Bullet Journal Weekly Spread Inspirations
- 9 Types Of Bullet Journal Weekly Spreads You Need To Try
- 5 Simple Bullet Journal Weekly Spread Tricks To Increase Productivity
>>> What kind of weekly spread do you like using in your Bullet Journal? Share with us in the comments!
Hope this post was useful; if you find it so, please share! If you enjoy my content and want to show your appreciation, please consider supporting me with a cup of coffee.
And remember: Keep Bullet Journaling, and Don’t Be A Blob.


hello, i noticed in a couple of the pictures on this post that use leather covers for your notebooks. i have been researching for a similar one but can’t seem to find one that I can slide my notebook hardcover into on both front and back. if you know what I mean. do you have links to where you got yours from? thanks
Yeah, I know what you mean! This cover is from Cocoa Paper on Etsy. Here is the link: https://tidd.ly/3iCxapb
It’s my affiliate link but you won’t have to pay anything extra if you decide to make a purchase.