
Bullet Journal For Beginners: Step-By-Step Setup
If you’re looking for resources on Bullet Journaling for beginners, you’re in the right place, and in this post, we’re talking about a step-by-step process of setting up your first journal.
Bullet journaling is an easy, enjoyable organization system that can help you track everything from shopping lists to important events. This step-by-step guide will walk you through setting up your first Bullet Journal so you can join this trend and get all the benefits of a custom planner designed specifically for you and your needs.
Whether you’ve never planned before or just want to try a different system, I’ve got you covered with everything you need to get started right away.
Ever sicne I started Bullet Journaling in 2018, it has allowed me to take control of my productivity and clear my mind of overwhelming thoughts. It’s a great way to stay organized and keep track of progress in all areas of life, from personal goals to work tasks.
One of the things I love most is the freedom to customize it and make it truly unique to my own needs and preferences. Bullet Journaling has helped me in practical ways, and it’s also become a creative outlet I truly enjoy.
I know it will change your life as well, so let’s dive in and set up your first BuJo! Be sure to scroll to the end to sign up for a FREE beginner course that will help you even further.
What Is A Bullet Journal
A Bullet Journal, or BuJo for short, is a unique, customizable organization system that serves as a planner, diary, to-do list, sketchbook, and more, all in a single notebook. It uses bullet points as its core structure, hence the name.
The beauty of a Bullet Journal lies in its flexibility; you can structure it precisely to suit your needs and lifestyle.

Why is it a game-changer? The Bullet Journal adapts to you, not the other way around.
It’s a fantastic tool for tracking past events, organizing present tasks, and planning for future goals. It’s about living intentionally, becoming more productive, and taking back control of your life.
So say goodbye to scattered Post-it notes, lost to-do lists, and forgotten appointments because the Bullet Journal is here to revolutionize your personal organization.
Before Starting A Bullet Journal
Before you start your Bullet Journal, I always find it helps to understand why you’re trying this system.
Your why will help with everything, from staying motivated and keeping up with your BuJo every day to choosing the supplies you’ll use.
Starting a new hobby and habit can come with its own difficulties, and understanding your reasons will help you overcome them and create a planning system that works for you.
For example, if your main goal with Bullet Journaling is to find a creative outlet, you might want to get more creative supplies, a journal with better paper, and try a more decorative journaling style.
If you’re a busy working person who just needs something to stay organized, you might want to focus on project management and day-to-day planning pages. You might also want to get basic supplies and, instead of decorating, focus on finding a style that works for you and helps you absorb information better.
If you’re starting a Bullet Journal with general well-being in mind, you might want to try different trackers and other pages that support mindfulness, self-care, and mental health.
Keep that in mind, and meanwhile, let’s dive into setting up a journal.
Bullet Journal For Beginners: Step-By-Step Setup
You’ve done all your thinking and are ready to get started, so let’s go through the process.
This guide is basic and gives you what you need to get started without getting overwhelmed, but if you want more, check out the end of the post for additional resources.
That said, I have one more big disclaimer: even though these pages are basic and what a lot of people call “must-have,” it doesn’t mean you have to use all of them. Your journal will follow your rules, and after trial and error, there are some basic pages I don’t use myself.
So look at this as a direction to go towards and things to try, rather than a rigid set of rules. My recommendation is to start as simple as you want, try things, and if it doesn’t work, stop using it. Remember it’s a fully customizable system, so you can build it just for you, and nobody can dictate to you what pages you MUST have – it is always only your decision.
This post may contain affiliate links. They will be of no extra expense for you, but I receive a small credit. Please see my Disclosure for more details. Thank you for supporting Masha Plans!
Step 1: Get Your Supplies
One great thing about Bullet Journaling is that you don’t need to buy anything special or expensive. All you need are two simple supplies – a notebook and a pen.
If you want to get really fancy, go ahead and check out some colored pens, stickers, stencils, and the sort. But if all this talk of supplies has your head spinning, don’t worry! Just a notebook and pen will do the job just fine.
But if you want more, here are a few items that I know you’ll love using:
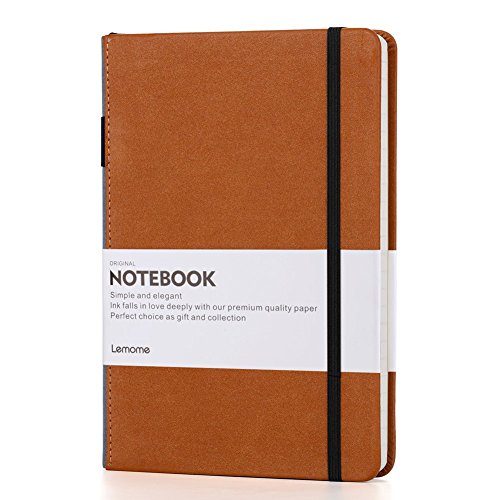
- Lemome journal – this is a great journal for beginners! It’s affordable, so you won’t be too scared to get started, and it has good enough paper for you to enjoy planning and being creative.
- Pilot Dr. Grip – as a beginner, you’ll probably be spending a lot of time drawing your pages with a pencil, and having one with a comfortable grip is definitely helpful. This pencil has the most comfortable grip I’ve ever tried!
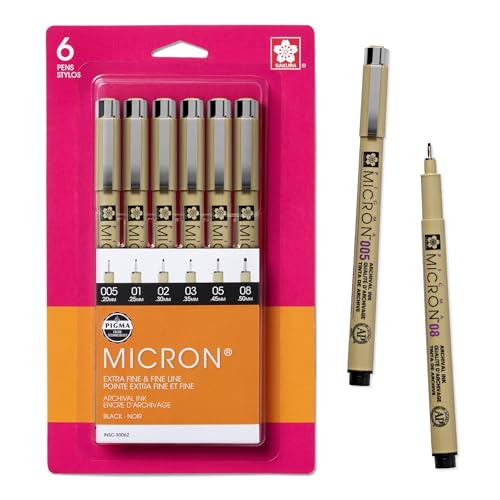
- Sakura Pigma Micron – a fineliner is the blood of every Bullet Journal page; these are perfect pens to draw your pages and decorate them. The ink is archival and jet black, and they come in different nib sizes to give you more variety.
- Crayola Super Tips – these come in many colors and are very affordable, so they are always on my list! Plus, you can actually use them for brush lettering as well.
- Tombow Fudenosuke Brush Pen – if you want to get a brush pen, this one will be the perfect one to start with! The nib is very comfortable for beginners, and the brush size lets you use it in many different ways in your journal.

Step 2: Cover Page
Now that you have your supplies ready, it’s time to start planning!
I know the first page can seem a little intimidating. You’re staring at a blank canvas, and perfection can feel like the only option. But don’t sweat it!
In reality, you don’t have to create a cover page. If designing one makes you nervous, feel free to skip it.
However, if you’re up for the challenge, creating a cover page can be a ton of fun! It’s a chance to let your creativity flow and truly personalize your Bullet Journal. You can use images, doodles, stickers, or even your favorite inspirational quotes.
To get you started, here are a few tips for designing your cover page:
- Choose a theme or color palette and stick to it. This will help your design look cohesive and complete.
- Keep it simple. Too many details can be overwhelming, so don’t overdo the decorations.
- Pencil first. This is probably the best trick to make sure your page comes out looking good – pre-design it in pencil first! That way, you can always change things up and fix mistakes before you go permanent with a pen.
- Have fun with it! This is your chance to express yourself, so don’t be afraid to think outside the box and experiment.
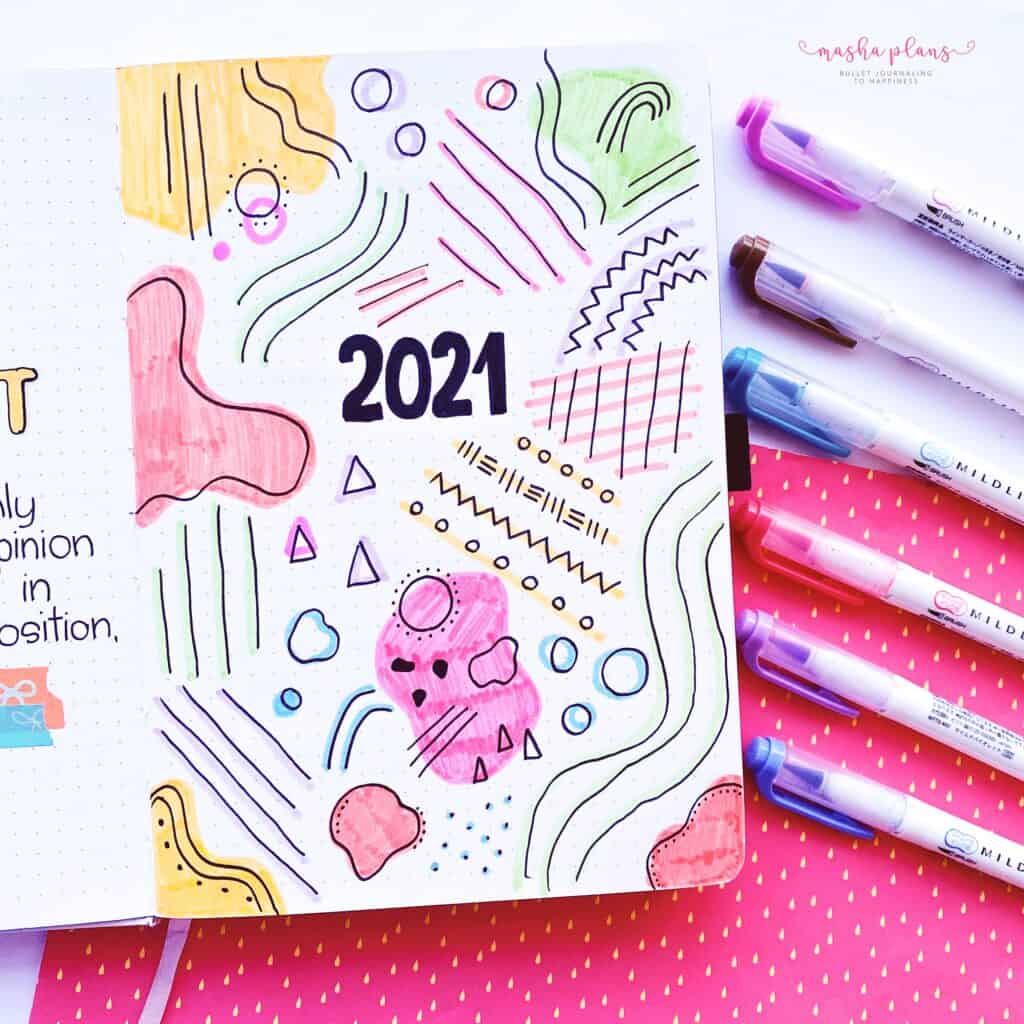
Anything can be a cover page; you can really let your imagination flow and create whatever you feel like.
But if you need an idea to get started, here are a few:
- The word of the year
- Quote
- About me page
- Journal year
- Collage
My recommendation would be to start simple – write the current year; it is the easiest way to break into the new journal, and it will be convenient for archiving purposes as well – you’ll look at the first page and already know when this journal was used.
Step 3: Bullet Journal Key
Your key is where you write down the symbols (or signifiers) that will help you log and structure information quickly.
I don’t use this page anymore since I’ve been journaling for a long time and have it all memorized, but as a beginner, you’ll find it useful as a reference while you are still learning.
The three main symbols to use are:
- • for tasks
- – for notes
- o for events
But of course, you can play around and use your own symbols (you’ll see in the key image below that I used to use very different symbols).
In your setup spread, include them so you can easily access them when you need them.

You may find that as you become more familiar with Bullet Journaling, you want to add other symbols or customize your existing ones – this is completely fine! Just remember not to overcomplicate things, and the goal is always to make life easier, not harder.
Experimentation is part of the fun – so be sure to experiment, try out new symbols, and maybe add some color coding as well until you find that perfect mix that works for you.
Step 4: Index
An index page isn’t just for books – setting one up in your Bullet Journal will make it easier to quickly find and refer to a certain journal entry or topic.
This page can help you easily navigate your Bullet Journal and find the information that you’re looking for quickly and efficiently. An index is a secret weapon that lets you create entries on the first available page while keeping everything organized.
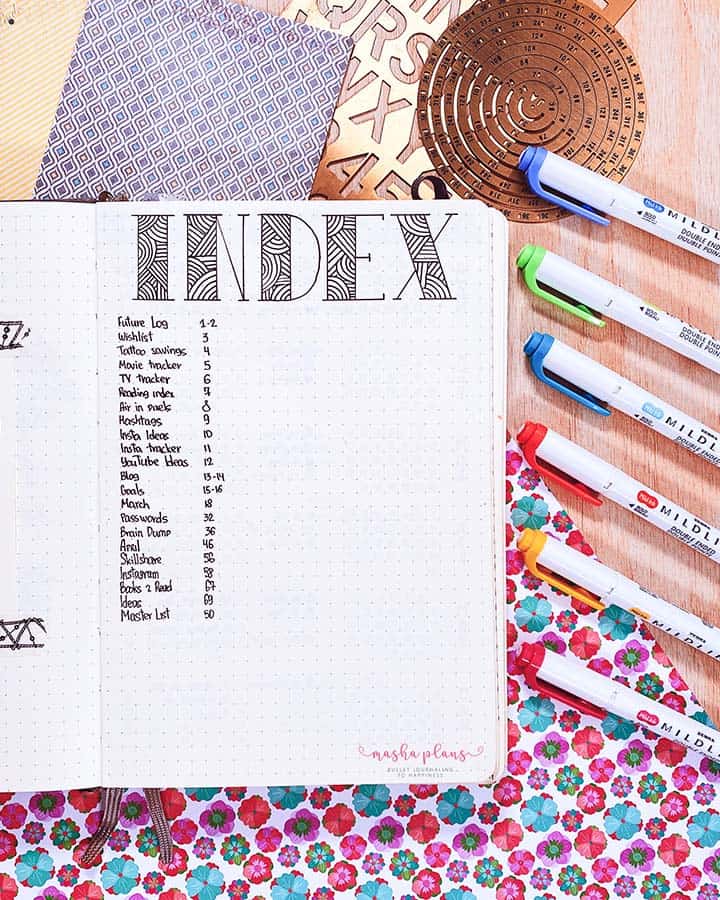
As you continue to fill out your Bullet Journal, it’s important to keep your index page up-to-date. Here are some helpful tips for updating your index:
- Make a habit of adding any new topics or entries to the list as soon as you create them in your journal – this will ensure that you don’t forget to add something later on!
- Every so often, go through your index page and double-check that all topics are still relevant and up to date. This will help keep your journal organized and easy to navigate.
- Always remember to add any pages from the back of your Bullet Journal to your index – this way you won’t forget to include them when referencing your journal.
By following these simple steps, you can keep your index page up to date and organized! With a well-maintained index, you’ll be able to quickly find the information that you need in no time.
(On a personal note, this is one of the pages I don’t use anymore either. I moved most of my non-planning pages into another journal, so I don’t really need a way to find different pages in my BuJo. The best way is to try it for yourself and see how useful this page is for your planning.)
Step 5: Future Log
A Bullet Journal future log is an organizational and planning tool you can use to plan events, tasks, and goals for the coming months. It helps you stay organized by allowing you to look ahead at upcoming commitments and track important dates.
Basically, everything you have happening in the future, not this month, goes into a Future log. This includes birthdays, holidays, vacations, doctor appointments, and more.
The layout of a future log varies from person to person, but generally includes sections for multiple future months so you can get a big-picture view of your commitments.
Write down the names of each month of the year, then start filling in important dates and tasks coming up for each month under the corresponding header.
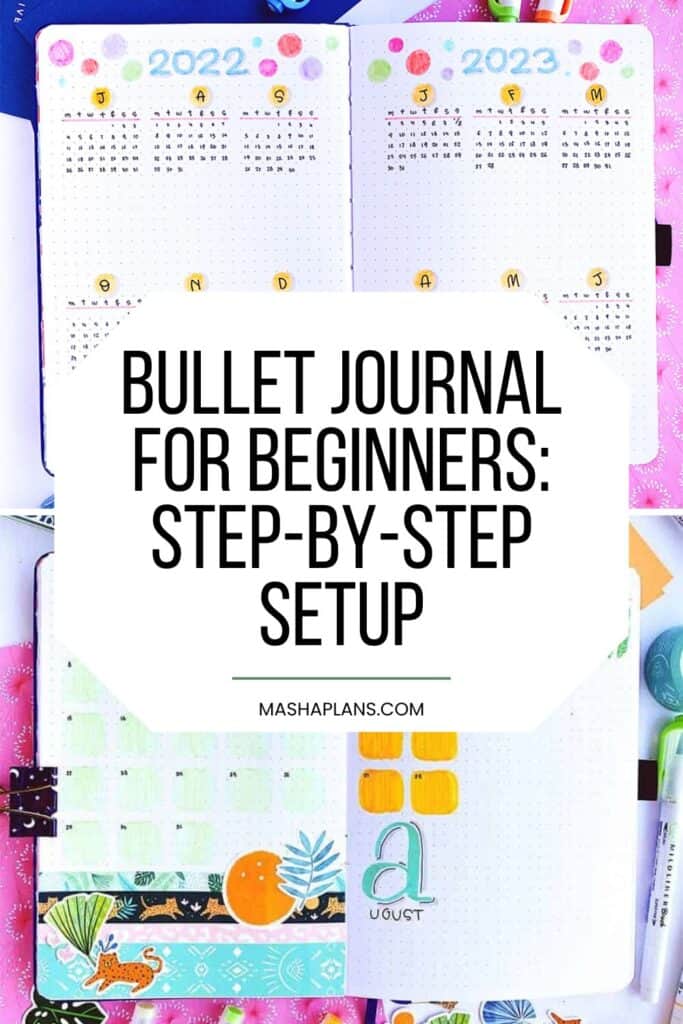
I also like to add mini calendars for each month. It is a bit of extra work, but I like having such an overview.
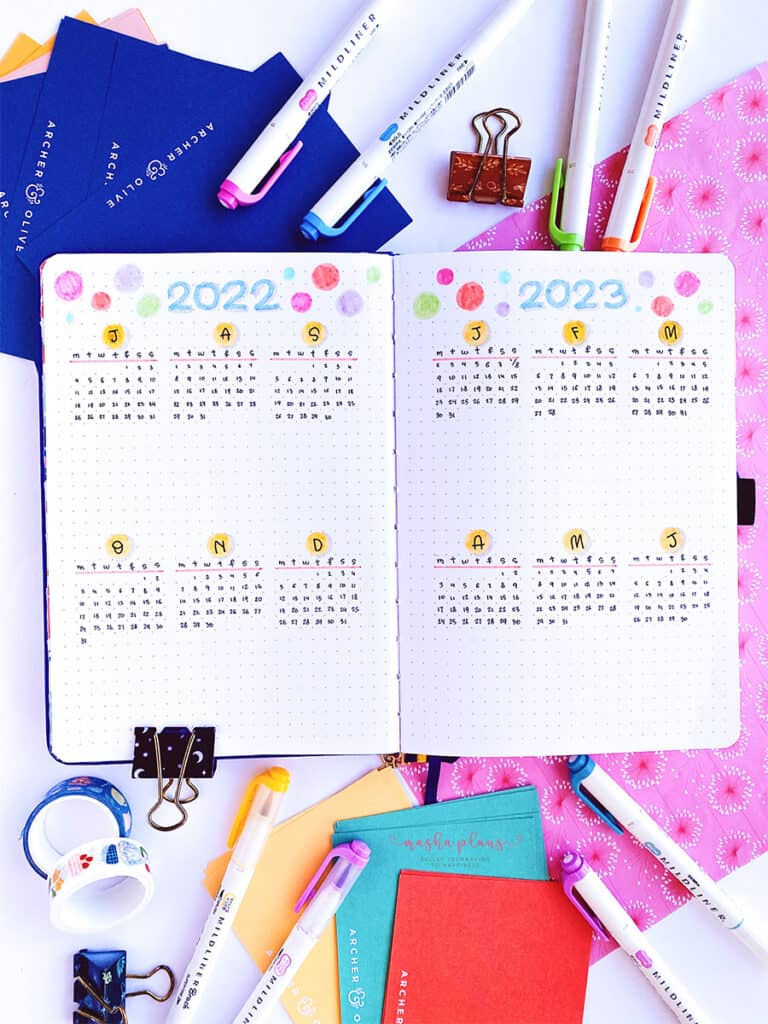
Finally, remember to review your future log regularly. This will help you stay on top of important dates and tasks coming up soon. Regularly reviewing your future log also gives you a chance to adjust any plans or tasks that have come up since you last looked.
Step 6: Monthly Log
A monthly log lets you track and review events, tasks, or goals accomplished that month. It helps you stay organized and focused on your goal for future months.
It’s a monthly overview that often includes a monthly to-do list, so you can offload your tasks in one place before organizing them.
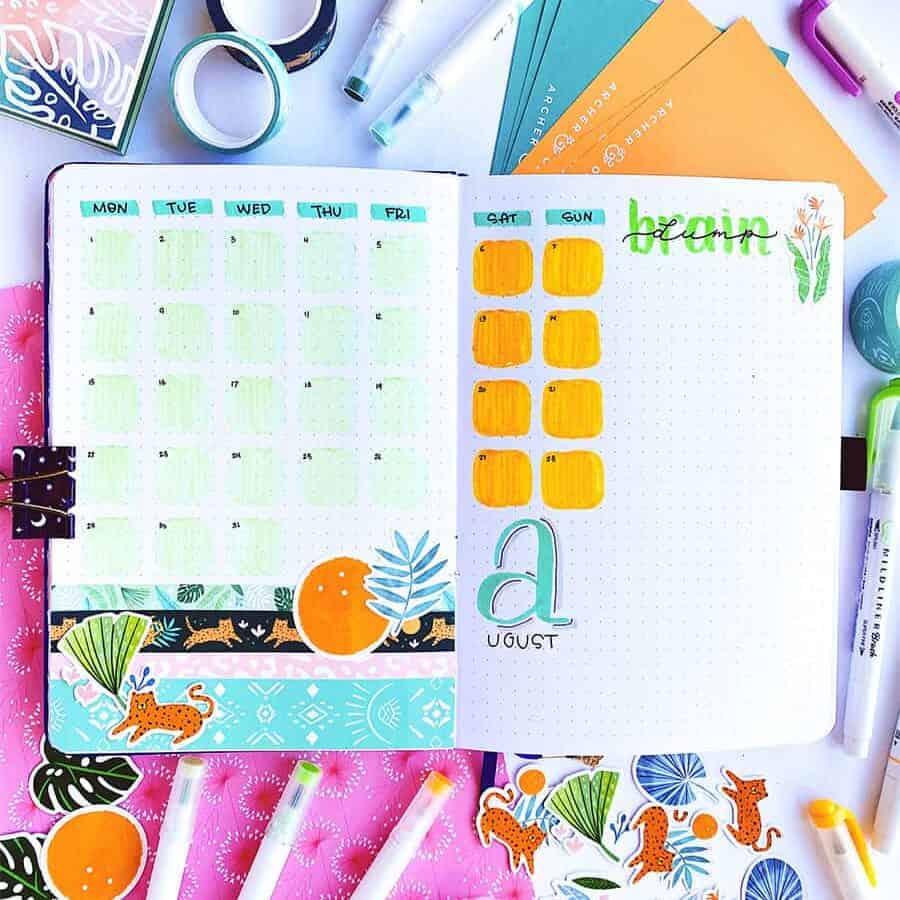
Using a monthly log can help you stay on track and achieve your goals more effectively. By organizing all of your tasks and goals in one place, it’s easier to prioritize what needs to be done and when. Plus, having an easy-to-follow calendar will help you plan out exactly how you’ll reach each milestone throughout the month.
Little tip: if you don’t want to draw a calendar view for your monthly log, create a vertical monthly log, add a line with dates and days of the week, and start planning right away. I also like adding color to the weekend days to clearly divide my weeks.
And because my journal is a bit bigger, it gives me space for my monthly to-do list right there. If you use a usual A5 journal, you can use the next page for all your monthly tasks.

Step 7: Weekly / Daily Log
Weekly and daily spreads are important components of a Bullet Journal. Using both creates an organized system that makes it easy to track your tasks, events, and notes.
Don’t get too confused- you don’t have to use both, and choosing one will depend on how you like planning: to have a concentrated space just for one day or to have an overview of the week when you plan.
A weekly spread is a layout for mapping out your weekly tasks and goals. It’s typically designed so that you can see the entire week at a glance.
You can customize your weekly spread by setting up columns for different categories, such as tasks, events, and notes. This allows you to easily organize your information and decide which tasks or events need attention that week.
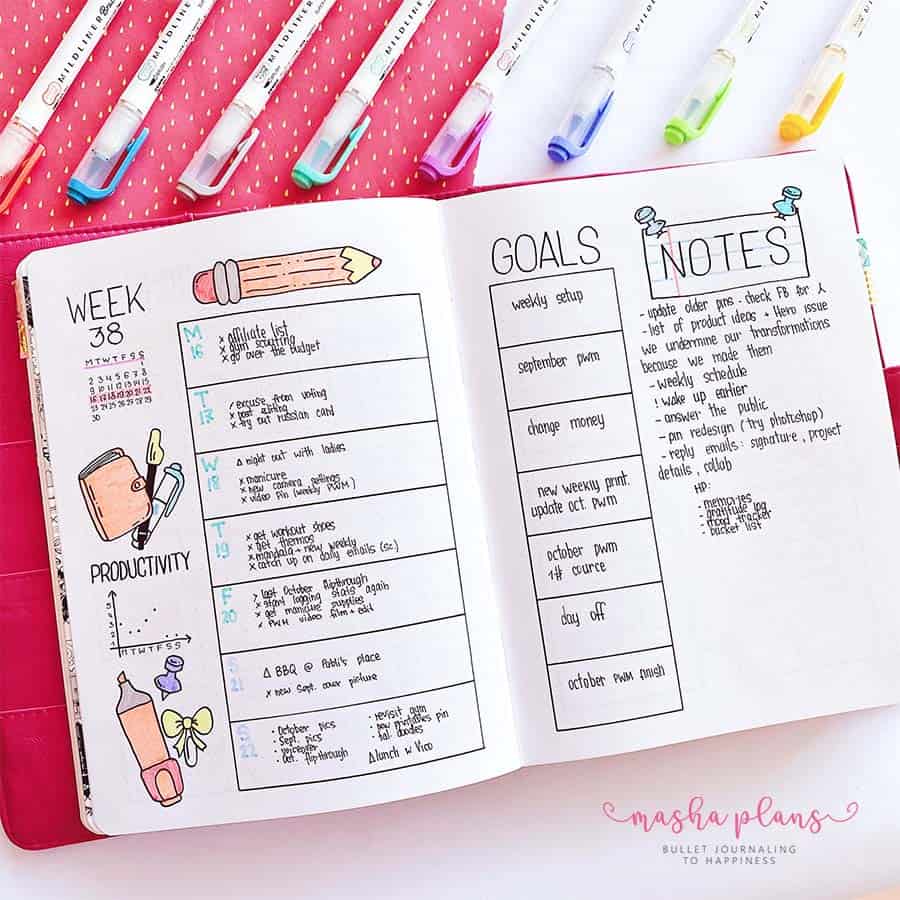
If you want more inspiration, be sure to check my ultimate hub, Bullet Journal Weekly Spreads, where you can find posts with hundreds of different weekly layouts and designs.
A daily spread is a layout that helps you plan out your day in more detail than a weekly spread. It gives you more space to write down tasks, events, and notes you need to complete in a single day.
You can also organize your daily spread using columns or categories, just like with the weekly spread.
Creating spreads doesn’t have to be complicated – it’s all about finding a style that works for you.
Try out these two different ways to see what works best for you; try different formats as well, and eventually you’ll figure out what is most helpful to your life.
Step 8: Collections And Trackers
Bullet Journal collections and trackers are a great way to organize your life, reflect on the past, and plan for the future. There are tons of collections that you can create in a Bullet Journal to help keep you organized and productive, but also just to make journaling more fun.
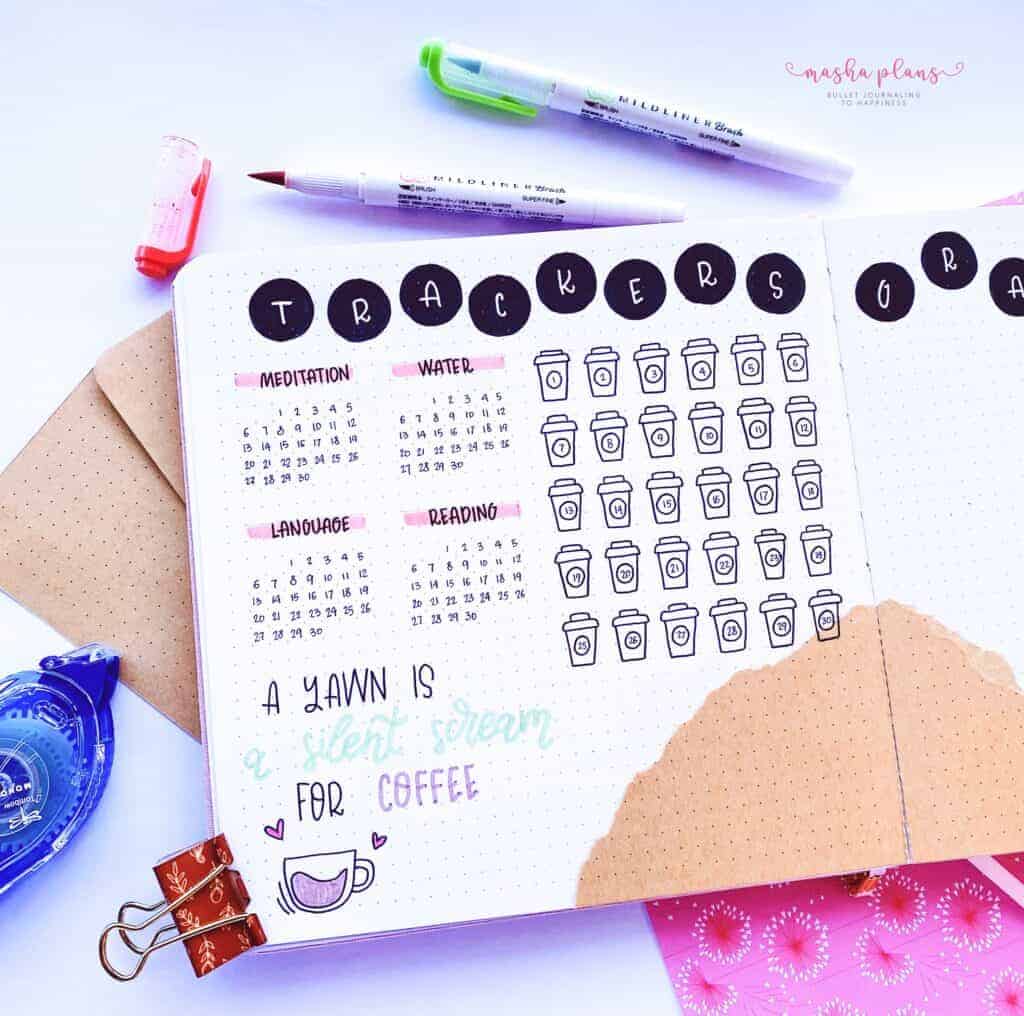
Popular collections include habit trackers, gratitude logs, reading lists, goal-setting pages, meal-planning pages, budgeting trackers, and so much more!

The number of page ideas you can create in your journal is limited by your own imagination!
You can customize your own collections and trackers to fit your specific needs and lifestyle. Think about what you need help tracking and organizing, then brainstorm ways that the Bullet Journal could help you do just that.
The best part about Bullet Journal collections and trackers is that you can be as creative as you’d like. Feel free to experiment with different layouts and designs that work for you.
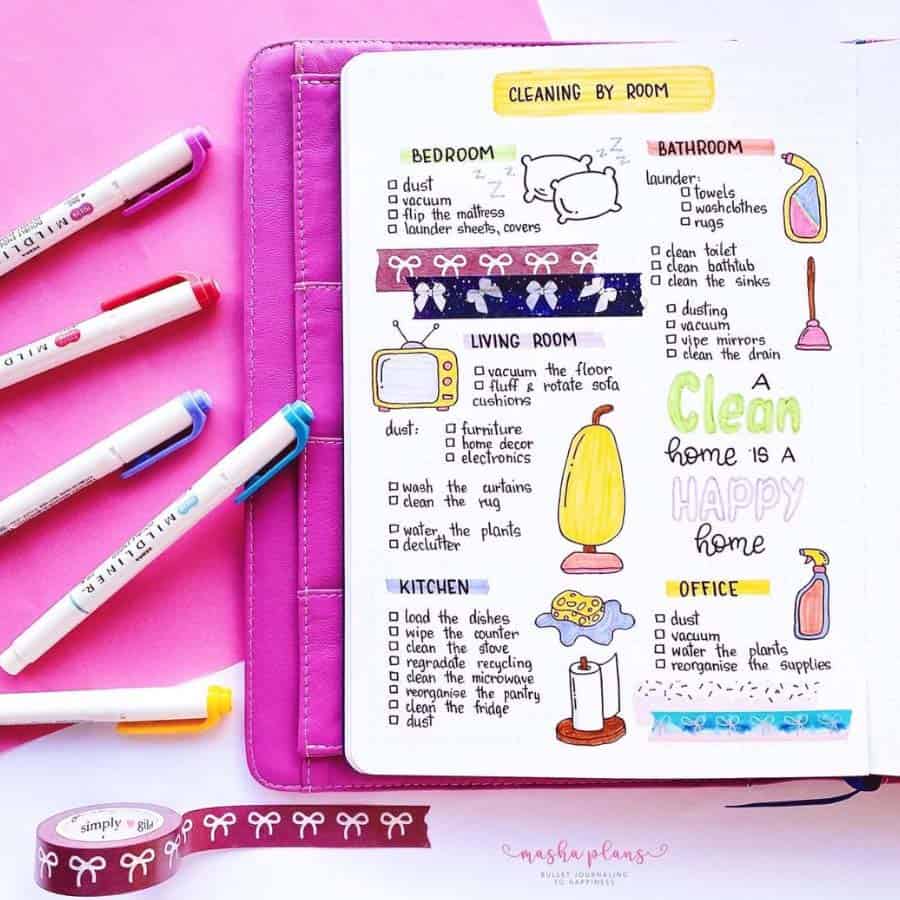
With a bit of practice and experimentation, you’ll find the perfect collections to keep your life organized and productive.
Just don’t overdo it!
If you try to use as many pages as possible each month, you’ll end up turning planning into a chore, so start slowly and adjust your pages each month once you see how it worked for you and whether it was helpful.
Step 9: Review And Reflect
Reflecting on your experiences is an important part of the Bullet Journaling process. By reflecting on your journal entries, you can better understand what has gone well and what needs improvement.
It’s also a great way to celebrate your successes and learn from any mistakes.
Take some time each week to go through your entries and reflect on what has been written and how your Bullet Journal helped. You can also do it monthly to get a better idea of whether monthly pages were helpful and how to improve your next monthly setup.
Be honest with yourself about any areas that need improvement, and consider how you can make changes in the future. Both in your life and with the way you use your Bullet Journal.
This is an important part of growing and achieving your goals, and it also helps your Bullet Journal grow and change with you so you get the most out of it.
And just like that, by following these steps, you’ll have an amazing journal that can help with pretty much anything you need.
Taking some time to plan out your days and thoughts helps keep you focused and motivated. Not only can your Bullet Journal give you a sense of structure and purpose throughout the day, but it also allows you space for creative expression.
It’s honestly one of the most useful tools you can have in your arsenal for conquering everyday tasks in an efficient manner, and as you can see, it’s not as complicated as it might seem.
Free Bullet Journal Course For Beginners
Want more information and help walking you through each step? I’ve got you covered!
I know how overwhelming it can be to start a first Bullet Journal, so I created a free course to help you easily create a custom-designed planner that works for you.
Simply sign up using the form below, and once you confirm your subscription, I’ll send all the details directly to your inbox.
More Resources
Meanwhile, here are a few more blog posts for beginners that I think you’ll enjoy.
Read these next:
- 11 Bullet Journal Layouts For Beginners
- 7 Essential Bullet Journaling Tips For Beginners
- Bullet Journaling Terms Every Beginner Should Know
Hope this post was interesting. If you find it so, please share! If you enjoy my content and want to show your appreciation, please consider supporting me with a cup of coffee.
And remember: Keep Journaling, and Don’t Be A Blob!