How To Make Stickers With Silhouette Cameo
Have you recently got yourself a Silhouette machine? Are you itching to rock your sticker game? Well, I’m here to help and guide you through the first steps of the process!
I’m excited to share my experience with Silhouette Cameo and how it can be used to make gorgeous stickers for any project.
Whether you plan on making sticker labels, monograms, or just some fun stickers to decorate your Bullet Journal, this tutorial will help show you the basics of creating them using the cutting machine.
With just a few simple steps and materials, plus a bit of creativity – anyone can start crafting stunning custom stickers in no time. By the end of the post, you’ll know everything you need to cut Bullet Journal printable stickers at home.
Creating your stickers is a super fun activity, and it can be very useful for us planners! If you’re looking to learn how you can create stickers yourself – be sure to check Part 1: How To Make Stickers For Your Bullet Journal, Planner, and more.
In part 1, we talked about designing stickers without any special equipment, just you and your pen, or iPad, or Canva – whatever tool you feel more comfortable with.
But there is a way to bring your sticker game even further – by using a cutting machine. These will help you cut out your stickers better and, of course, do tons of other DIY projects.
There are several machines like that on the market, but I’ll be talking about what I know – Silhouette Cameo 4. I received this machine a few weeks ago and honestly have been loving it so much!
Ok, probably time for me to share an important disclaimer – I’m really a beginner at this myself. But as always, I came to the sticker game prepared.
I did my research and my tests on the machine. So even though I’ve been using it for just a few weeks, I stand behind everything I’m talking about here today.
With all that out of the way, let’s dive into the process! Uh, and be sure to scroll until the end because I have some freebies for you!
This post may contain affiliate links. They will be of no extra expense for you, but I receive a small commission. Please see my Disclosure for more details. Thank you for supporting Masha Plans!
How To Make Stickers
Stickers are a great and fast way to decorate your Bullet Journal, and by making your own, you’ll be able to create something that matches perfectly with your needs and your style.
It’s really not as hard as it seems, so let’s do it together.
Step 1: Design Your Stickers
The first step is, of course, resigning your stickers. I won’t go into detail here – you can just check the part 1 How To Make Stickers For Your Bullet Journal for a step-by-step tutorial on how to do that.
There are basically several ways to design your own stickers – draw them and then scan, design them digitally (iPad or Photoshop) or use a third-party design element in online software like Canva.
The point is that on your first step, you should have a document with your stickers.
If you’re planning to use your Silhouette machine, though, there are some changes you’ll need to make. You’ll have to save your designs in PNG or JPEG formats instead of PDF.
Step 2: Open and Setup Silhouette Studio
In case you lost your software installation manual, here are a few simple steps to download it:
- Navigate to silhouetteamerica.com/software.
- Select your operating system from the drop-down menu under Silhouette Studio.
- Click “Download.” Once the software has finished downloading, click to open.
Yup, this software has to be used before you start cutting. I actually was so eager to start creating the first stickers that I went ahead and printed them first.
Big mistake! I had to eventually cut them all manually. With my Silhouette Cameo 4 giving me smug looks from the desk.
For this step, open your Silhouette Studio software.
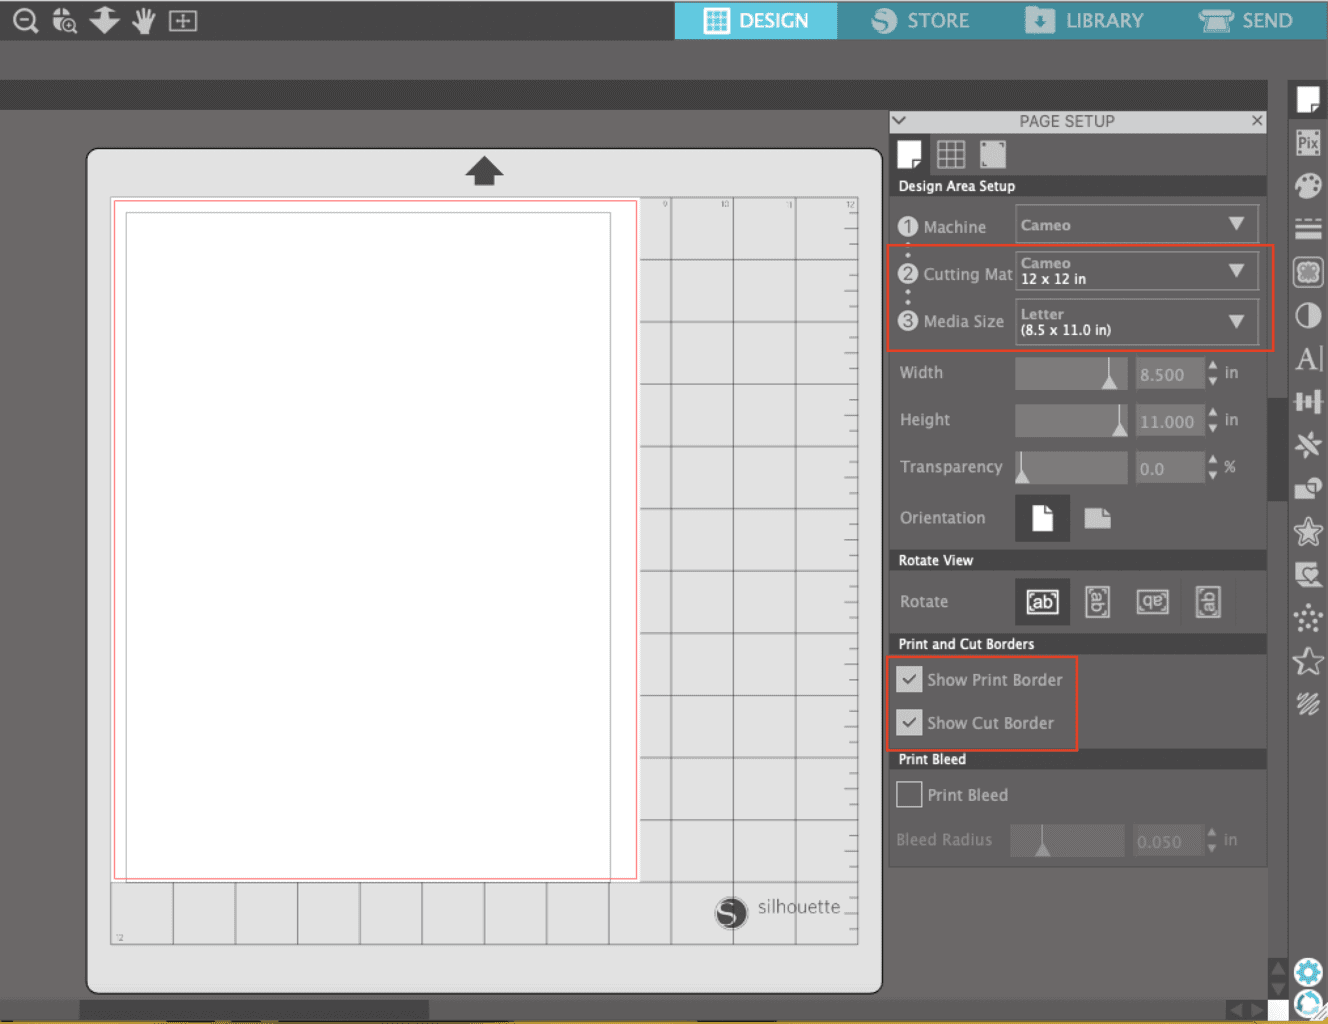
Click on “DESIGN” on the top and select a little paper icon on the right. Check that all your settings are correct – you have the cutting mat 12” by 12”, and your media size is letter (or any other size of paper you’ll be using to print out your stickers).
Your Silhouette Cameo automatically comes with a cutting mat that size, so don’t worry about that!
Make sure you also always select “show print border” and “show cut border” because your sticker designs will have to be inside these borders.
Next – choose the “registration mark” tab and click on the “registration marks” section.
This will show you registration marks that will need to be printed for future cutting. That way, you know how to position your designs so they don’t go over these lines.

Step 3: Design The Sticker Sheet
Time to upload your sticker designs! I prefer just to drag and drop my designs.
Once the design is there, you can move it around and resize it as you wish. I prefer to drop an already organized file, but you can also add designs one by one and organize and resize them.
When you click on the design, it shows you the size and allows you to change it, turn and move around. On the top panel, you can also just set the size you want in numbers.
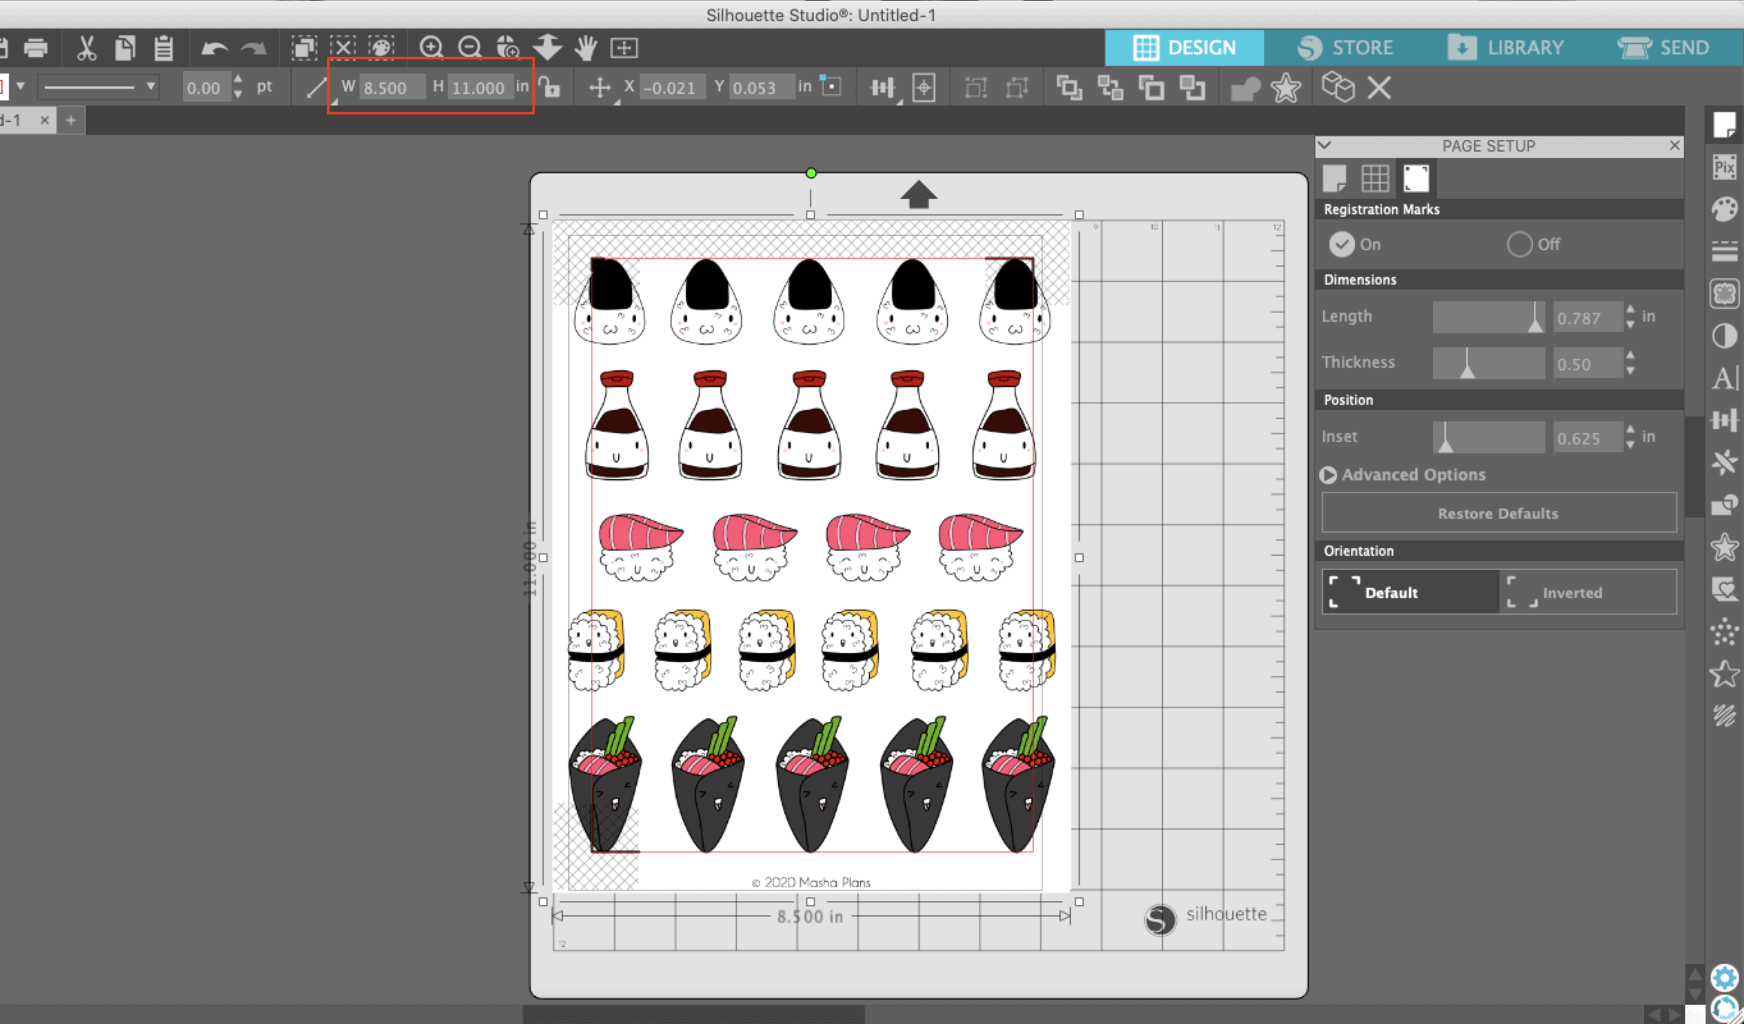
Be careful and make sure that your designs are within printing and cutting borders!
Time for the next step…
Step 4: Create Cutting Lines
You want the Silhouette machine to cut out each sticker one by one, so it’s time for the important step – setting the cutting borders.
It takes a few little steps, but it’s really not that complicated.
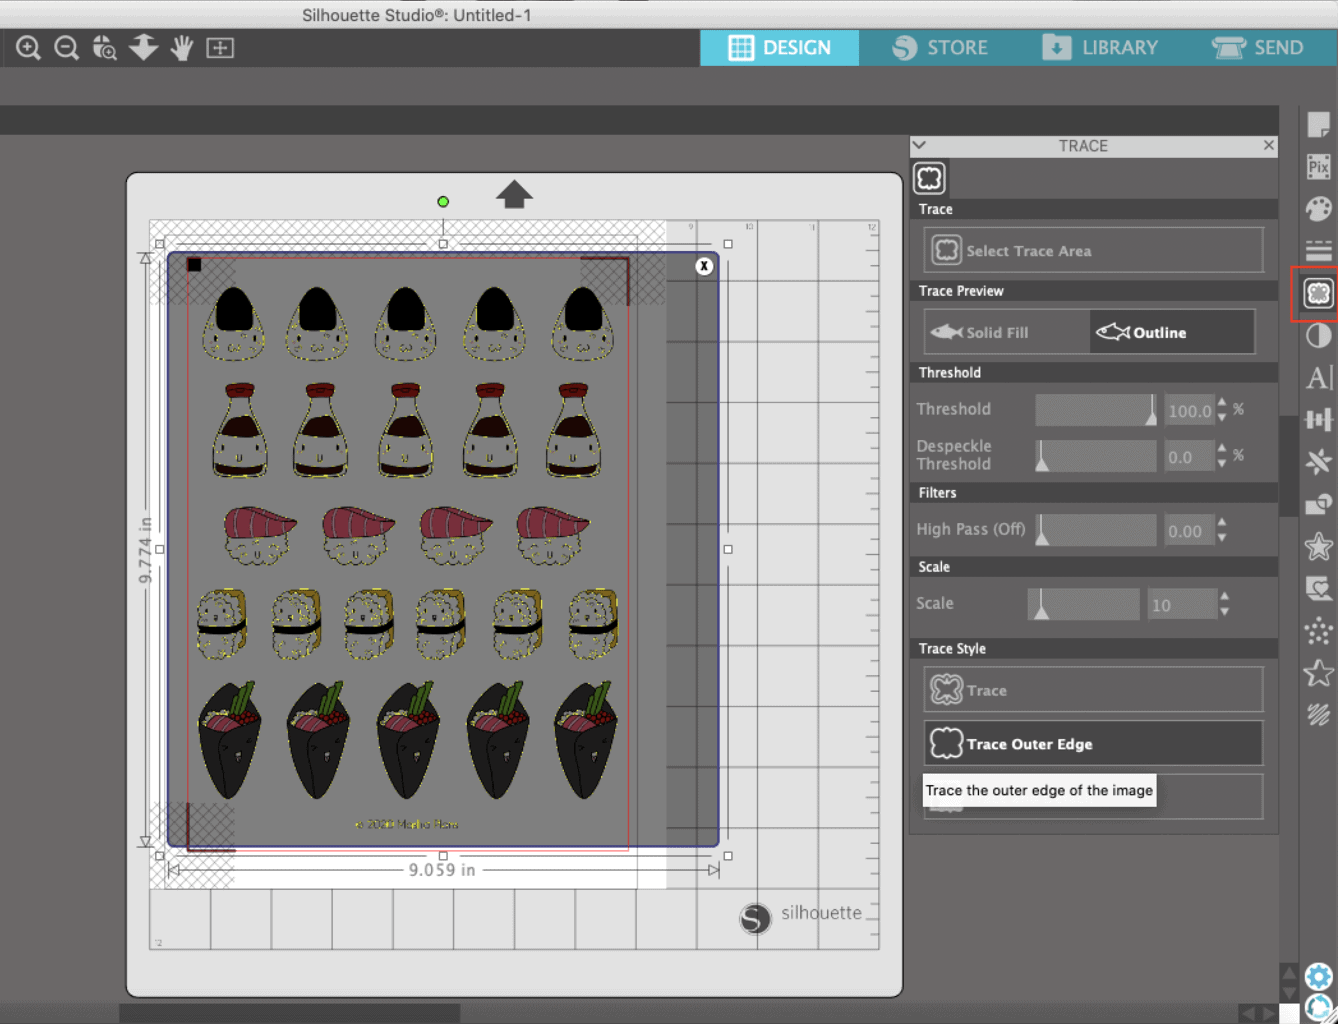
Start by opening the trace panel (fifth icon on the left) and choosing a select trace area.
After that, select an area with all your stickers. Once you change the settings to outline, threshold 100%, and trace outer edges.
This will create cut lines right around your stickers. Depending on how it went, you might want to clean up the lines a bit.
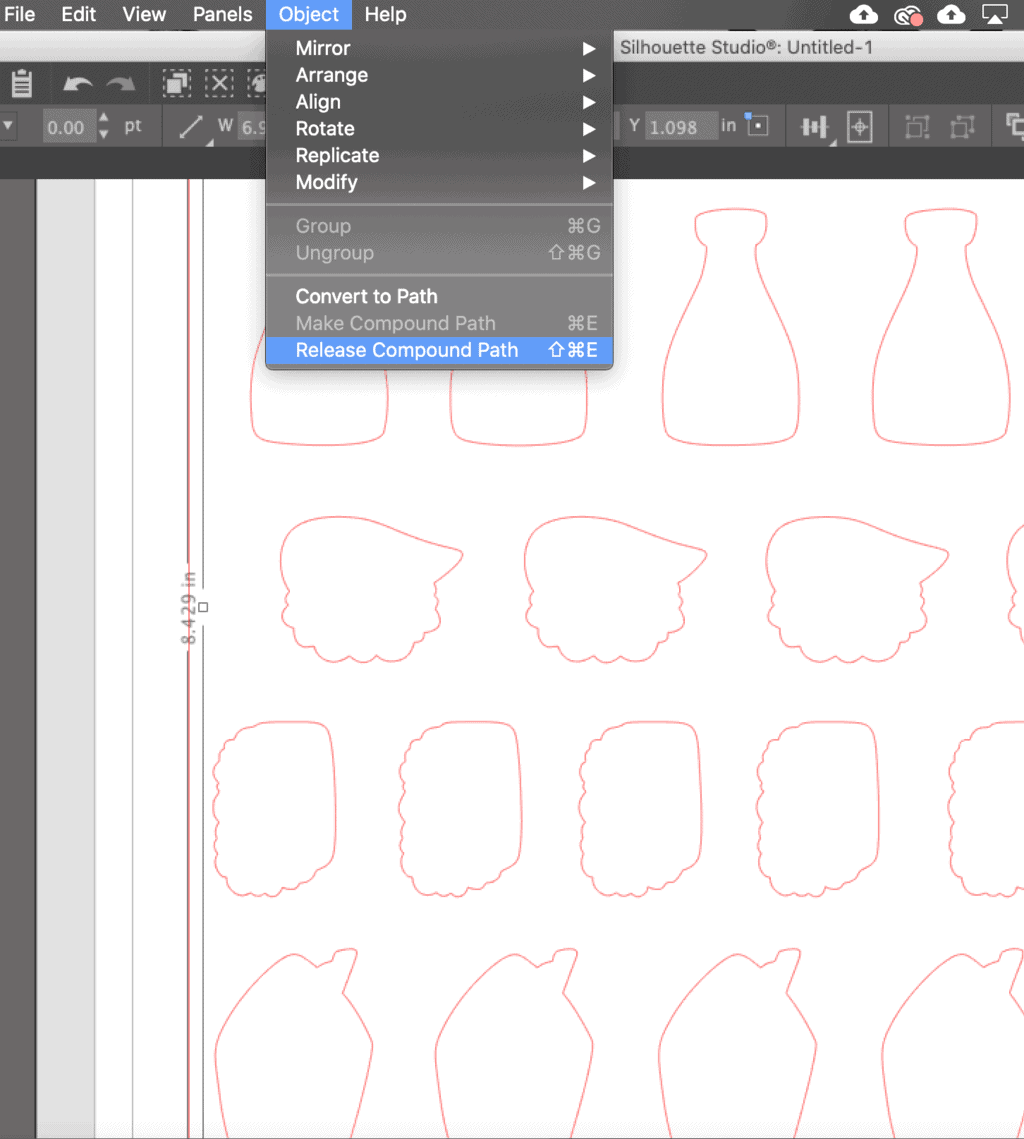
Move your stickers to the side, select the cut lines, and click object => release compound path.
This will separate cut lines so you can delete the ones you don’t like, like if they offer to cut off a circle inside your number 8, but you want it to stay.
If you want your lines to be cut right around your stickers – you’re done here. Just make sure you move your designs back inside the cutting lines.
Personally, though, I prefer having some white space around my stickers.
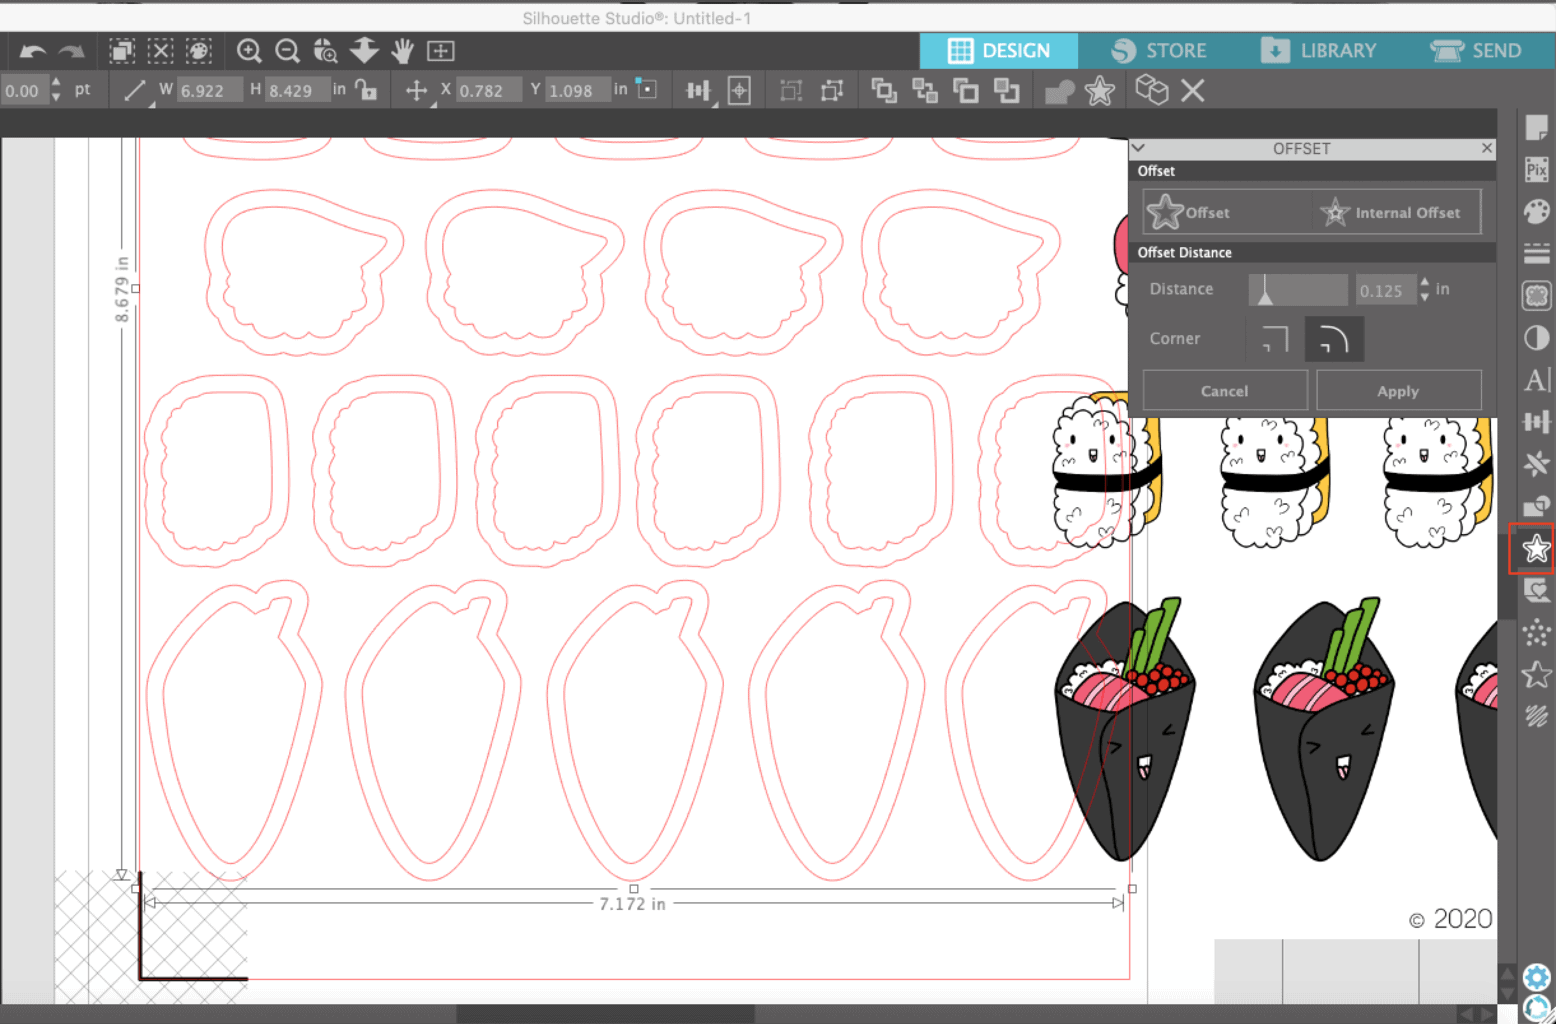
Select your cutting lines, click “open offset panel” (the fifth icon from the bottom on the left), and click offset.
Now you can see secondary cutting lines and use the offset menu to control how much space you want to have and what kind of corners you prefer. I usually go for rounded corners and a distance 0.05 inches.
Are you happy with the result? Well, now delete the cut lines inside and move your stickers back in.
TIP: If you choose to just upload one design and create multiple copies of it inside Silhouette Studio, just do this whole process with this one design before you organize your stickers.
That way, later on, you’ll just need to copy-paste them already with the lines done.
Once you’re happy with the way it looks – time to print!
Step 5: Print the stickers
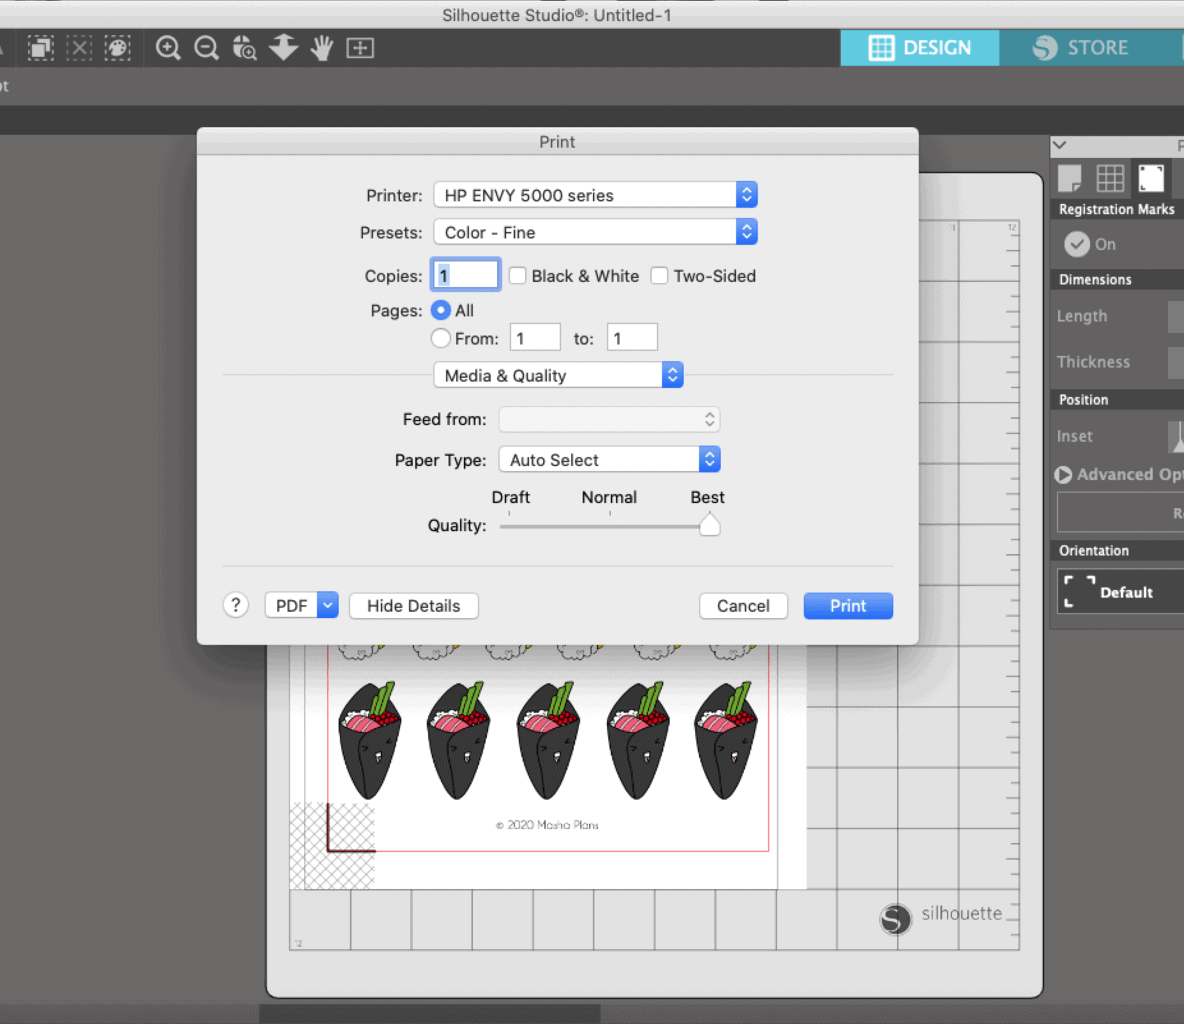
This is pretty simple, click the printer icon at the top left corner and send your design to printing.
Make sure you select the best quality color printing so the stickers look bright and the lines for cutting stand out and are easily seen by the Silhouette machine.
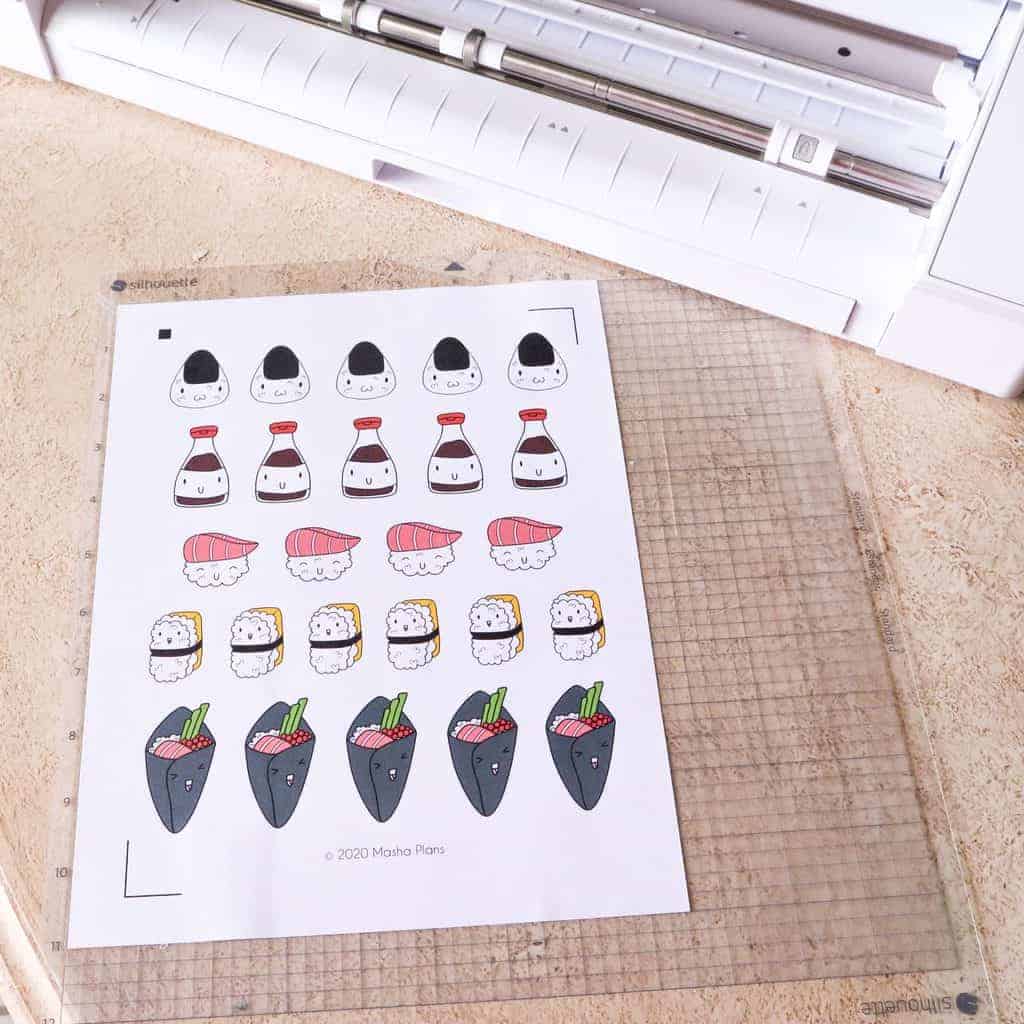
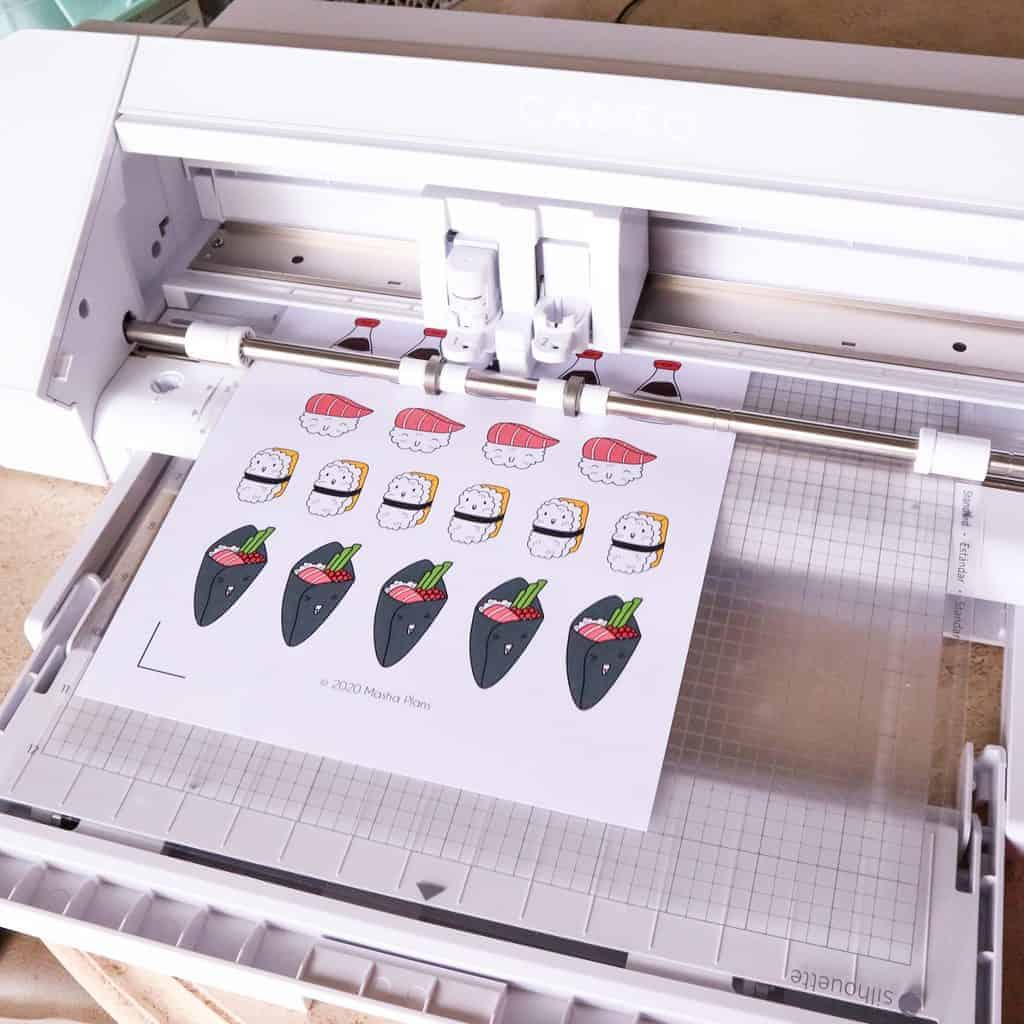
Step 6: Upload The Paper To Silhouette
Now that you printed your sticker sheet and are happy with it – time to add it to your Silhouette machine.
To begin with – stick it to your printing mat. Make sure that you added it exactly the same way it looks in Silhouette studio – that way, all the marks your Silhouette must read are in the right place.
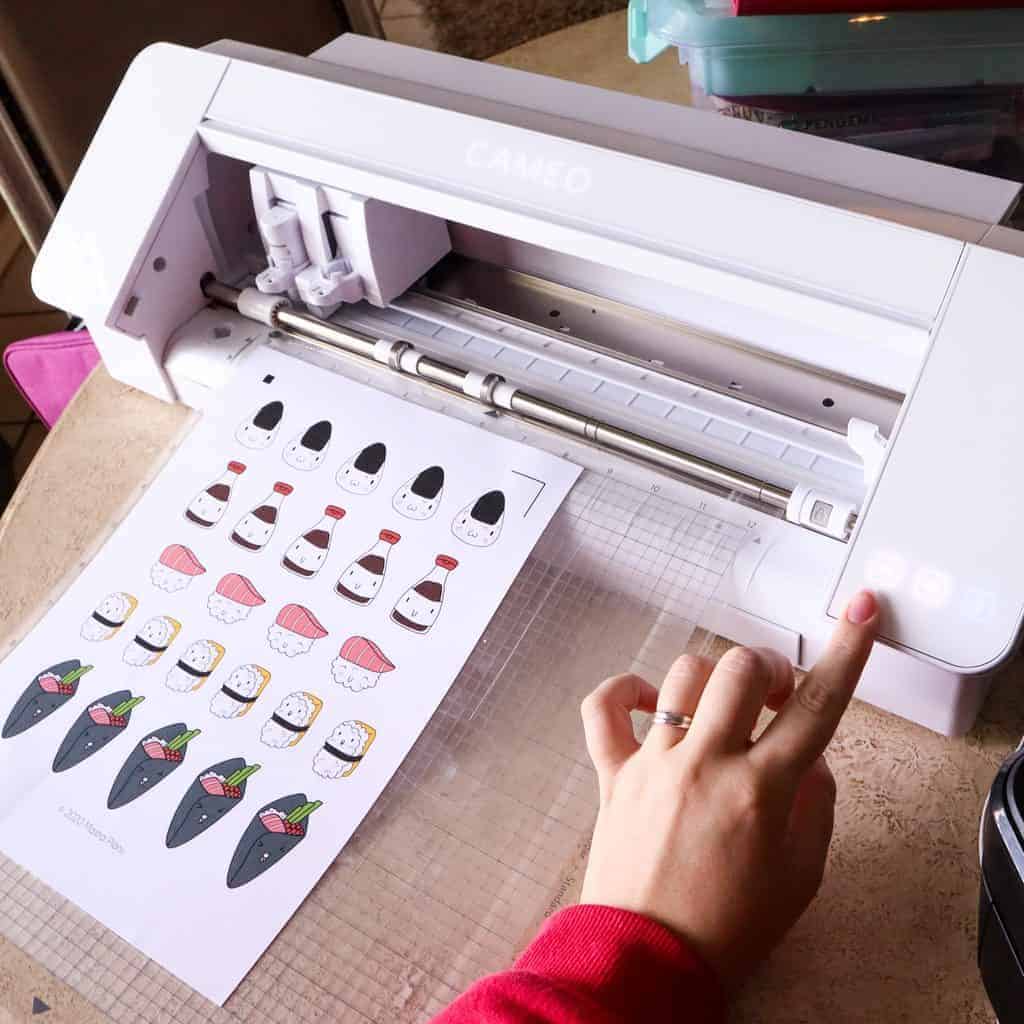
Next – open your Silhouette Cameo and place the mat inside.
Push the up button for the machine to secure the mat.
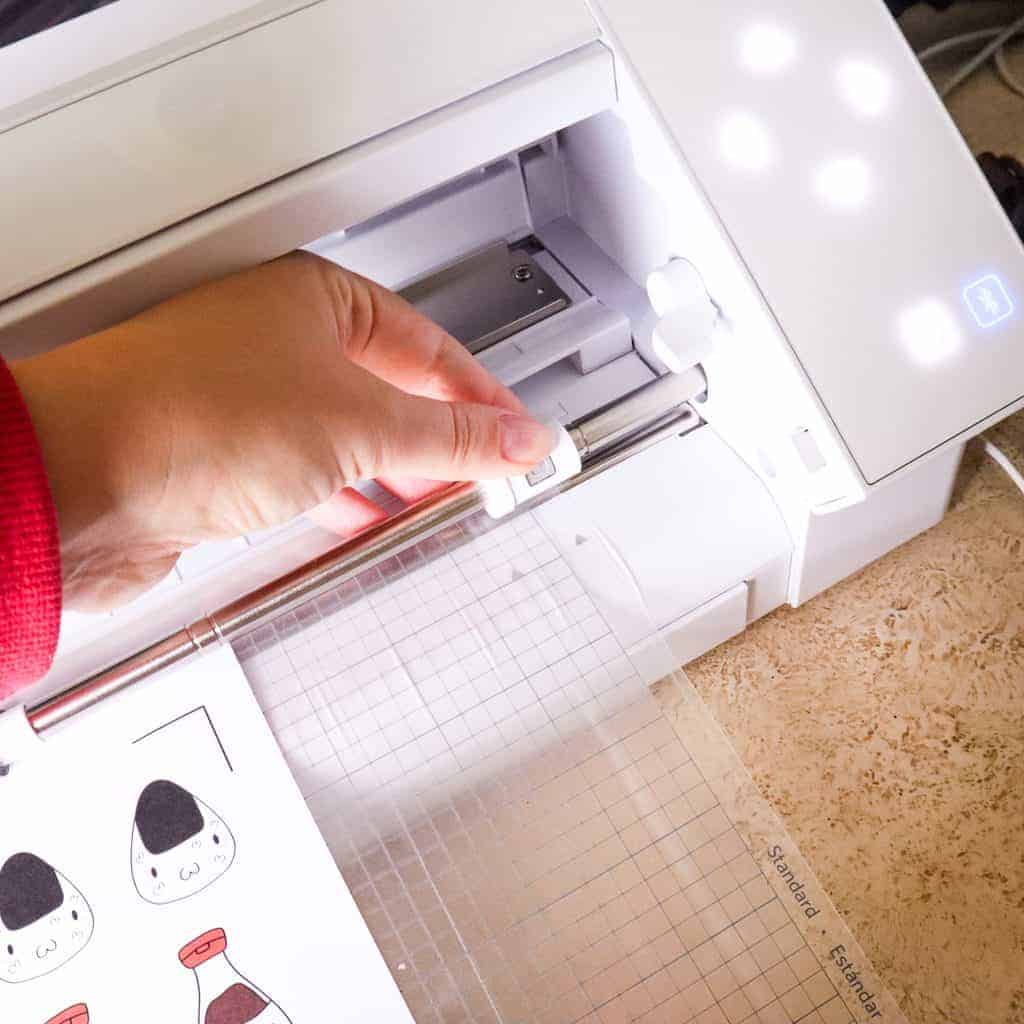
Make sure that your mat is held from both sides. If needed, you can move the right roller closer to the middle, so it surely holds that side of the mat.
To do that, put the little inner handle on the right down, then use a grey lock button on the roller to move it around.
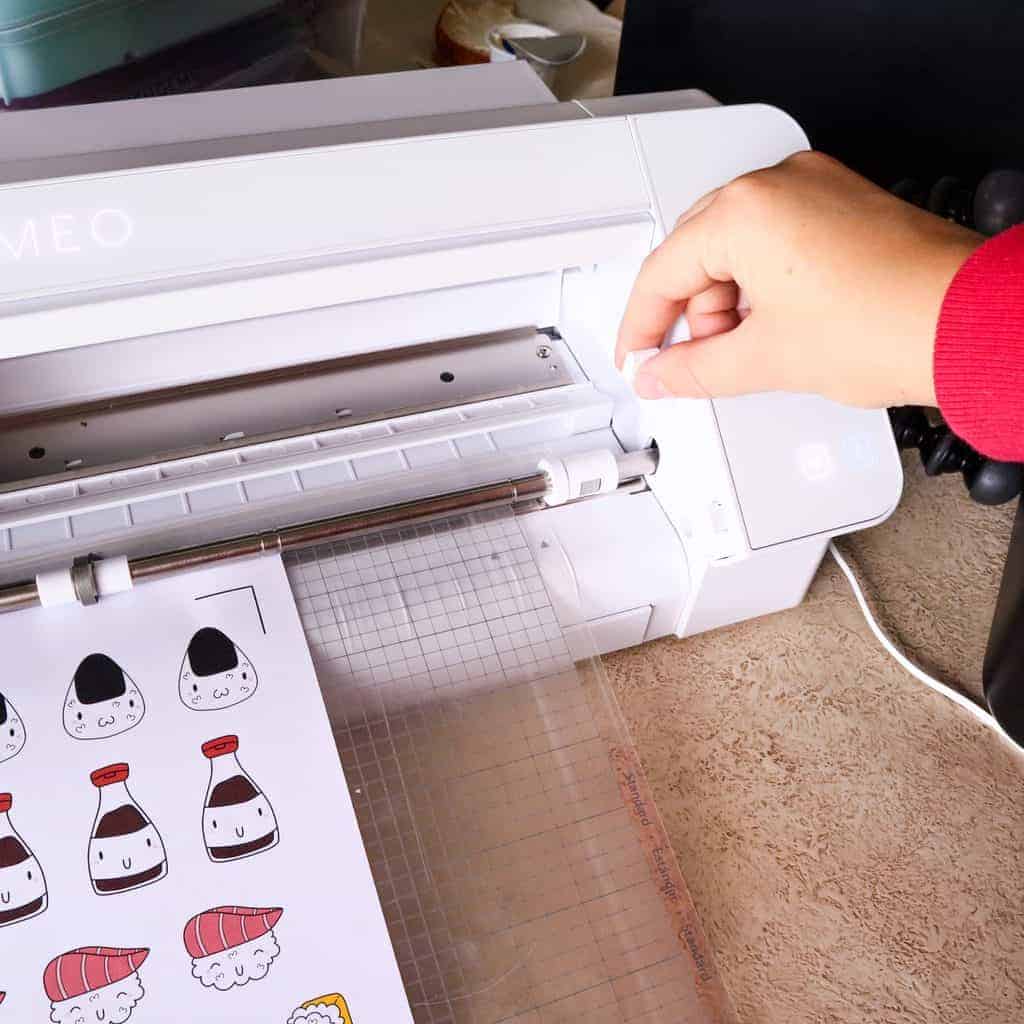
Once you’re done, make sure your mat is secure and held properly.
In case you wonder why I’m so detailed on this – I didn’t secure the mat the first time I tried to print stickers, and it went… a little caca.
Step 7: Set Cutting Settings
Before you actually start cutting, you need to check your cutting settings.
Silhouette Cameo 4 comes with an auto blade, and these are the settings that worked for me. If you‘re using a different blade, you might switch it around accordingly.
Click to “SEND” on the top right corner, and you’ll see the settings menu for the blade.
Usually, for cutting on my Office Labels sticker paper, I have settings like this: blade 2, force 10, speed 8. If I want to cut it out completely, I would recommend these settings: blade 5, force 14, speed 8.
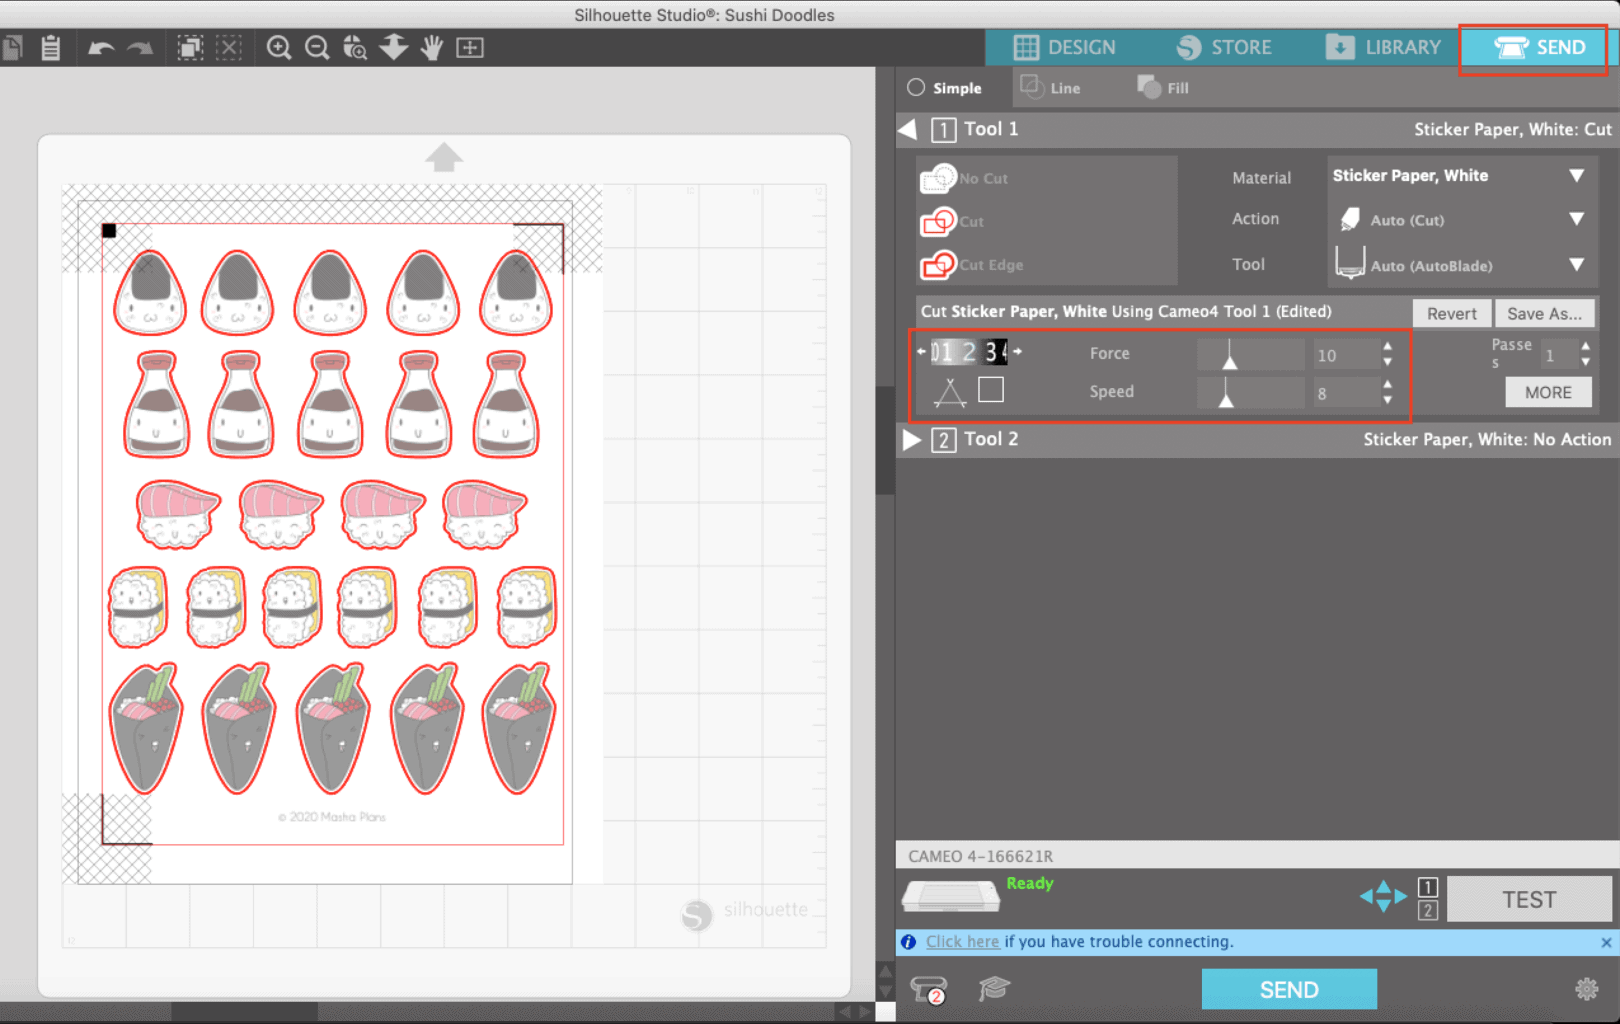
The click tests to make sure your machine is working ok, and once it’s confirmed – send it to cutting!
Be sure that Silhouette has enough space in front and behind the machine for the mat to move.
I also like to pull out the feeder tray when I print if I don’t have enough space in front of my Silhouette Cameo; that way, it provides extra support for the mat.
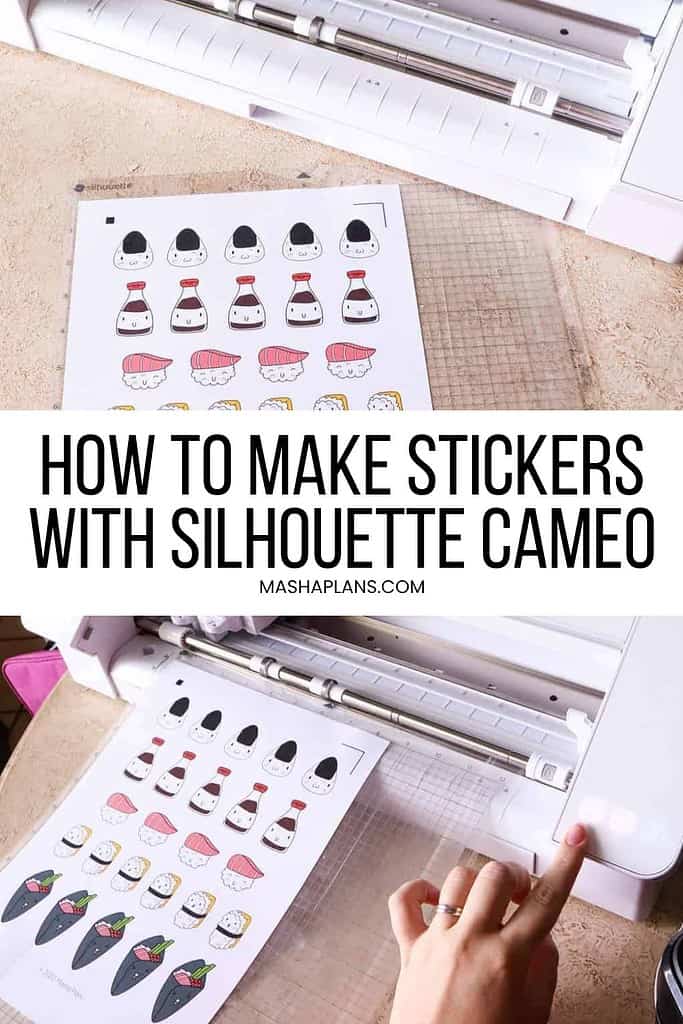
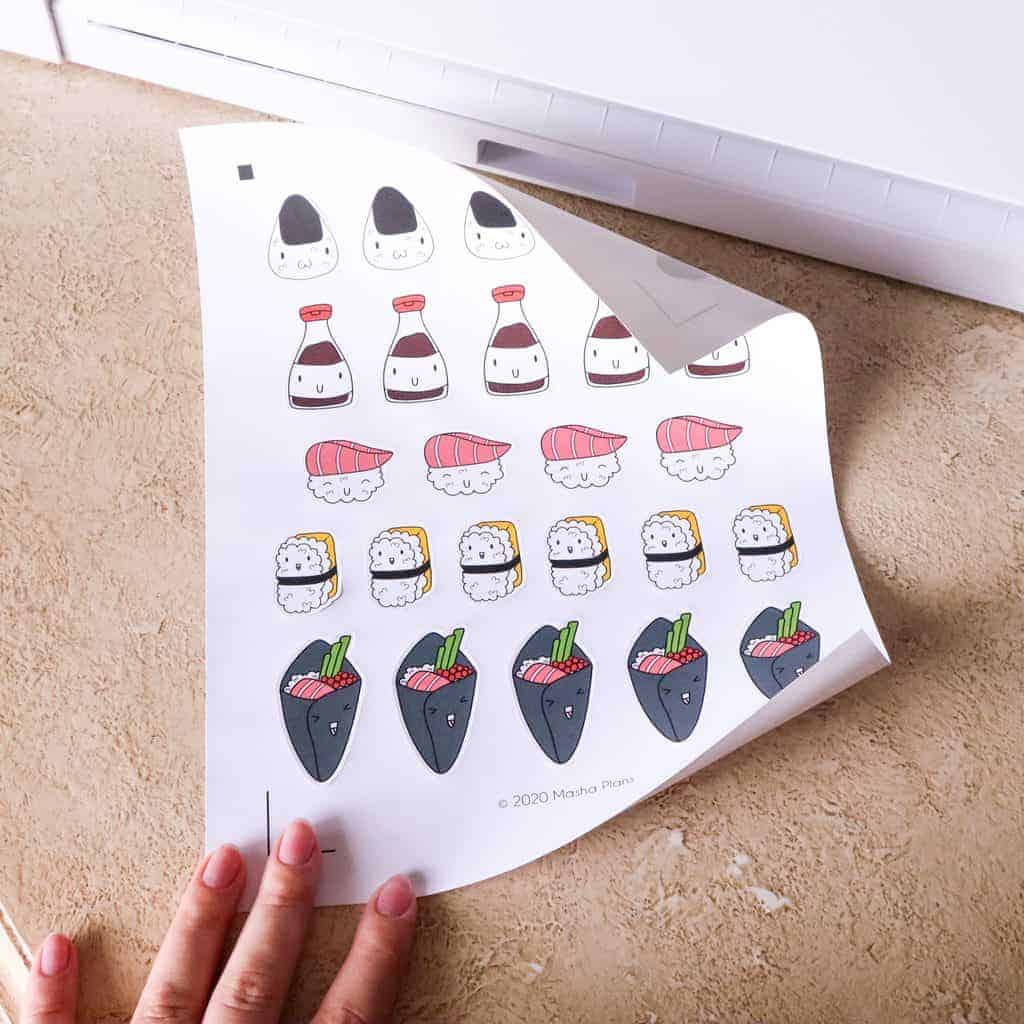
A few minutes of crazy, scary, and loud noises and your stickers are done! Take your cutting mat out and carefully remove the sticker sheet from it.
It can curl a bit after that but don’t worry – put it between some planners, and they will get straight in no time.
Sticker Making Supplies
Now that you know how to create stickers, let’s talk about a few supplies you’ll need to make it all happen smoothly.
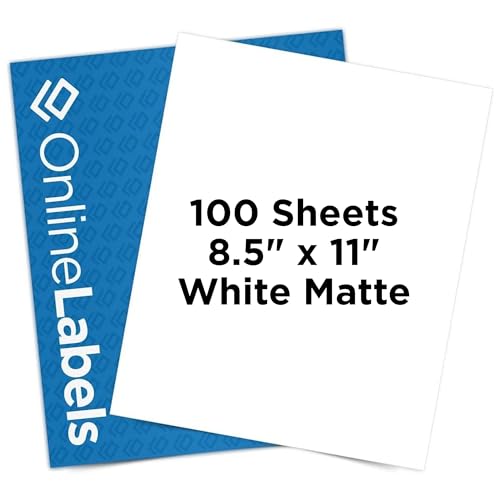
- Sticker paper
I prefer Online Labels sticker paper because they are of good quality and very affordable. I made so many mistakes, and it took so much testing for me to figure things out (non-tech person here btw) that I’d have been devastated if I had used some expensive premium paper!
If you want to go premium – I loved using sticker paper from Silhouette themselves, as well as Avery sticker paper.
- Printer
Choosing a printer proved to be more tricky. I had to do a lot of research, but I ended up getting an HP Envy 5055. It provides me with a pretty decent-quality print without tanking my budget. All in all, it’s a great printer for beginners!
I know Canon printers are very recommended for sticker printing, but if you have a Mac, here’s a fair warning – you might have a lot of limitations with drivers. Ever since Mac updated to Catalina, it just doesn’t work properly with Canon printers.
For extra high quality, you can also check Epson printers; they come highly recommended online and are probably the ones I’ll get when I decide to upgrade. Epson EcoTank ET-2803 is the one that came very highly recommended by my fellow printables-using creators.
But for the time being, I’m pretty happy with my HP, though, and if you live in the USA and you’re eligible for their ink replacement program – buying cartridges won’t be that expensive at all!
- Computer
This is quite an obvious one, but you do need a computer to work with designing your stickers (check part 1), as well as preparing them for your Silhouette machine.
Not that you asked, but I’m using a MacBook Pro 13”, and after a lot of trial and error, I realized that for design and creating work, Apple products are just better suited for me.
- Cutting machine
As I mentioned before, there are several brands out there, but today we are talking about Silhouette Cameo 4, the one I have.
- Extra tools
To be honest, these are all the supplies you need. But there are a few more extra items that I found very useful when it comes to sticker making.
Cricut Rubber Roller – this is a great tool that will help you ensure that your paper sticks to the cutting mat and you don’t have any of your hand prints on your stickers.
Silhouette Tool Kit – a few amazing tools that will help you with sticker making and other craft projects.


Free Printable Bullet Journal Stickers
Now that you have mastered your Silhouette sticker basics, let me just guide you towards some places where you can get free stickers to print.
Ok, first, of course, you can design them yourself. Believe me, it’s such fun, and it’s a great way to actually get something that you need specifically!
For one of my weeklies, I printed out stickers with specific dates and in specific fonts, which I liked for the theme. The weekly is below, I love how it turned out, and it took me just 30 minutes to set it all up!
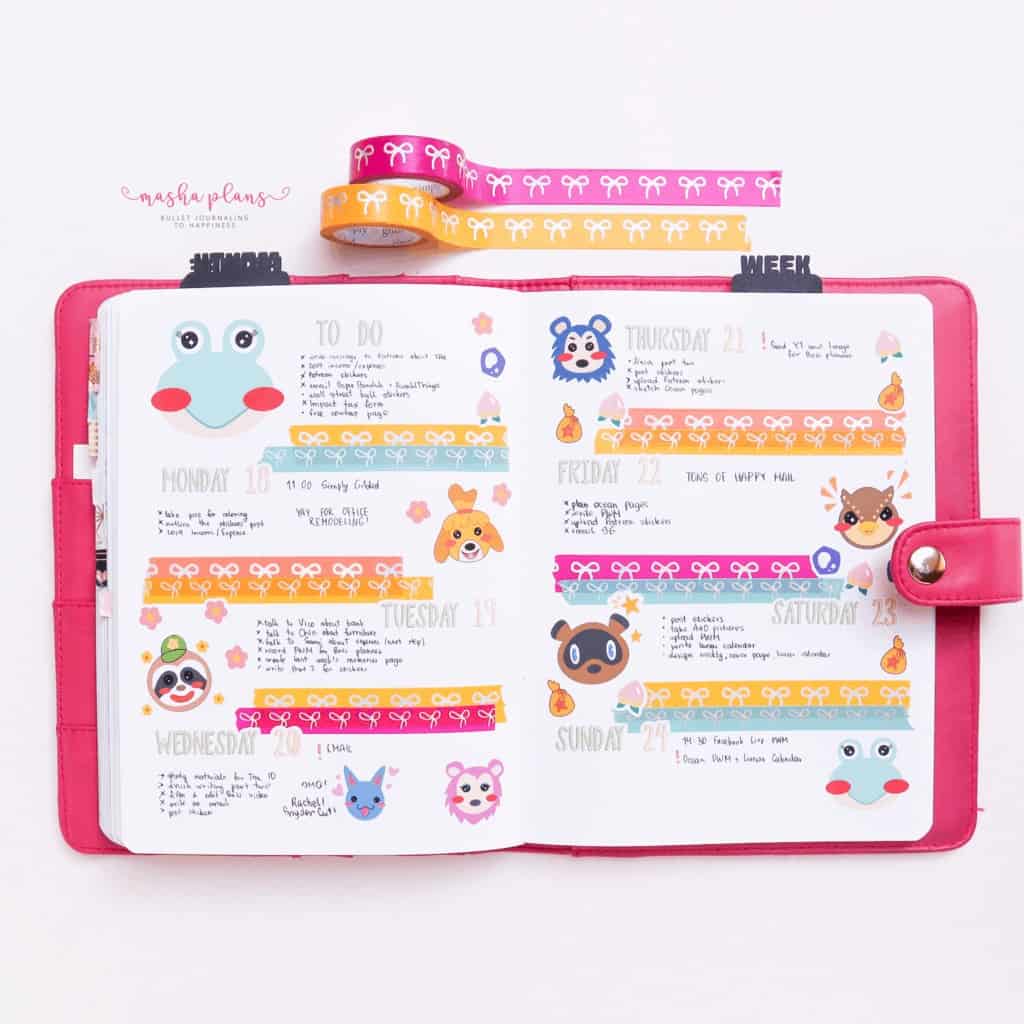
So yeah, designing your own stickers is useful, fun, and good for your wallet!
However, if you’re not really too into the designing part or looking for something quick to start with – I’ve got you covered with some freebies.
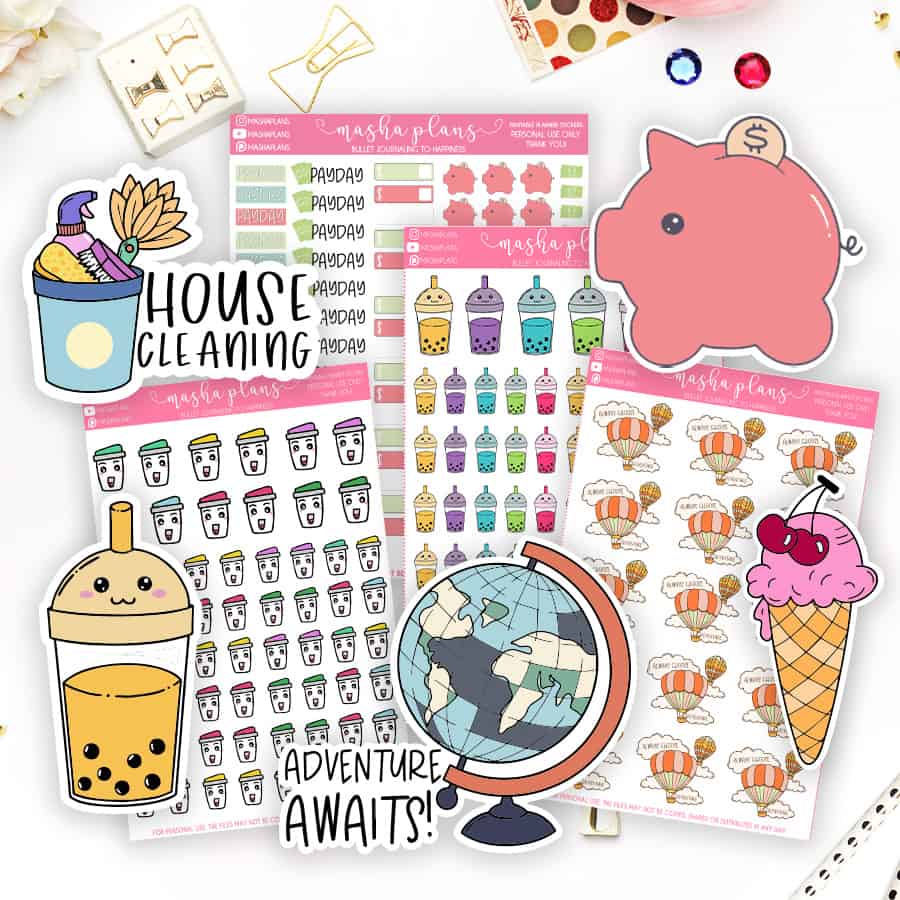
Looking for free printable stickers – check our Resources Vault! We have tons of different-themed stickers there.
All the stickers in the Resources Vault are in PDF format, so if you want to use them with your Silhouette machine, be sure to change their format to PNG or JPEG first. You can use an online free converter like this one.
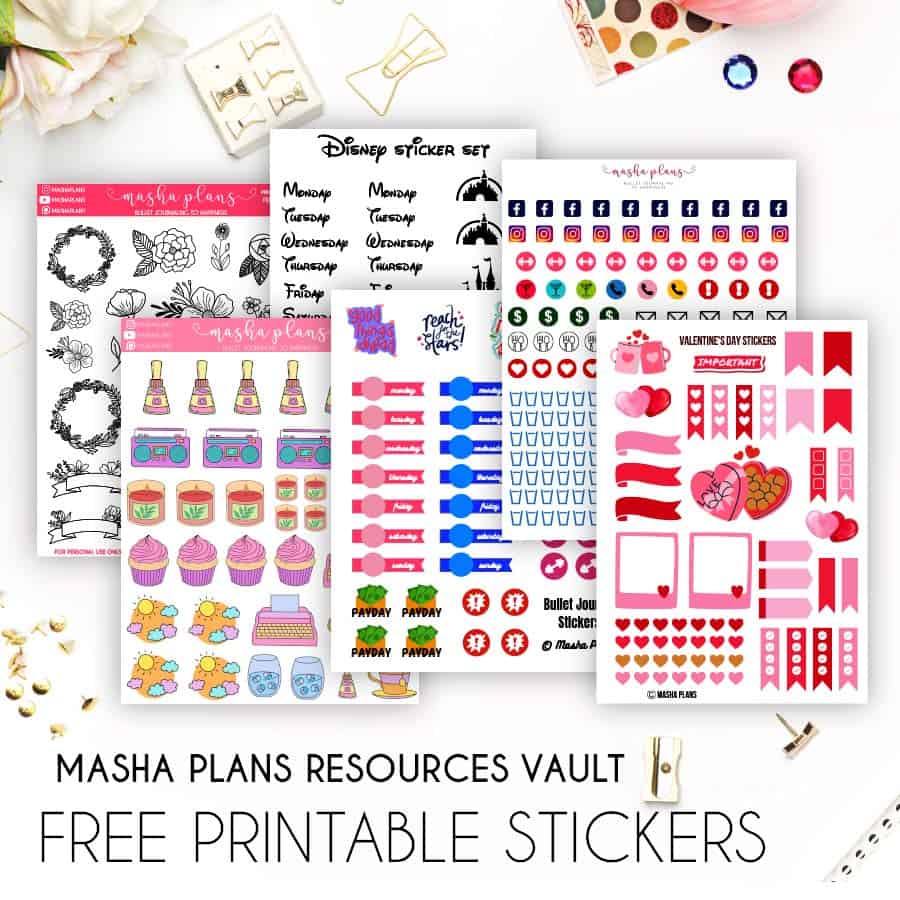
If you don’t have access to the Resources Vault yet, you can simply sign up in the form below and get access to all stickers, as well as 100+ Bullet Journal printables.
In case you want more, I have a shop where I sell tons of printables for your Bullet Journal, including, of course, stickers, both functional and decorative.
It comes with all the files you need to print and cut with your Silhouette machine.
Are you making stickers at home? What other stickers would you like to see in our Resources Vault?
Let me know in the comments!
More Resources
There are many more resources on how to make stickers and generally free printable stickers you can start with.
So here are a few blog posts for you to check next:
- How To Make Printable Stickers For Your Bullet Journal, Planner And More
- Making Planner Stickers – free course from Creative Fabrica
- Free Printable Flower Stickers
- Free Printable Stickers For Your Bullet Journal Or Planner
Hope this post was interesting; if you find it so, please share! If you enjoy my content and want to show your appreciation, please consider supporting me with a cup of coffee.
And always remember! Keep Bullet Journaling, and don’t be a Blob!


I absolutely loved this tutorial, Masha! It’s so clear and easy to follow. I can’t wait to try making my own stickers with my Silhouette Cameo. Thank you for sharing these tips!
Thank you, so happy to hear you found it useful! Enjoy your creative process =)
I just purchased a Silhouette Cameo 5 thanks to your walkthrough, I had a Cricut but it just wasn’t cutting it, pun intended! Thank you for taking the time to post this, it’s so very helpful!
So glad you foudn it useful! Enjoy your Silhouette =)
I’m totally hooked on making my own stickers using my Silhouette Cameo now! Your tutorial was so easy to follow and the end result turned out amazing. I love how customizable it is and I can use it for all my crafts and DIY projects.
Thanks, I’m glad you found this tutorial useful =)
I am starting a project to create frog stickers and found your blog. Super helpful! Thank you for taking the time to write out the process!
Thank you for leaving this comment! I’m so happy this post was useful, enjoy creating your frog stickers, they sound super cute!