17 Easy Dot Journal Weekly Layout Inspirations
A great Bullet Journal weekly spread is the key to a productive week. It’s the one part of your journal you’ll use every single day, so it’s important to find a setup that truly works for you.
I remember spending so much time trying to perfect my layouts, and I know how easy it is to fall into a creative rut. That’s why I’m so excited to share some fresh ideas with you today!
This post is packed with inspiration to help you design your next dot journal weekly layout. We’ll explore different styles and layout ideas to help you create a spread that is both beautiful and perfectly functional for your life.
Weekly spreads are what I can work with in your journal. This is where all the magic happens, and you turn your days into something productive and well-organized.
At the same time, just because it is a functional layout doesn’t mean it can’t be fun and creative. In fact, often I find that when I have a cute weekly spread that I really like, I’m more likely to use the layout more, making me actually accomplish more as the week goes.
There are several different formats and even more ways to decorate your layouts, so let’s dive in and see how you can create weekly layouts that inspire you every day.
Oh, and be sure you scroll until the end to get your FREE printable weekly spreads and more that will help you start planning right away.
This post may contain affiliate links. They will be of no extra expense for you, but I receive a small credit. Please see my Disclosure for more details. Thank you for supporting Masha Plans!
Stationery Recommendations
But first, let’s talk about stationery since you’ll obviously need some for creating your weekly spreads.
So here are a few of my favorites that I’m sure you’ll love and find useful as well.
- Fineliners. These are the basics for every Bullet Journal page, perfect for drawing and doodling. I recommend Sakura Pigma Micron, which also comes in a set with different nib sizes, allowing you a variety of line thicknesses.
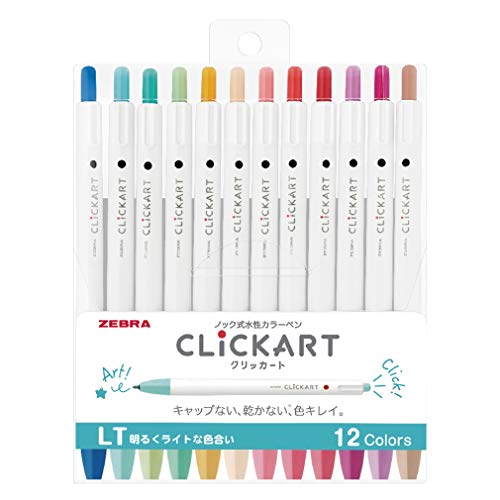
- Markers. If you want to add color to your pages, you’ll need some markers. Your choice will depend on what colors you like. My top choices are Zebra Mildliners and Tombow Twin Tone.
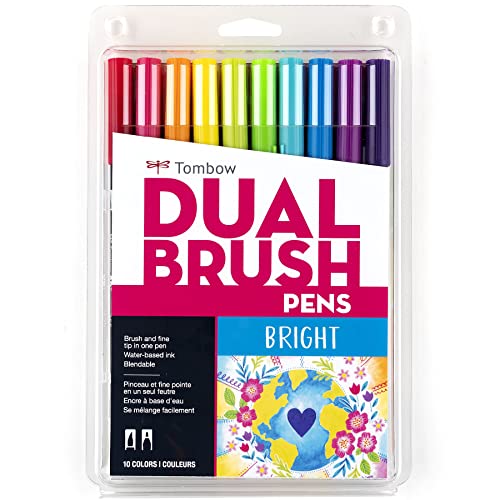
- Brush pens. To add beautiful brush lettering to your weekly spreads, you need a good set of brush pens. I recommend Tombow Fudensuke since they are smaller tips and pretty easy to master. If you’re looking for a larger brush pen and something with tons of colors, you can’t go wrong with Tombow Dual Brush Pens.
- Stencils. These little helpers are great to allow you to set up your weekly spreads faster. I recommend these weekly spread stencils that are built specifically for your weekly pages.

Ok, with all your supplies ready, let’s look at a few of Bullet Journal weekly spreads that I’m sure will inspire you to create something that fits your needs and style.
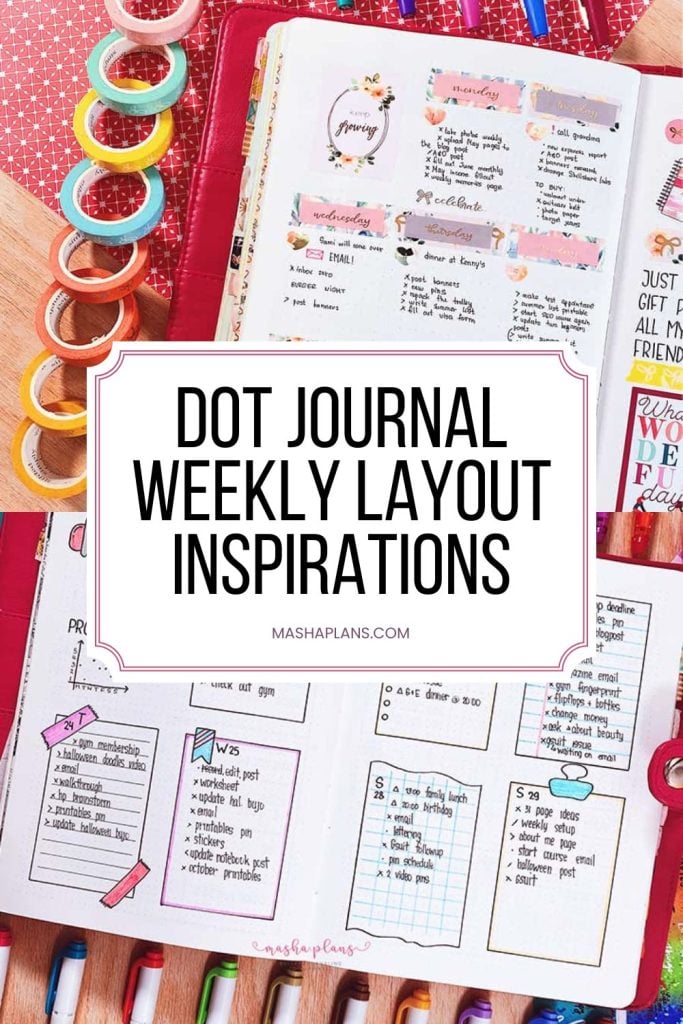
Dot Journal Weekly Layout Inspirations
There is a lot you can do with your weekly layouts, and to keep it easier and more organized, I divided them into different formats.
I always recommend trying different things until you find something that works for you, and keeping your mind open – something that works for one week might not really work for another week, so be flexible.
Let’s dive in and start with my favorite format!
Vertical Bullet Journal Weekly Spread
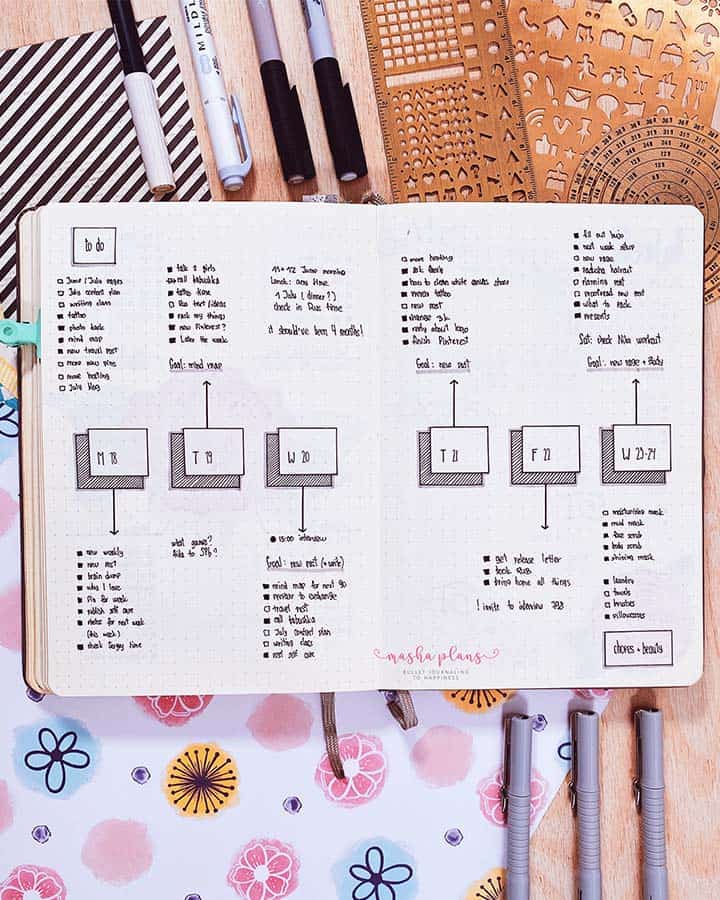
Vertical layout means you have the daily boxes arranged vertically, as the name suggests.
I like this format the most because it allows me to nearly add a column to your tasks, and that way it is easier for me to see when things are getting crossed out.

This is also the easiest format you can think of to create, because all you really need to do is divide each page into four, and you have space for seven days of the week and one area for anything extra you might need.
If you’re looking for a more minimal design, here is another idea. It looks a little bit disorganized, but it actually gives even more space to plan and add anything extra you need from your weekly layout.
Plus, being minimal and in black and white, it barely took any time to set up.
There is definitely a lot of customization you can do with your weekly layouts. This is, for example, a vertical format, but I made the daily boxes smaller so there is more space for anything extra I want to add, plus a bit of decorative drawing.
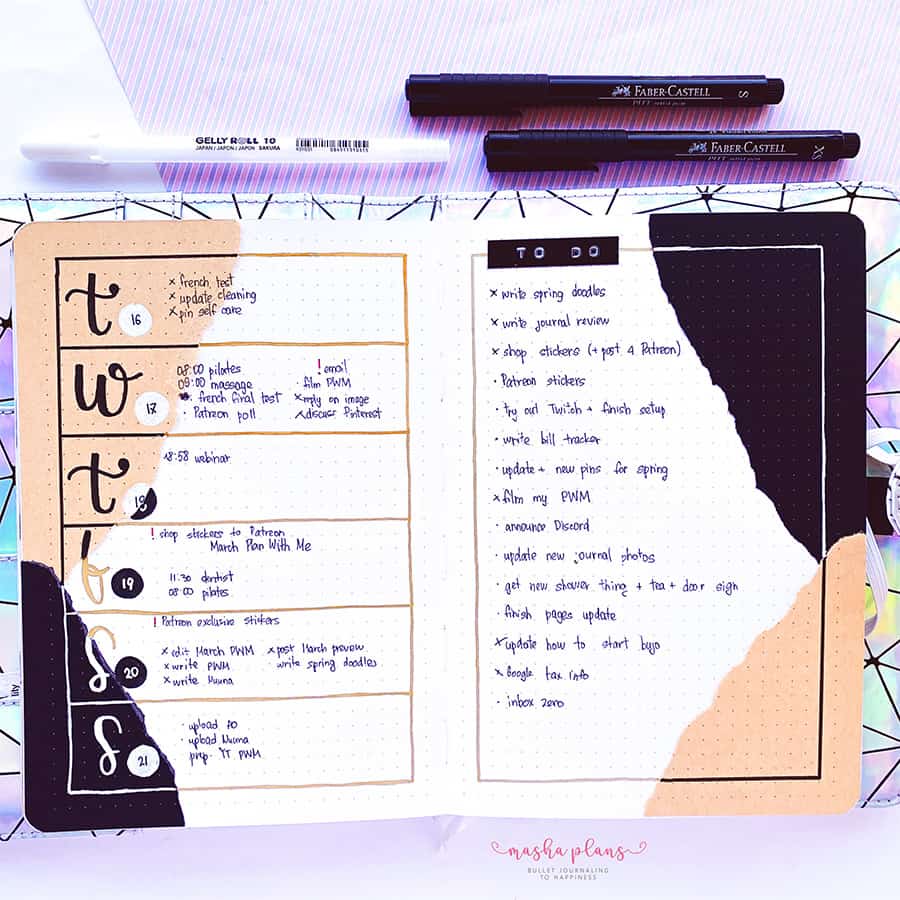
Another way to create your vertical weekly layout is to narrow the boxes and make them longer rather than wider. I find that since I try to follow the bullet point format and make the task list as easy and straightforward as possible, this format works very well.

Your weekly log doesn’t have to be anything complicated and elaborate. First and foremost, it has to be a layout that will help you plan.
So if you just add a few headers to your sections, it is enough. I also added grey marker details to make it look cuter. Andi, in the end, this layout took me maybe 5-10 minutes to create.

This coffee-themed weekly log is one of my favorites, also because this was one of my favorite themes I’ve created in my journal.
The longer boxes allow you to add more information, be it a longer task list, or maybe a focus for the day, or a little gratitude. Or maybe something that happened or something you’re proud of, like I did here.
Horizontal Weekly Bullet Journal Layout
As the name implies, this format implies that the daily boxes are horizontal, so instead of stacking your tasks in a column, you write them next to each other.
It’s a fun format to play around with, and you also get a lot of ways to customize it. So here are a few ideas.
One of the things I love about horizontal format is that you get almost more space for anything extra you want to add, like your trackers or maybe a list of things to do for the next week.

If you have a horizontal layout and too much space, you can always use it to add more doodles or put your sticker collection to good use. Alternatively, you can start incorporating useful daily practices like daily gratitude or even a little bit of journaling.

This weekly layout is also a great example of how to fix your mistakes. Can you guess what I did wrong here?
I didn’t notice how, on my first daily header, I continue to write “to do” instead of the day of the week. And as a result, I went with a different header style.

Another approach to horizontal weekly is to have one half of the layout for your day-to-day planning and another one for all the extra things you need.
In this case, on the right side, I wrote something that is the most important and a priority for me that day.
Here is another example of the same approach. This time, on the right side, I created a big to-do list for the week, and then every day I picked tasks from the list to assign.
This format works very well when the week is busy and you need to put all the tasks on paper right away, so you can organize yourself better.
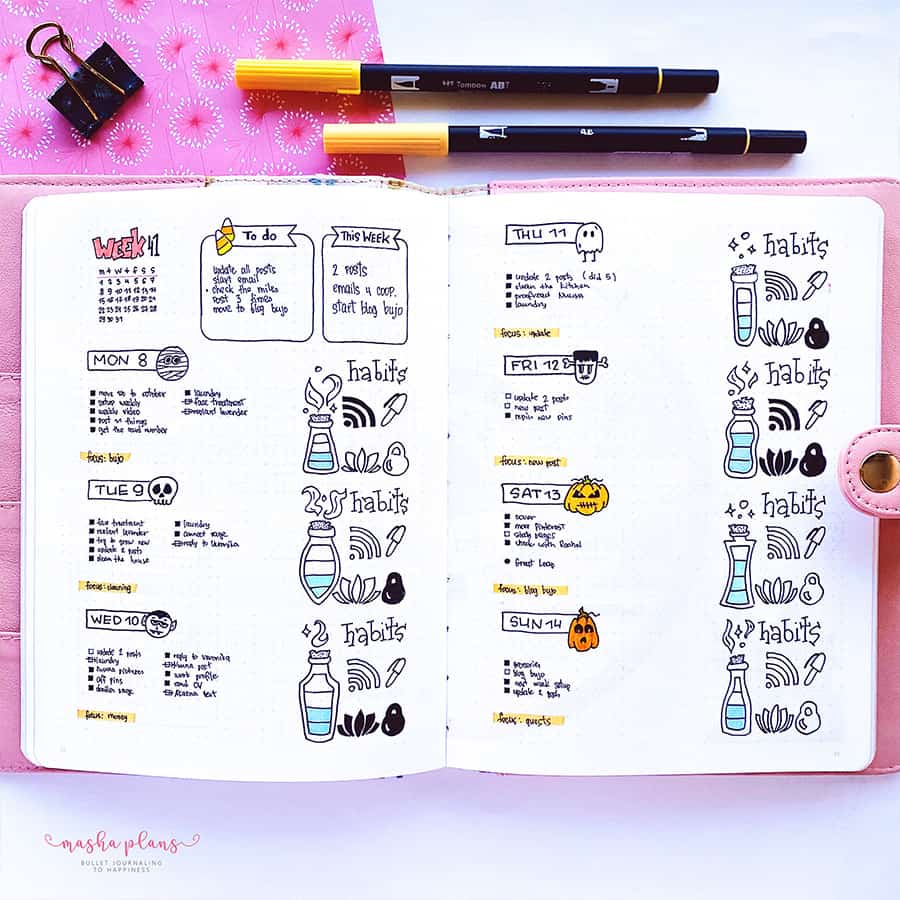
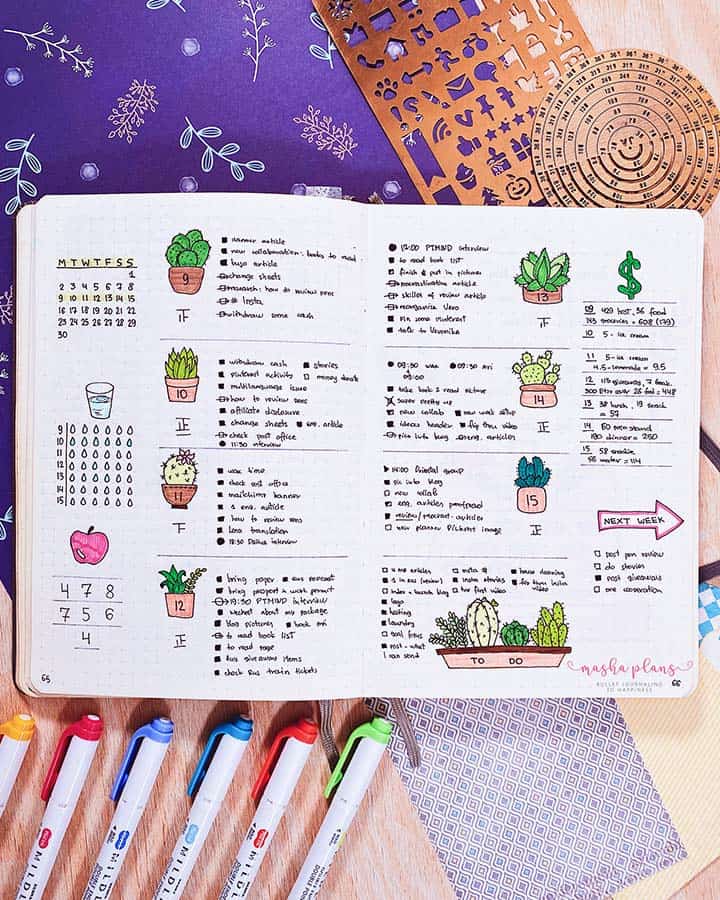
Finally, if you want to be extra with your weekly spreads like I was that week, you can add elements like trackers to your layout. As you can see, I added a water tracker and a habit tracker to every daily box.
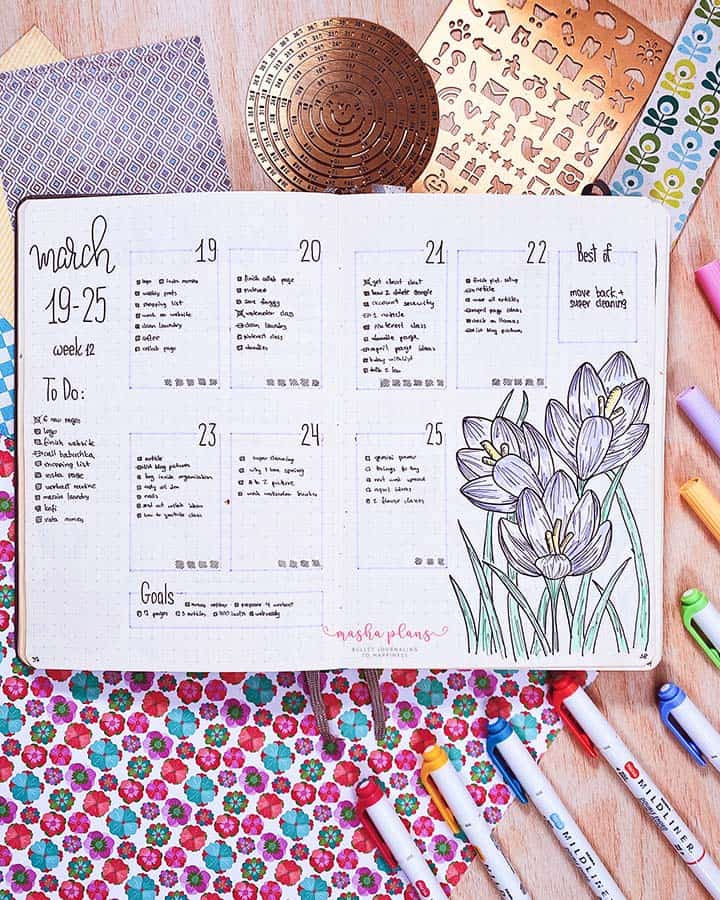
One Page Weekly Bullet Journal Pages
This is probably my favorite format of weekly spreads – this is when you plan your entire week on just one page instead of the usual two.
This works very well if you have a larger size journal, like a B5 or a square journal, instead of a traditional A5.
I find that it also works very well when you have a less busy week, or vice versa, when you need a quick layout without worrying about decorating it.
So, here are a few of my favorite one-page weekly layouts.
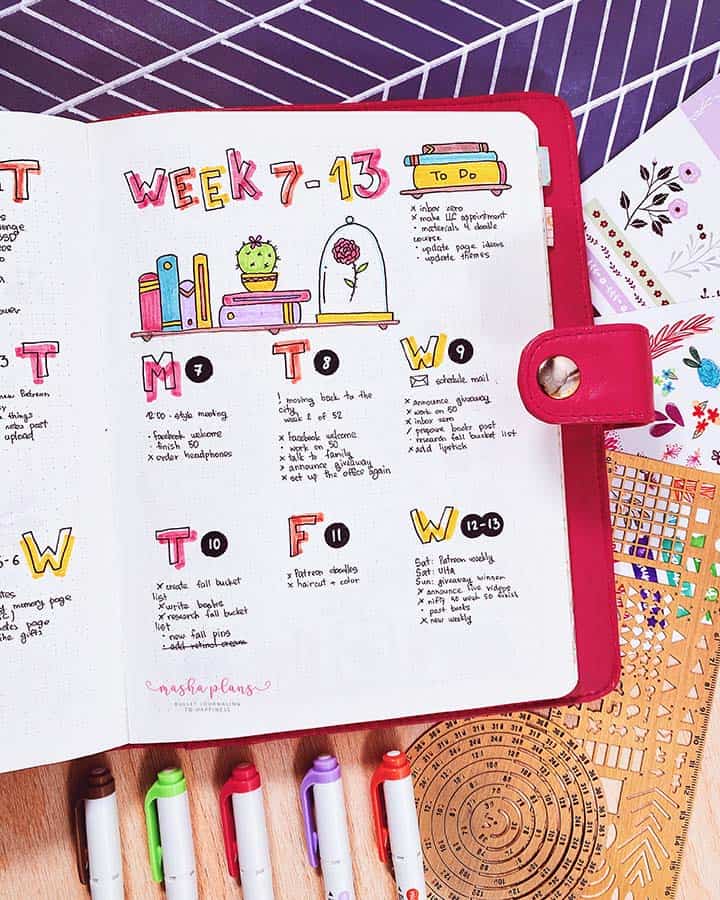
This was a book-themed Bullet Journal setup, and as you can see, this layout allowed me to plan the whole week as well as add plenty of decorative elements.
This was made in my Nuuna journal, which has a bit larger pages and a smaller dot grid, making it easier to fit more things on just one page.

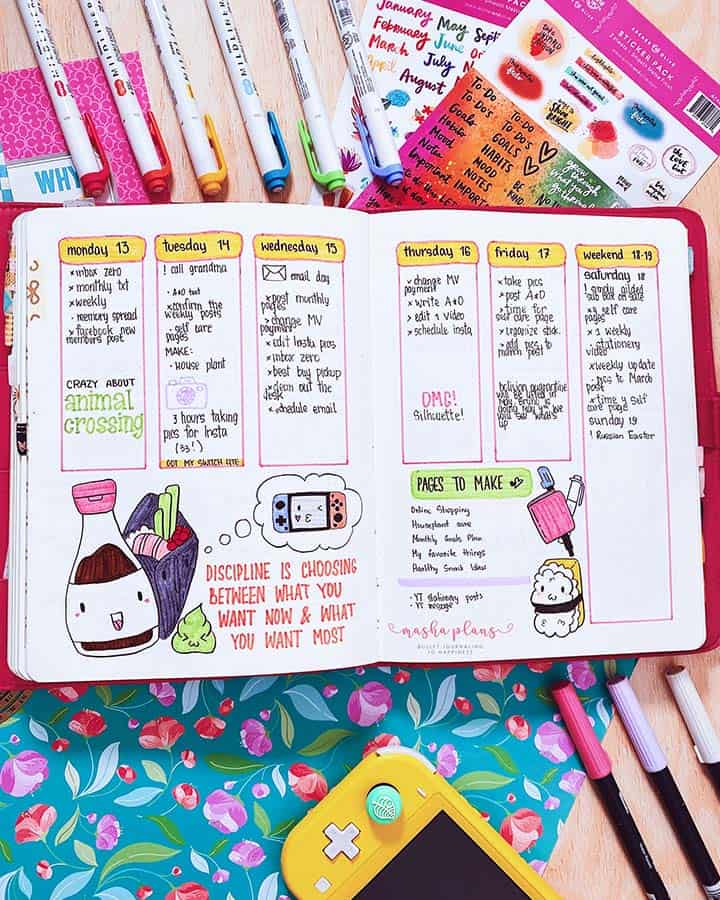
An easy way to elevate your weekly log, whether it’s one page or a larger one, is by using stickers and washi tape.
Here I used both washi tape as the background and stickers as headers and decorations.

This is definitely one of my favorite weekly spreads, in many ways, because I really like doing anything stationery themed. And because it is mostly black and white, it was pretty easy and quick to set it up.

Your weekly spreads don’t have to be even and well-measured out. This is an example of a layout where I just did it by eye measurements.
Yes, boxes are not even, but I think it creates a special charm, and it saved me time that I didn’t need to do math as I was creating this layout.

Last but not least is this cute little sushi-themed weekly layout. I used a ruler for all the straight lines, but it also allowed me to create this page much faster and have an especially clean look.
There are, of course, many more formats and ideas to explore, but I don’t want to overwhelm you, so this will be all for this post.
But if you want more, just keep on scrolling. I have plenty more inspiration for you!
Free Printable Dot Journal Weekly Spreads
Of course, I couldn’t leave you without a freebie, so be sure to drop by the Resources Vault and get your free printable Bullet Journal weekly spreads.
If you don’t have access yet, you can always sign up in the form below.
Once you confirm your subscription, you’ll get the password to get 50+ free Bullet Journal printables, stickers, and worksheets to use right away.
If you’ve never used printables before, be sure to check my post How To Use Printables In Your Bullet Journal.
It’s pretty basic, and you can find all the supplies you need in my post Supplies For Using Bullet Journal Printables.
More Resources
I’m sure you found some ideas in this post that gave you inspiration for your next weekly layout. But there is always more, and I gathered plenty of inspiration for you to explore.
Check out these blog posts next:
- Bullet Journal One Page Weekly Spread Inspirations
- Easy Bullet Journal Weekly Spread Inspirations
- 15 Amazing Bullet Journal Weekly Spread Inspirations
>>> What kind of weekly spreads do you like creating? Share with us in the comments!
Hope this post was interesting. If you find it so, please share! If you enjoy my content and want to show your appreciation, please consider supporting me with a cup of coffee.
And remember: Keep Journaling, and Don’t Be A Blob!


