Self Care Bullet Journal Spread We All Need

There are Bullet Journal page ideas for pretty much anything you can imagine, and today we will be talking about probably my favorite layout – a self-care spread. I’ve been creating layouts like this since I started journaling in 2018, and I still see it as one of the most useful and influential pages.
Sometimes, the absolute most productive thing we can do is take a step back and focus on our own well-being, and the layout we will make today helps us to do just that!
That is exactly why I want to show you step-by-step how to create a self-care Bullet Journal spread. I created a similar layout all the way back in 2020, and I found it so useful for helping me recharge in exactly the way I need.
I will walk you through the entire process, from picking calming colors to setting up sections that actually help you unwind. You do not need to be a professional artist to make this layout work for you. Grab your favorite pens, open up your notebook, and let us create a beautiful, creative space for your mental health.

I have been crafting the perfect self-care spread for years.
I’m not even exaggerating. Since I started Bullet Journaling back in 2018, I’ve tried so many different versions — trackers, checklists, bingo cards, habit logs — and while they were all useful in their own way, something always felt a little off. Like, I’d open the page and just not know where to start, especially on the days I really needed it.
And honestly? Those are the worst moments to try to think clearly. When you’re running on empty, the last thing you want to do is stare at a blank page, wondering what kind of self-care you even need right now.
That’s exactly why this spread finally clicked for me. This is probably the best self-care page I’ve ever created, and I’ve made a lot of them.
In two words: it’s a self-care menu.
A menu of activities divided into categories — so instead of staring blankly at your journal when you’re exhausted or overwhelmed, you can just flip to this page, find the area of your life that feels most depleted, and pick something that actually helps that specific thing.
Feeling mentally drained? There’s a category for that. Need something for your body? Got it. Craving connection or a little creative outlet? It’s all in there.
This spread works because it removes the guesswork entirely. You’re not trying to brainstorm self-care ideas at the exact moment you’re too burnt out to brainstorm anything. All the thinking is done in advance, by you, for you — and all you have to do is show up and choose.
It’s kind of like having a really thoughtful friend who already knows you well and says, “Hey, you look like you need this today.” Except that friend is your journal. And you built her.
I created this layout myself once in 2020 (or so), and today we’re going to create a different version of it together, step by step, so you can experience the same benefits I did.
Let’s dive in and start with…
This post may contain affiliate links. They will be of no extra expense for you, but I receive a small credit. Please see my Disclosure for more details. Thank you for supporting Masha Plans!
Step 1: The Header
First and foremost, I must say – whatever layout I create, it always starts with a pencil. It’s a great way to sketch how you want your page to look and allows you to center and fix any mistakes.
So, for this particular layout, I’m starting with sketching the header. I wanted block letters for “self care” and then the word “menu” to create a banner, using a more gentle cursive font.

In case you wonder, here are the supplies I used for this:
- Campus Soft Ring Notebook – it was gifted to me a few days before I created this layout, and so far, I’m loving it. The paper is smooth and pure white.
- Letter Stencil – a stencil is always great to make sure all your lettering looks consistent.
- Pilot Dr. Grip Mechanical Pencil – this is my favorite pencil ever, the grip is so comfortable I can use it for hours!
Step 2: Sketch The Page
For the rest of the page, we should start with the categories you want to include. I went with these: social, physical, creative, beauty, and for my mind.
These are the main categories of self-care for me; they are all a bit different, and dividing them makes it easy for me to find something that fits my exact mental state.
And the next step is just to add little doodles as symbols for each category.

This is it, the basis of the layout is done, it’s time to get our pens out!
Step 3: Pen In
Now that we have the structure of your layout, it’s time to pen in and draw all these letters and doodles in pen, as well as to add all the ideas you have for yourself in each category.
Check out some of my ideas, and be sure to share what kind of self-care ideas you added to your own list!

In case you’re wondering, here are the supplies I used:
- WP Finewriter – this is a new pen that I was gifted, and it’s very interesting. It is super smooth, and you can change the line thickness a lot. I enjoyed using it, I just wish the ink color was blacker.
- Mark+ two-way color marker – I have two of these, and they are great! I love that they have the highlighter and the fineliner tip.
- Mark+ two-tone color marker – Japanese stationery is always on a different level, this one pen has two highlighters in the most interesting design!
Step 4: Add Details
I was thinking about a lot of things to do with this layout – adding more color or more doodles. In the end, I decided not to.
I like this more minimalist kind of look with light color accents, so the only thing I decided to add is some washi tape and a light color highlight under the text.

Here I also used Kokuyo washi tape, but honestly, what I loved the most were the little washi tape cutters that let you easily and cleanly cut the exact size of washi tape you need.
And that’s about it. Here is how you can simply create a very powerful layout that will be your best friend and supporter when you need something to stop feeling like the world is too much.
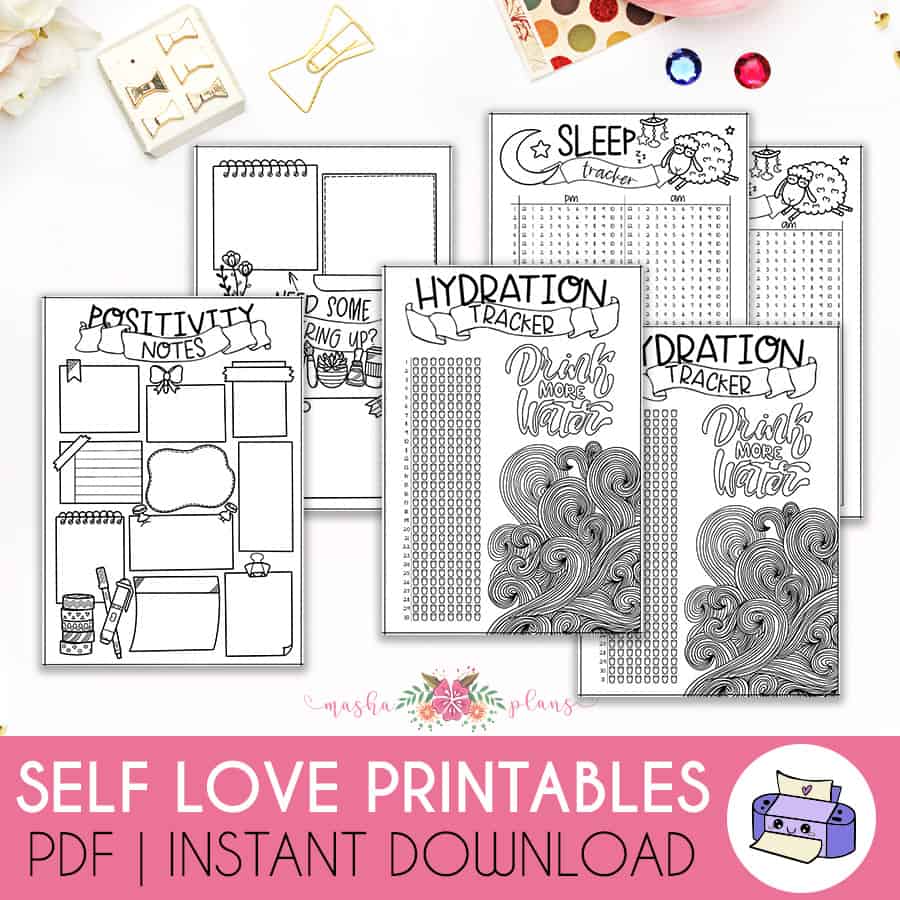
Free Self-Care Printables
Before you leave, I wanted to mention that I have created several FREE Bullet Journal printables, including a lot of self-care-related layouts that you can start using right away in your BuJo.
You can get them all already in the Resources Vault.
If you don’t have access yet, you can always sign up in the form below.
Once you confirm your subscription, you’ll get the password to get 50+ free Bullet Journal printables, stickers, and worksheets to use right away.
If you’ve never used printables before, be sure to check my post How To Use Printables In Your Bullet Journal.
It’s pretty basic, and you can find all the supplies you need in my post Supplies For Using Bullet Journal Printables.
If you want more, I have several sets of printables in my shop as well. They are hand-drawn and designed for you to easily start using right away, taking care of yourself with style.

More Resources
There are, of course, many more pages and layouts for you to explore if you want to dive deeper into the world of using your Bullet Journal for self-care.
Check out these posts next:
- 15 Inspiring Bullet Journal Self Care Ideas
- 11 Self Care Bingo Bullet Journal Page Ideas
- 25+ Inspirational Self Care Bullet Journal Page Ideas
>>> What things will you be adding to your self-care menu layout? Share with us in the comments!
Hope this post was interesting. If you find it so, please share! If you enjoy my content and want to show your appreciation, please consider supporting me with a cup of coffee.
And remember: Keep Journaling, and Don’t Be A Blob!


