How To Use Bullet Journal Stamps
Hello Planning Mashers!
Today we will be talking about stamps and how to use them in your Bullet Journal.
I’ve been obsessing a lot about stamps lately! There are so many cute ones on the market, and it’s easy to create amazing pages with minimal effort if you use stamps.
I learned a few secrets, and now I’m ready to share them with you and help you rock your journal with some awesome stamping techniques.
I’ll be honest – one of the reasons why I decided to finally go for this post is because the March 2021 Archer and Olive subscription box actually had stamps. I know, I was absolutely ecstatic about it!
This means that a lot of people who never used stamps suddenly have these beauties and I know you probably have a lot of questions.
Hopefully, in this post, I’ll answer them all, and if not – let me know in the comments, and let’s talk stamps!
If you don’t have any stamps yet, this post will be a great guide for you to see if you want to jump into the stamping world and add one more stationery item to your ever-growing planning supplies shopping list. Or is it just me?
Ok, let’s dive in!
This post may contain affiliate links. They will be of no extra expense for you, but I receive a small credit. Please see my Disclosure for more details. Thank you for supporting Masha Plans!
Why Use Stamps In Your Bullet Journal
But Masha, you’ll ask, I already have all the pens, and stickers and washi – what’s the point in stamps?!
There are so many benefits; believe me, I’m obsessed with them for a reason! They are so amazing to use to decorate Bullet Journal pages.
Here are some of the main reasons to use stamps:
- Stamps are reusable, meaning that you can invest in them and keep using them forever, unlike stickers for example that are one-time use.
- Stamps can be customized. The same stamp will look completely different with different ink or paired with a different stamp.
- Stamps are super fast. They can speed up your setup process significantly! In fact, stamping is one of my best tips on how to Bullet Journal when you don’t have time.
- Stamps are easy to use. You don’t need any special skills or artistic talent to rock stamping.
- Stamps are cheap. Well, there are different prices for stamps, but if you use them a lot even the expensive ones will pay off.
Types Of Stamps
There are two basic types of stamps, rubber, and acrylic.
Let’s talk about them a bit so you can understand the difference before you buy ALL the stamps.
Rubber BuJo Stamps
These are old-school. In fact, these are probably the ones you used when you went to school during your arts and crafts lessons.
They are, well, made of rubber and are mounted on a woodblock.
I love rubber stamps since they have this antique look to them; they usually come in beautiful designs and are just a beautiful accessory to have. You can totally have some of them out to decorate your working place.
Japanese stamps with their unique and gentle designs are mostly rubber stamps, and I’m dreaming to get my hands on those.
The only thing I find a bit negative about these is that they occupy a lot of space! And for me with tons of supplies, I already own maximizing space is very important.
The other type of stamps are …
Clear Acrylic Stamps
Acrylic stamps are see-through, which is also something I like since you can be more precise with where exactly you put your stamp.
They also usually come in sets which helps a lot when you start your stamping collection. Sets are usually united by a theme, which makes it easier to find the exact stamp you need.
I also find usually that acrylic stamps are cheaper to purchase than rubber ones, so it’s one more positive towards them.
With acrylic stamps though you need one more thing – a stamp block.
Unlike rubber stamps, acrylic ones are not mounted So when you decide to stamp, you need first to stick them to a block.
But the stamp blocks are usually not that expensive, just like stamps you can use them pretty much forever. And you might need just one block for all your stamps.
Another thing I like about those blocks is that they have a grid on one side, and this really helps to make sure you stamp exactly where you want.
Now that you have your stamps, the next thing you’ll need is ink.
Best Stamp Ink For Bullet Journal
There are a lot of things you can use for adding color to your stamps; here are a few options.
Pigment Ink
This is definitely the best type of ink to use on your stamps. It usually gives you very rich color and will look great and solid when it dries.
There are a lot of different inks there, but be careful – some cheap ones can smudge or bleed.
My favorite ones are from Tsukineko – VersaMagic and Memento. They come in a wide array of colors and look absolutely stunning.
They also are pretty juicy so it’s easy to cover your stamp with that ink.
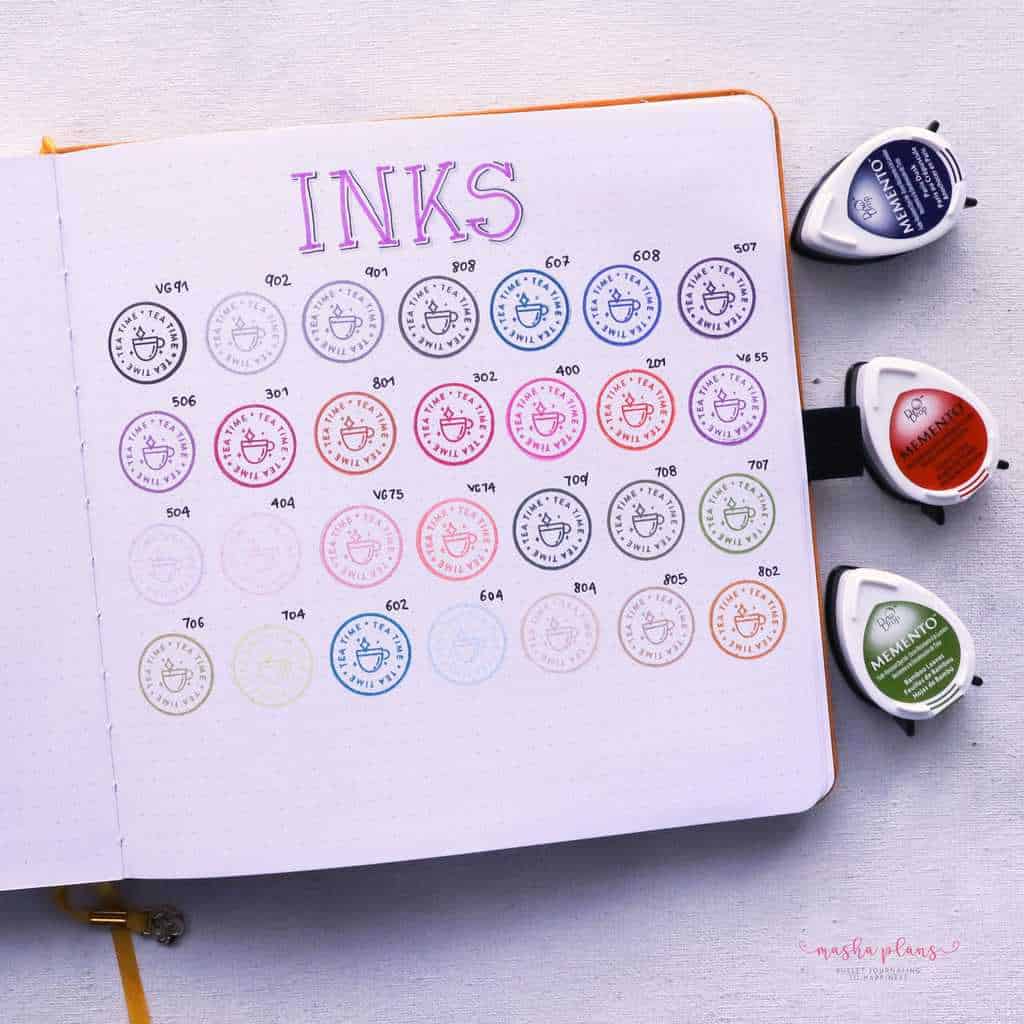
Before you use any ink in your journal – be sure to test it as you would do with pens. Just to make sure that your journal is ok for stamps and that there will be no bleeding.
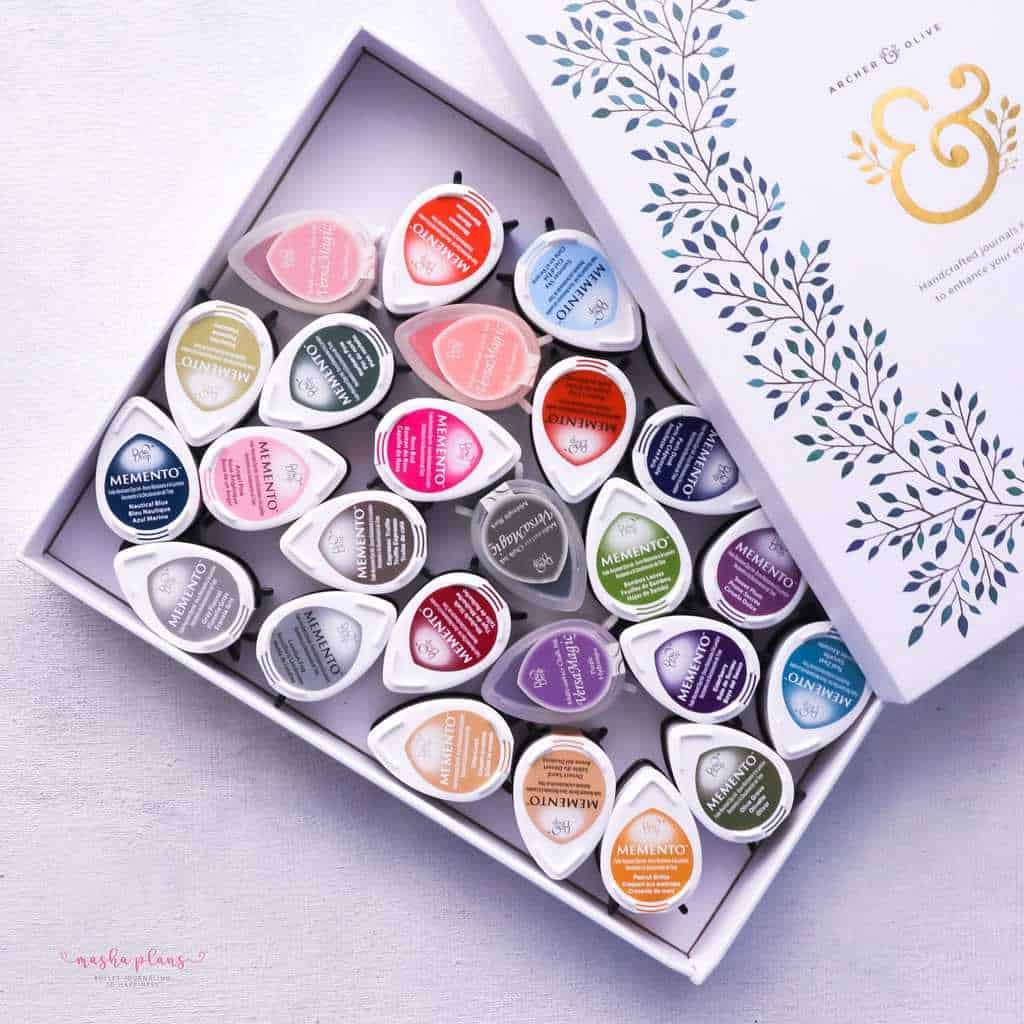
Another ink tip is about storage. I store my ink in a box from Archer and Olive B5 Neapolitan Notepad.
It’s big enough to fit all my ink, and it is a very pretty box – I never throw away my Archer and Olive boxes and always try to repurpose them. So if you have lots of boxes in your collection – here is one way to use them.
Speaking of Archer and Olive, if you ever decide to get some of their products, you can use code MASHA10 to get 10% off your order!
But let’s go back to ink.
Markers and Pens
Most pens in your collection can also be used as ink for your stamps!
So, if you just want to give it a try and don’t feel like committing and buying tons of inks – just start with the ink you already have in your pens.
There is one drawback in this though – your stamps will probably not look as bright as the colors with pigment ink, and they might not cover your stamp completely.
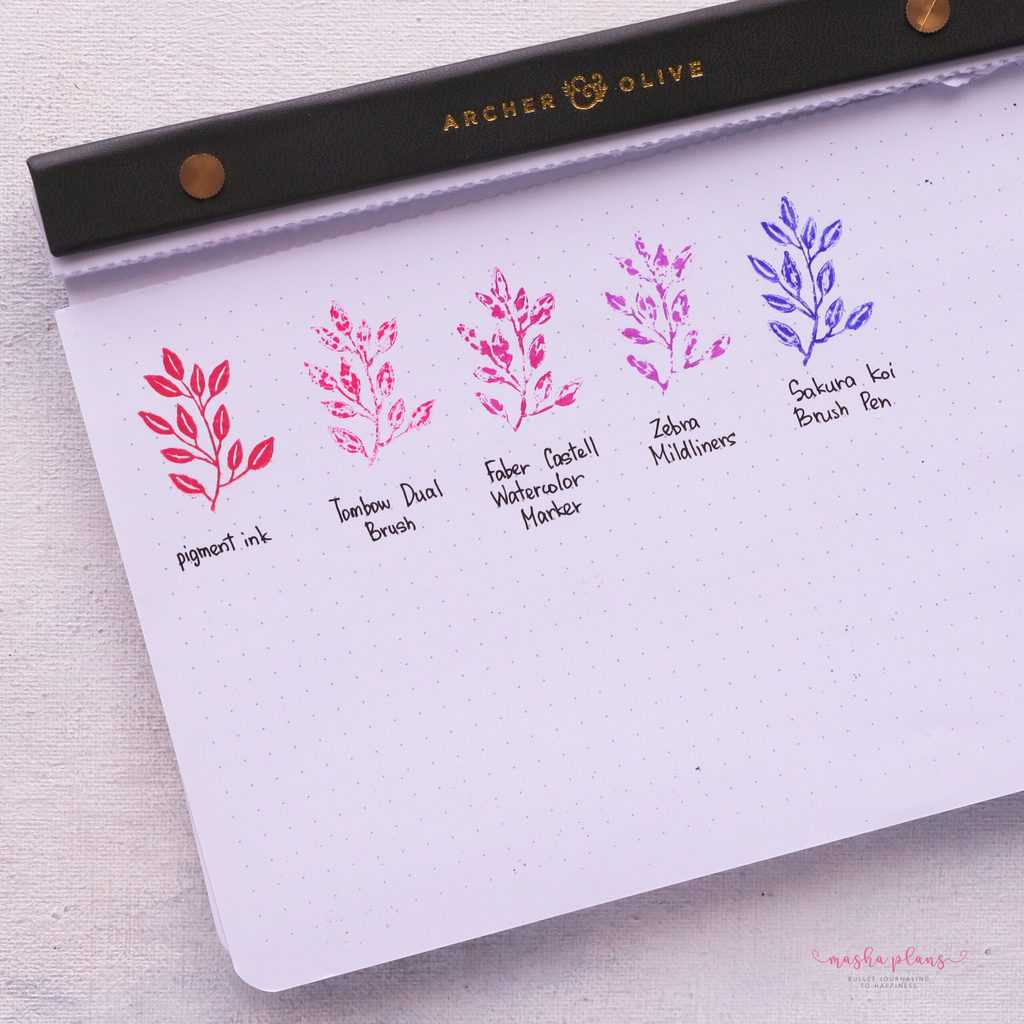
Also, be sure you don’t use any permanent pens or markers, like, for example, acrylograph pens, because well, they are permanent and can not be removed from the stamp afterward.
My best tip would be to start with a black ink pad and then experiment with your pens for other colors.
Watercolor
Yup, you can use watercolor as ink for your stamps.
To be honest, this is a whole new technique, and with watercolor, you get just a blurred shape of your stamp. But still, it might be a fun thing to experiment with.
This is not really anything I ever did, so I include here this video on using watercolor as a stamp ink.
How To Use Bullet Journal Stamps
Ok, we got all the stamping supplies; let’s get into it. I’ll share here the best tips and step-by-step instructions on how to start stamping.
Before you do I always recommend trying on a separate sheet of paper first. Stamping is not rocket science, but it is something new to do, so you might want to try it separately before stamping on your journal pages.
Another thing to do before you start stamping is to pick where exactly your stamp will go and check if it fits well.
This is why I double love the acrylic stamps – it’s very easy to plan these things with them since they are transparent, and you can easily get the idea of the final look without even taking the stamp out.
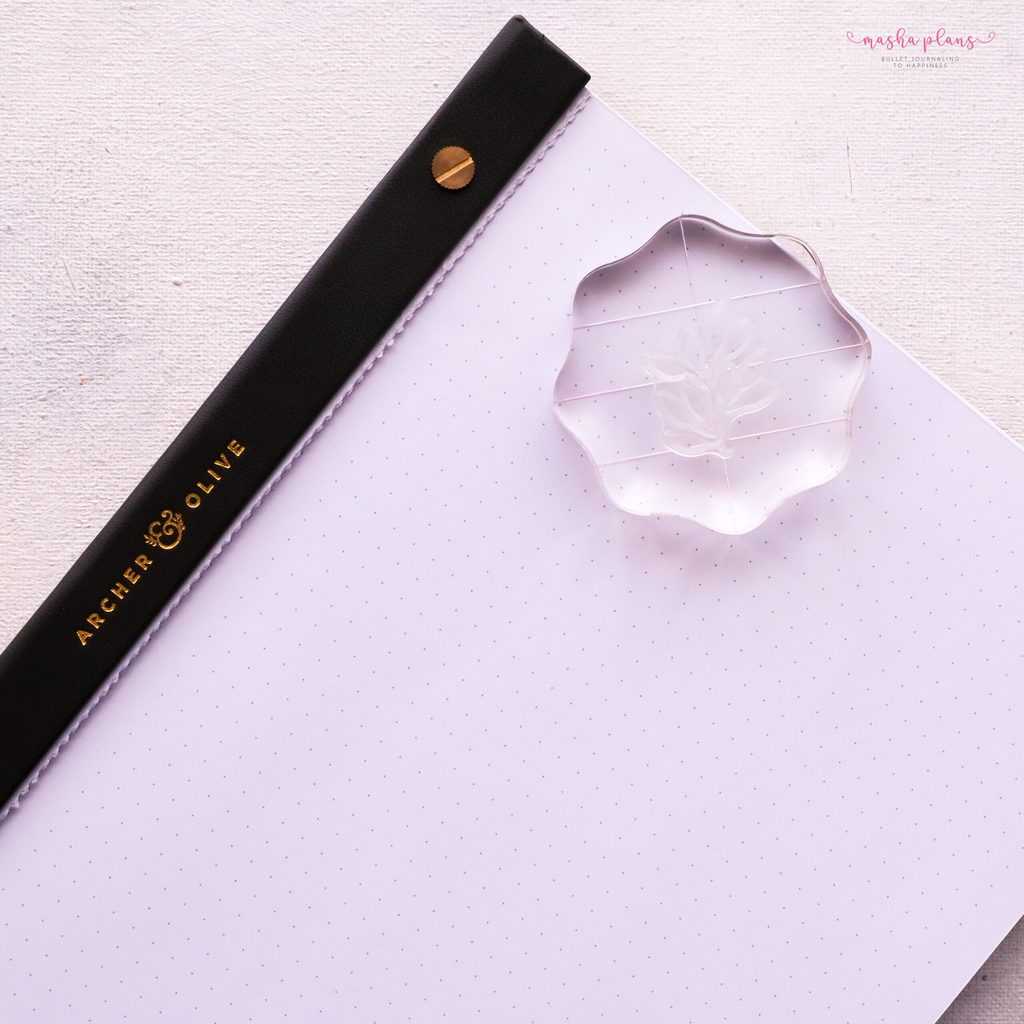
Step 1 – place your stamp
Unstick your stamp and place it on an acrylic block.
Try placing it alongside the grid, so it will be easier to stamp it straight.
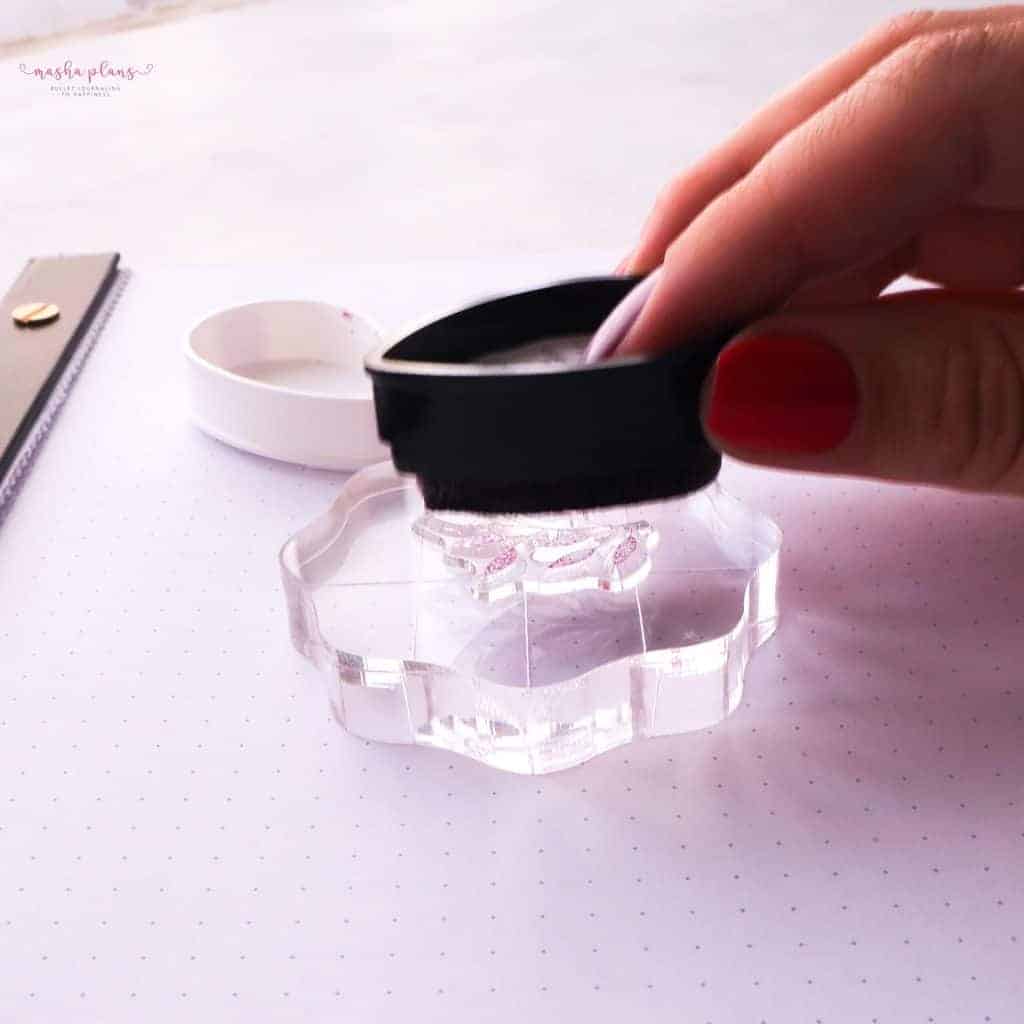
Step 2 – apply ink
When you apply ink, try to use gentle taps of the ink pad on top of your stamp. Tap until you get the entire stamp covered with the color.
Don’t push too hard, it might cause too much ink and even spill to areas of the stamp you don’t want to be covered.
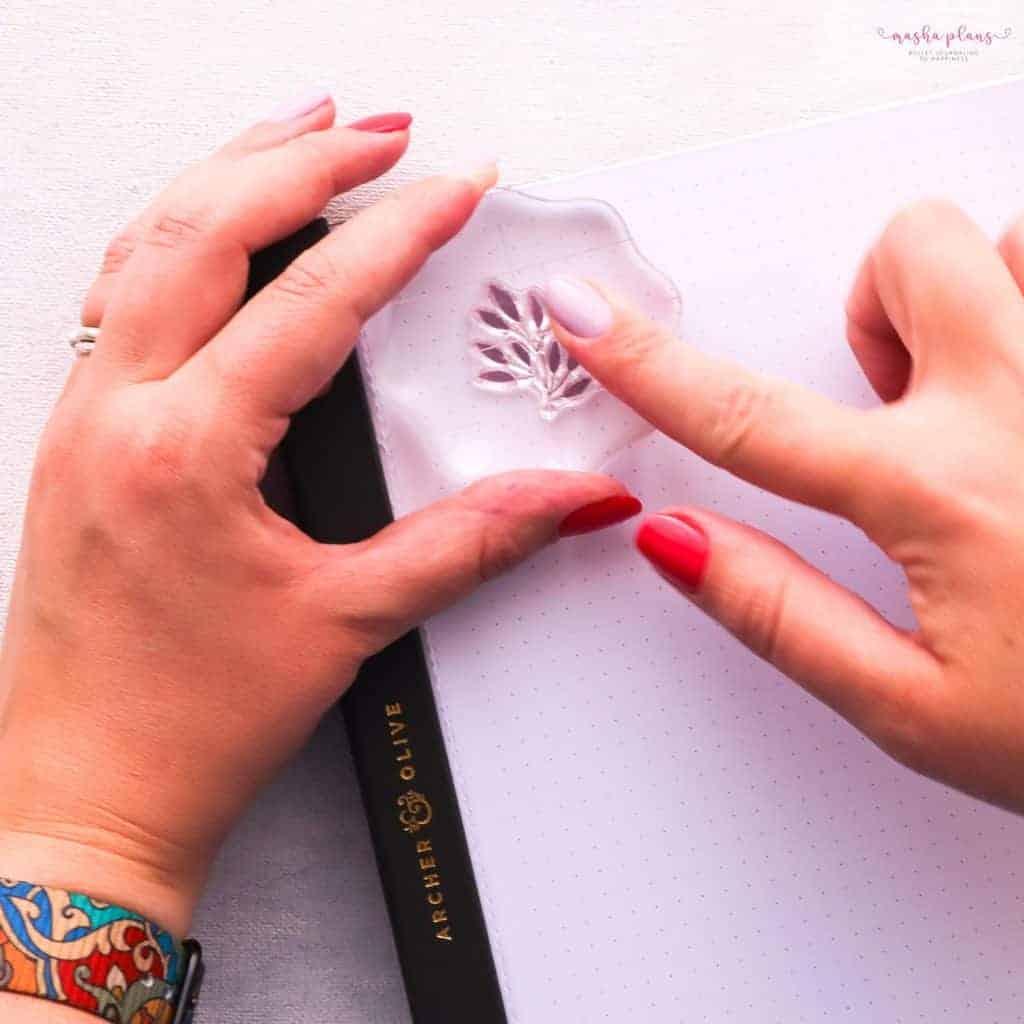
Step 3 – stamp
There is a bit of a trick to it, but with practice, you’ll learn how to stamp perfectly.
First of all – try to stamp at 90 degrees to avoid some areas being stamped more than others.
For the same reason, try to make sure that all areas of the stamp are pressed against the paper. It’s not as hard as it seems – usually, I just hold the stamp down with one hand while pushing the middle part with the other.
Final tip – don’t push too hard, like I usually do. It’s just my thing – every time whatever I do, I put my entire weight on it.
But the right thing would be to try to avoid it. The stamp is acrylic which is not a super hard material, so if you push too hard, the stamp will just spread more, and your lines will look thicker in a not so pretty way.
Step 4 – lift up the stamp
The final step is to lift the stamp of the paper.
To avoid smudges be sure to lift it directly and evenly.
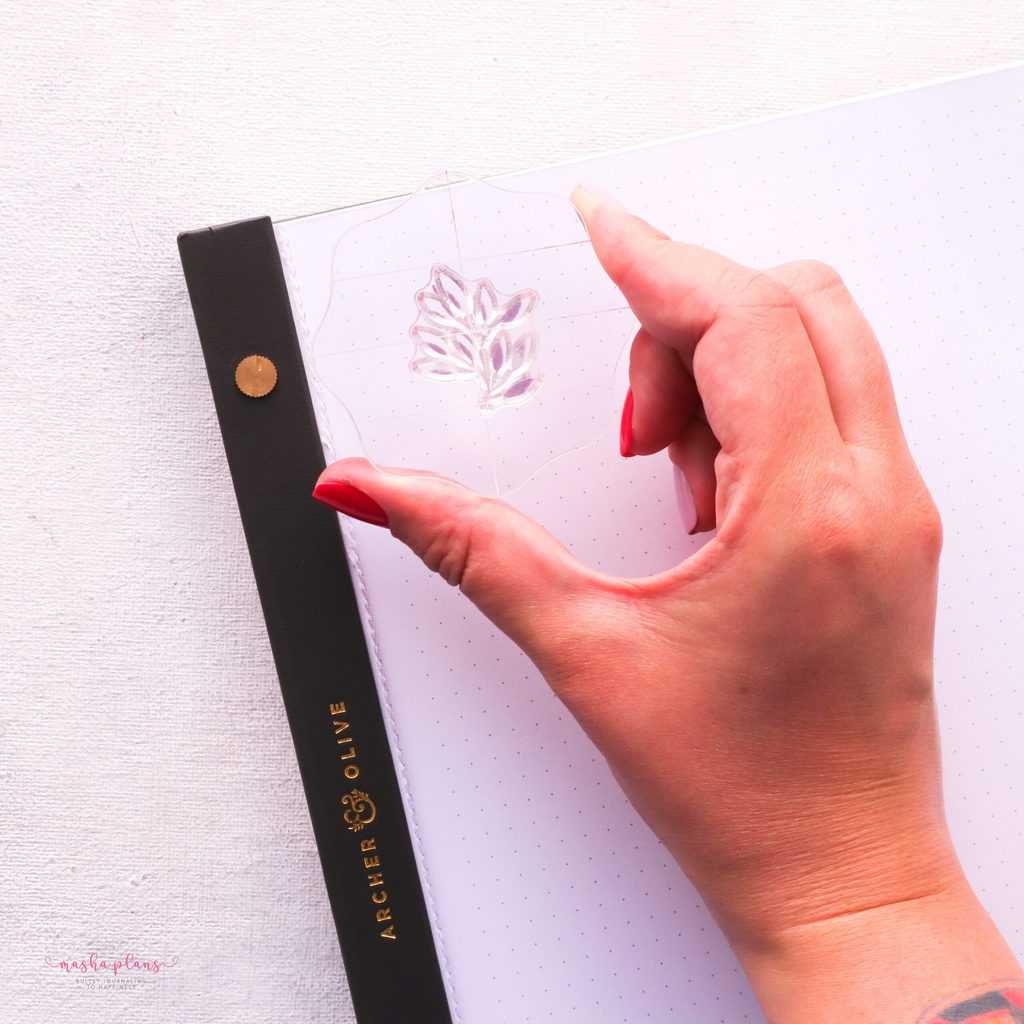
Finally, don’t forget to give a bit of time for your stamp to try before you start writing on that paper, again to avoid smudges.
Stamps: Storing and Cleaning
Cleaning your stamps after each use is very important, don’t skip it. Leaving residual ink can damage your stamps.
I’ve been trying a lot of different things to clean my stamps, and so far, the best way I found to do it is by using baby wipes. They can gently remove any ink residual from your stamps without damaging them.
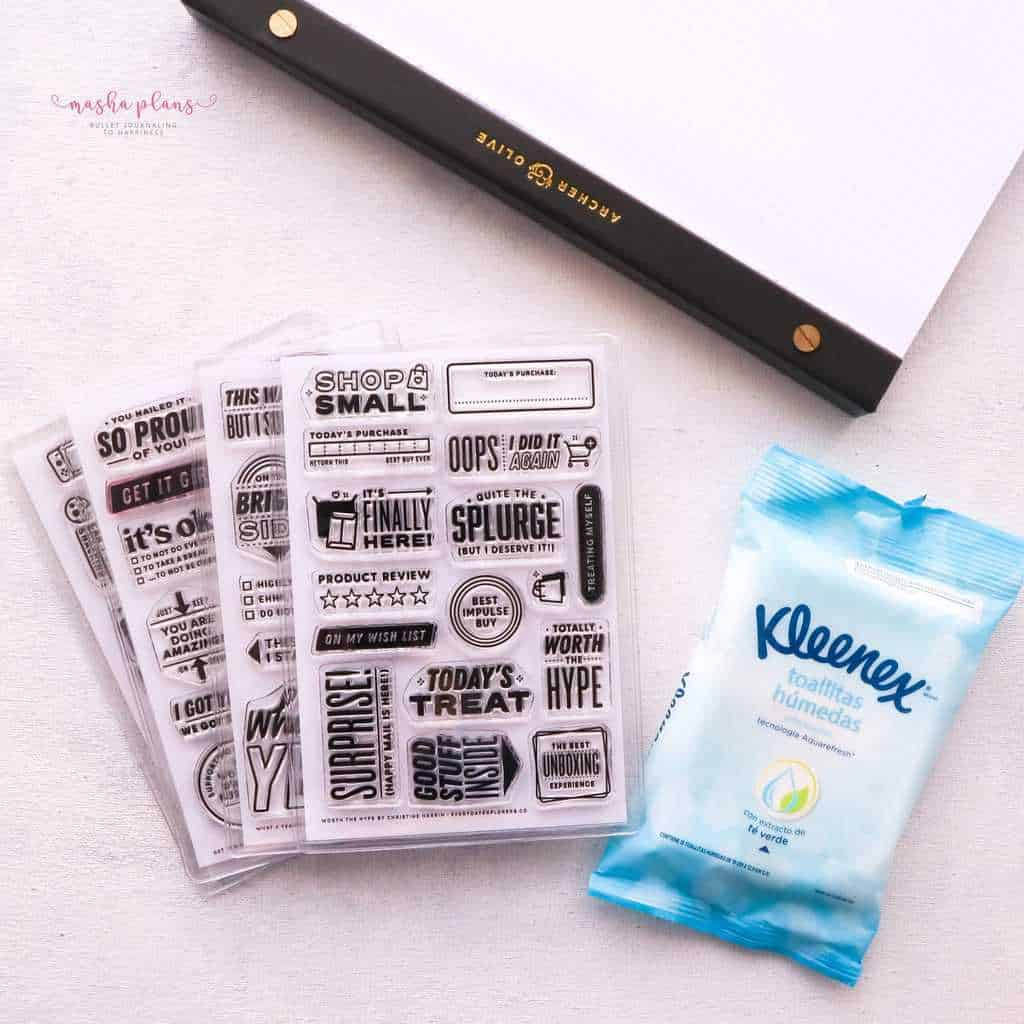
You can also use a special stamp ink removal, I heard a lot about Stanzon. But personally never had to use one since the baby wipes did the job just fine.
For some small or very detailed stamps, you might want to use a qtip to make sure you get the ink out of the hard-to-reach places.
About storing your stamps, there are millions of ways you can do it, so just work with what you have.
My stamps come in sleeves, and I just store them standing up in my Lexington cart, so I can reach them at any time. This is a great trick that helps me actually to use my stamps more.
Another cool way I see people store their stamps is by using shoe boxes. I bet you have a few in your closet that are empty and could be perfect storage for your stamps. Or you can always buy the pretty ones just for your precious stamps.
The Best Bullet Journal Stamps
Now that we have the technique and pretty much anything else you need to know about the stamps covered – time to do the fun part and shop for some stamps.
Below I’ll share with you the different kinds of stamps you can find, so you know where to start.
Dot Grid Stamps
These are so fun and can be extremely useful if you, for example, by accident, got a non-grid journal.
Or maybe if you have a fantastic notebook you want to use but doesn’t have any grid.
Simply stamp the grid over the page, and it will be there helping you to plan and draw and do all sorts of things.
Lettering Stamps
Not all of us are born with calligraphic writing. When I started my Bullet Journal, my handwriting was barely readable, and don’t even get me started on brush lettering – nonexistent!
If you’re somewhere in this category – stamps can be the thing for you!
There are stamps with exact words, and there are separate letters that will help you create any time of writing you need.
If you want to improve your letters though, I have a few helpful posts for you:
Learn To Letter: Beginner’s Guide To Brush Lettering
9 Simple Tricks To Improve Your Handwriting
Calendar Stamps
Let’s be honest – creating habit trackers can be pretty daunting, especially if you create weekly ones or maybe separate ones for each habit like I usually do.
This is my least favorite thing about Bullet Journal setup mostly because it means I have to draw a lot of lines and I just have something against it.
But it all gets solved if you use a stamp for your trackers! With stamps, you can even create a circle tracker without any fuzz.
The best part – calendar stamps also can be used for creating your future log!
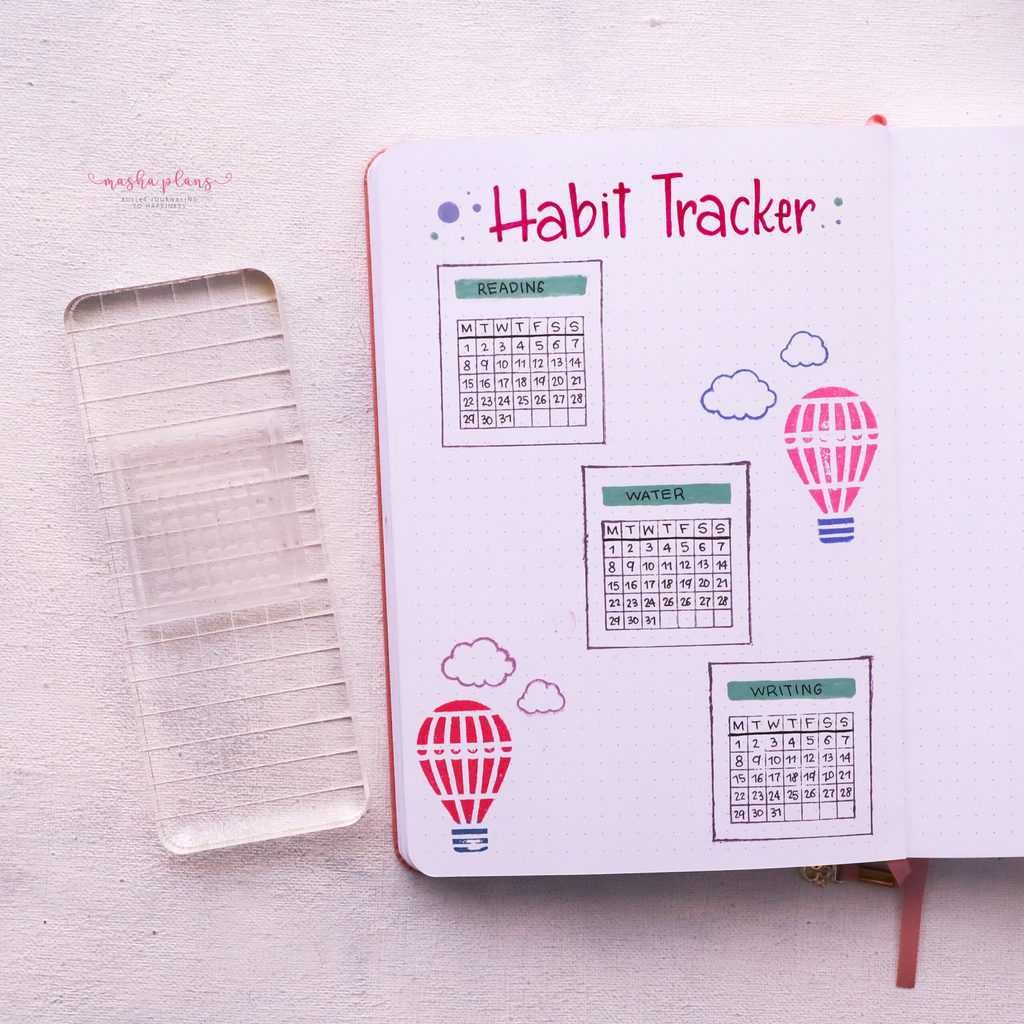
This is a habit tracker stamp from Archer and Olive March Subscription Box, and I love how easy it was to set up.
But those are exclusive, and if you didn’t get your hands on one, here are a few awesome options from Amazon.
Days and Numbers
Want to create a simple weekly spread? Your stamps are there to help you.
I have several stamps in my collection with days of the week and dates and it helps my weekly pages to look amazing, while me spending only a few minutes on it.
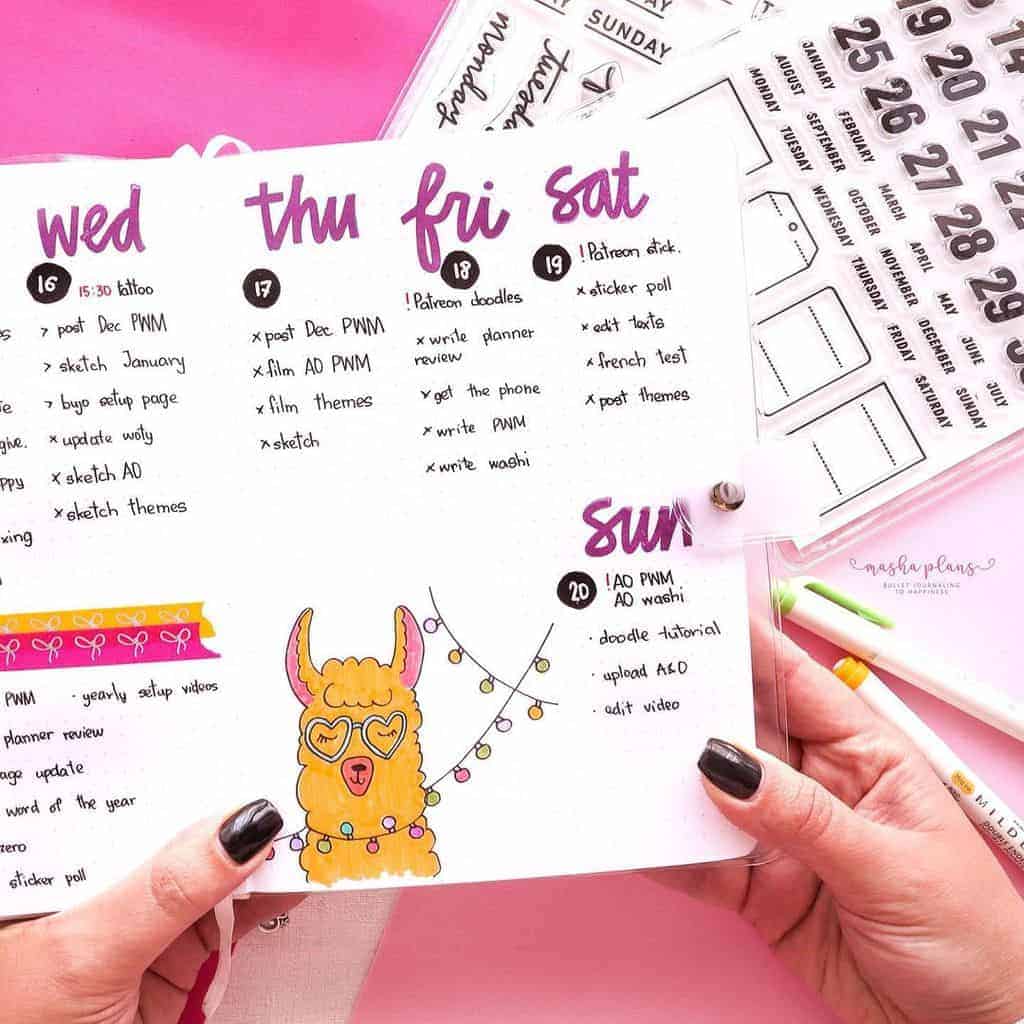
My stamps are from Everyday Explorers. I love their work, but they are on a more expensive side.
Thankfully, there are also a lot of options on Amazon to choose from!
Planning Stamps
There are also tons of cool stamps that help you with planning your days.
Those include icons for payday, weight loss, laundry – pretty much anything you want. Just pick what exactly you need help with and I guarantee there is a stamp for that.
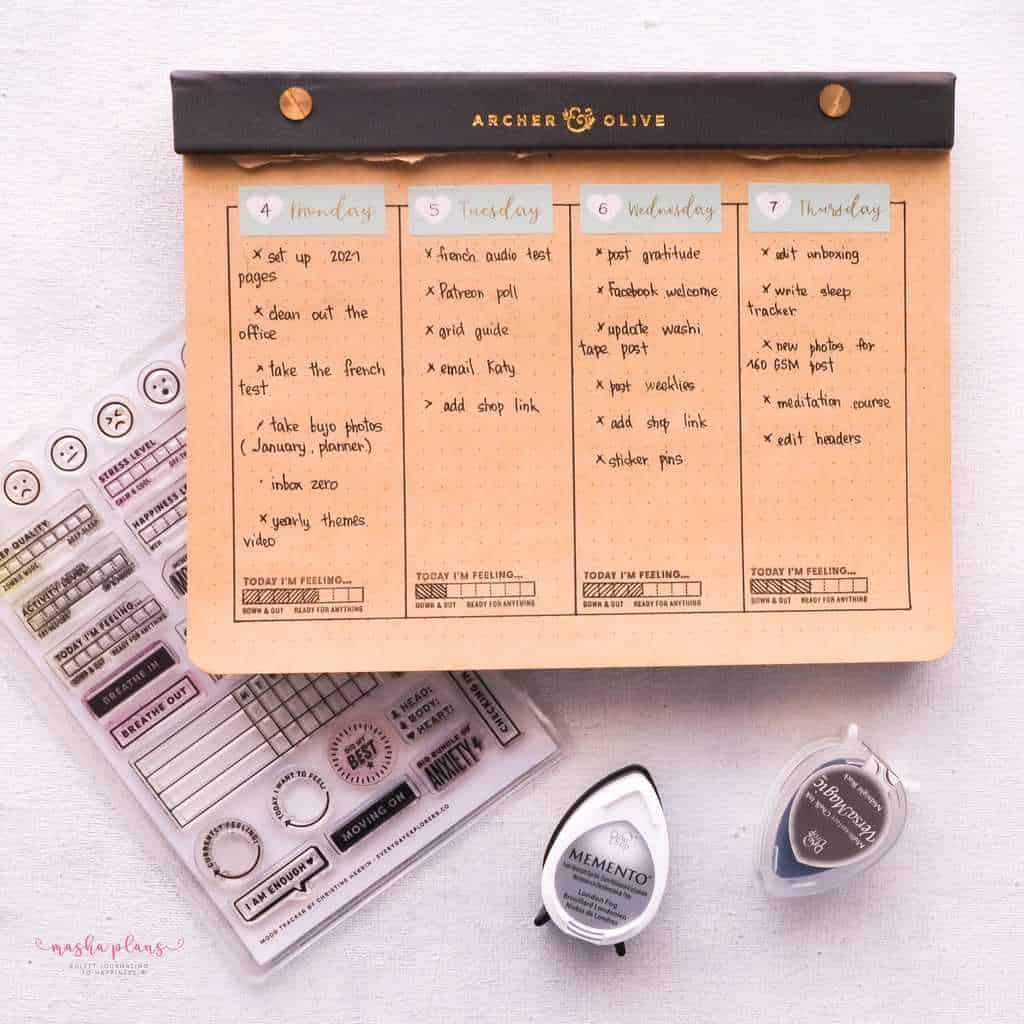
In this weekly for example, I used little stamps for tracking my mood on a weekly spread.
Here are a few more cool planning stamps from Amazon.
Decorative Stamps
Last but not least – decorative stamps!
These are here to add spark to your Bullet Journal pages without you needing to be extra artistic.
The cool thing about decorative stamps is that you can use one stamp and different colored ink to create a complete monthly Bullet Journal theme!
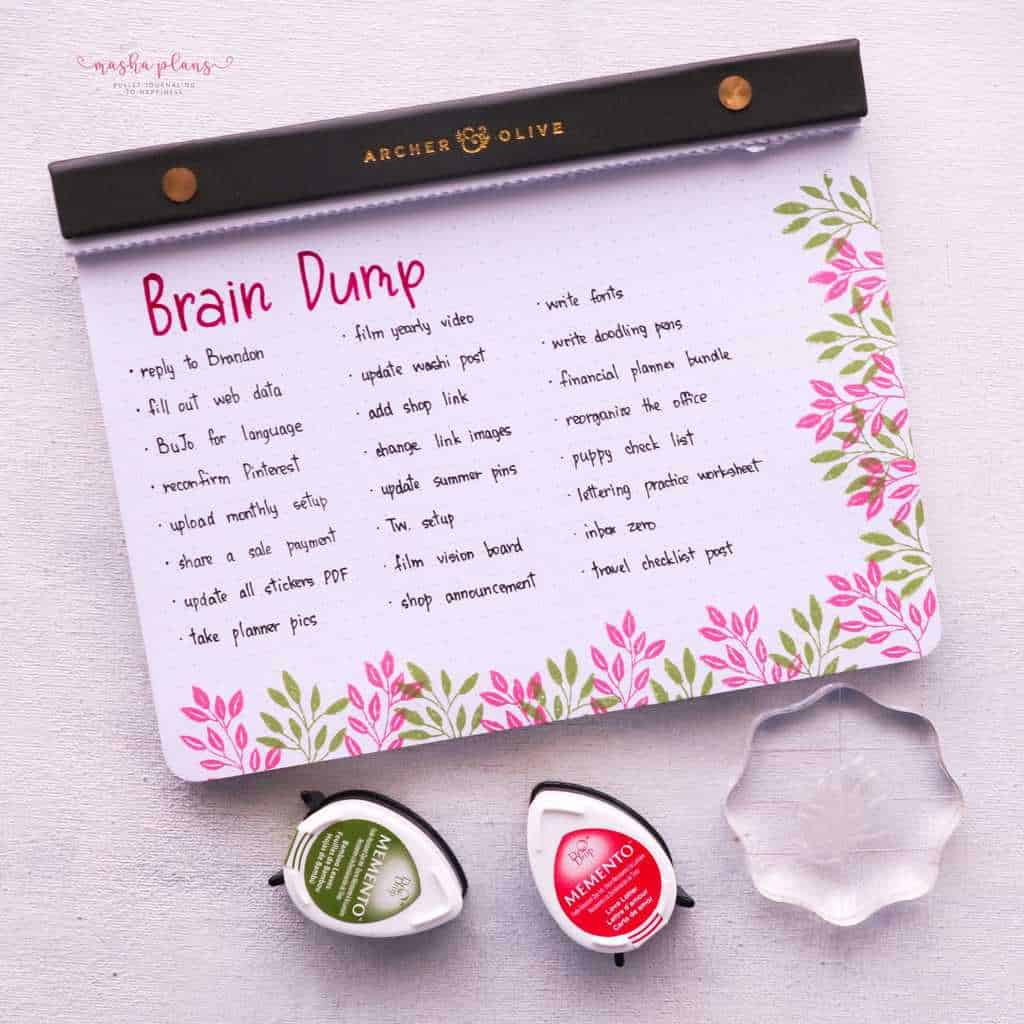
This is one of the examples, and again I used my Archer and Olive stamps. These actually are the only decorative stamps I have!
So I’m also looking to Amazon to see if I should- maybe widen my collection with more stamps. There is never enough, right?
Tile Stamps
These stamps are amazing when creating patterns.
You don’t want to redraw the same thing many times, and with the tile stamps, you don’t have to. Use one stamp to create some incredible patterns on your Bullet Journal pages.
My Favorite Etsy Finds
A special category is stuff from Etsy.
I love Etsy because you can always find there so many handmade and unique items including absolutely awesome sdtationery!
Actually, my favorite Bullet Journal cover was bought on Etsy. Not even one, I fell in love with that shop and keep buying their covers. You feel how it’s made with love and at the same time support small business – win-win.
So here are some awesome stamps to check there:
Time Tracking Acrylic Stamps (if you don’t do time tracking, be sure to give it a try! Check my post How To Find Extra Hour In Your Day With Time Tracking for more details)
Do you use stamps in your journal?
Share with us your best stamps tips in the comments!
Hope this post was useful; if you find it so, please share! If you enjoy my content and want to show your appreciation, please consider supporting me with a cup of coffee.
And remember: Keep Bullet Journaling, and Don’t Be A Blob


