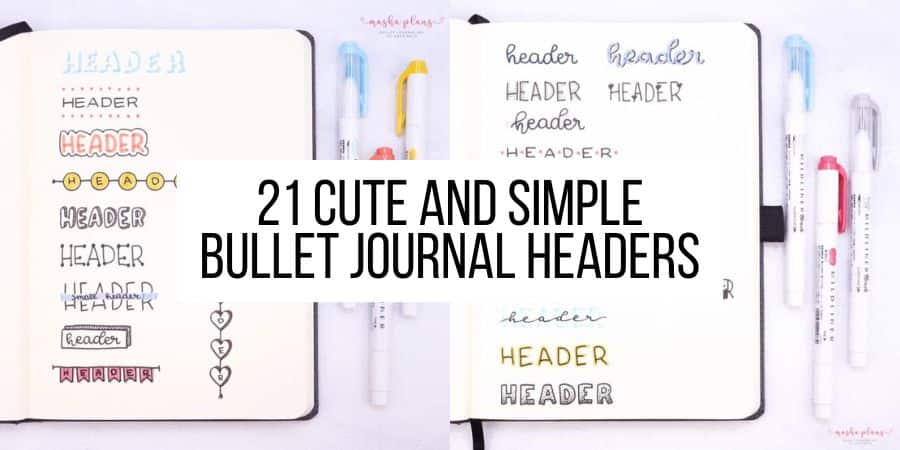
21 Easy And Cute Bullet Journal Headers
Today we talk about something very fun and creative – Bullet Journal header ideas and how you can easily create pretty ones without any special calligraphy knowledge.
I’ll share with you 21 pretty headers that anyone can do, even if you don’t think you’re creative.
The beauty of the Bullet Journal system is that it’s not a pre-made planner and you get to organize and decorate it any way you want!
Headers are just one of the elements you can use to add a little spark to your journal, and despite the general belief, you really don’t need to be a master calligrapher to create pretty headers.
Headers are both a great element of decoration and a useful tool since they help you to orient what kind of content you’re looking at.
They are also perfect if you’re taking visual notes to separate the information better and make it visually clear what is the most important.
At the end of the post, you’ll find more resources on headers, as well as a plan with me video where you can see me drawing these headers, so be sure to scroll down and give it a look.
You also can find there a mini course to help you jump-start your creativity.
Cute Bullet Journal Headers
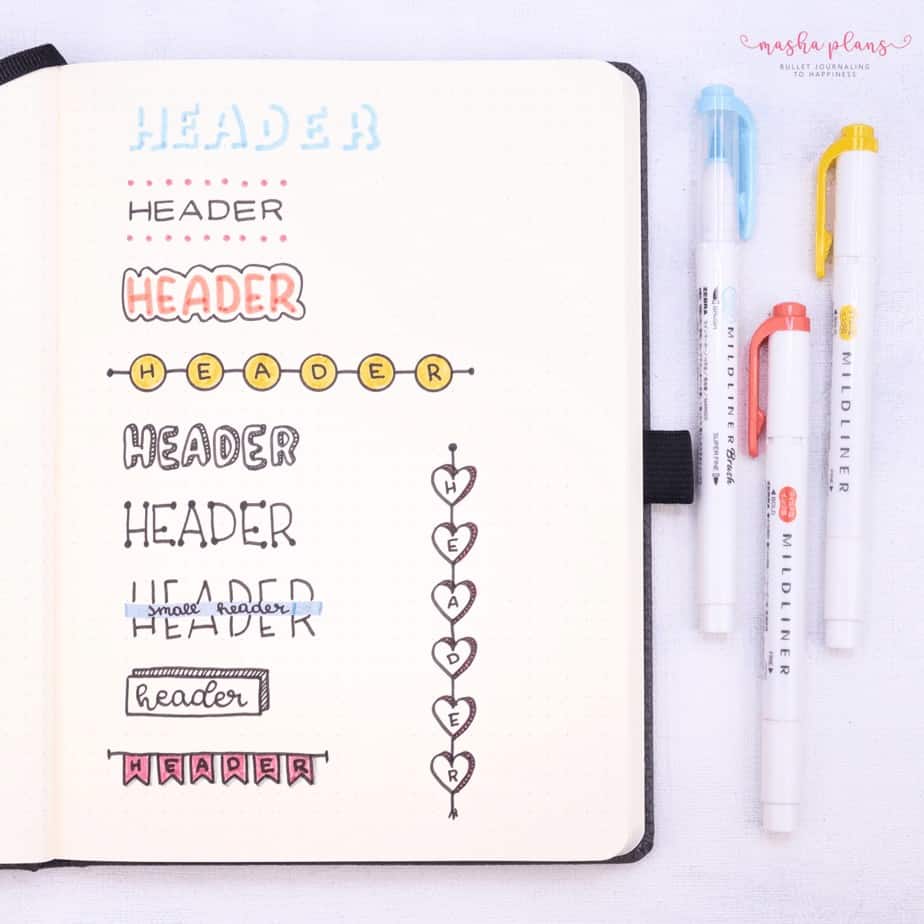
Time to dive into actual headers. We’ll go from top to boron, left to right,
Here is the picture of the first part; let’s do it.

Black With Colored Shadow
Here we are playing with shadows, and there are two options. First, you can write your word in a black pen and then add shading with a marker. Lighter or maybe neon colors work the best since they create a bit of a 3d effect.
Another way is by reversing it, writing your header with a colored marker, and adding shadow with a black pen. Of course, the brighter and clearer marker color is better.
When you create a shadow, pick a side of your letters and add a shadow on each letter on the same side. For example, I usually choose the right side, so you’ll see on each letter the right side is with a shadow.
Letters With Dots
Start by simply writing your word. It can be in block letters as I did or cursive – up to you. Then just start decorating them, and here the possibilities are limitless. Add hearts, flowers, dots, stars – whatever you feel like.
If you want the elements you add to be hollow and add color to them later on, I recommend drawing it all in pencil first.
Black Letters On Highlighter
A simple header you can create in a few seconds – use a highlighter to create a colored line, and then just write your word on top.
This is a good way to create a memorable header in a minimalist spread.
Dots Between Letters
Write each letter with extra space between them. Then take your marker and add little dots of color between your letters.
Alternatively, you can use a thinner marker or maybe a colored pen and add doodles there instead, like little flowers of stars.
Faux Calligraphy
Faux calligraphy is a great way to create those pretty headers without any knowledge or lettering. Write your work and then thicken all your downstrokes. Which ones are down? Just think of how you write a letter, and you’ll know.
A cool way to add flair to your faux calligraphy is by coloring the thick strokes. In this case, the way of writing the word is the same, but you do it in pencil first and then use a pen to ensure your downstrokes aren’t crossed.
Simple Block Letters
Write in block letters, but do the middle part of each letter a bit lower. As you can see, all the horizontal strokes are not in the middle of the letter but are much lower.
Then just use a colored marker to add some flourishes on the sides. It’s a little trick to add some more character to your letters.
Rounded Block Letters
Start with a pencil and write your word in block letters. Then use the pencil to create bubbles around them. Here, my letters are pretty thin but feel free to play around with it. Then use your marker to color the letter.
Finally, use the black pen to outline the letter, and as an extra – you can use grey markers to add shadow.
Block Letters With Different Thickness
Write in block letters, but make all the downstrokes thick, I recommend you to draw this in pencil first. This way, you’ll have a limitless amount of possibilities.
You can color the empty parts, add some patterns, or doodle around.
Contrast Fonts
Use a lighter color marker to write your word in block letters. Then use a black pen and write your word on top of this in a smaller cursive.
Colored Outlined Letters
Write your word in a marker. It can be block letters or cursive – up to you; just make sure the lines are thick enough.
Now use a thin black pen to add lines mimicking the letters but in the middle of each letter.
Thick Decorated Block Letters
For simple block letters, you can use a stencil or follow steps similar to bubble letters. Write your word in block lettering using a pencil. Then create block letters around it. Try to make sure they are of the same thickness.
The inside of each letter is your canvas; you can just color them or add some design elements. Here, I just added some stippling and created a bit of a gradient effect.
Only Shadow
The letters aren’t really drawn here, but I bet you can still read what it says. Start with a pencil sketch of your letters, and draw them the same way you did the previous one.
Then use a marker to draw the shadow. Make sure it’s not too thin or too thick.
With thin, it won’t be too well seen, and if it’s too thick, you won’t be able to see the like curves. Don’t forget to erase the pencil!
Dotted Outline
Write your header in any style of letters you prefer. Then simply, on top and bottom, add dotted lines.
Outlined Words
Write the block letters in marker. Then use a black pen to trace them, but at some distance, so the headers are kind of in a cloud shaped like the letters.
Letters In Circles
Draw in line as many circles as there are letters in your word. I really recommend this stencil or this ruler to help you with better circles. Then, connect the circles and color them inside.
Finally, add the letters inside the circles.
Bubble Letters With Shadow
Create your word in bubble letters. Just like we mentioned before, start with simple pencil block letters and just create a bubble effect around them. But here – make sure you have some extra space between the letters.
Then, choose the side and add an extra line, as you would do with a shadow. Then color that extra layer with lines or with color.
Adding Dots To Letters
Write your word with the usual block letters, then add a black circle at the end of each line.
In some letters, I also added to the crossing of the lines to make sure each letter has this element and it looks all put together.
Line With Smaller Text
To make it easier for you to create this header, make sure you first add a strip of thin washi tape. Then write your word in block letters on top of it. When you take your washi tape off, you can see white space.
Use a highlighter to color it; just add black lines on top and bottom or leave it like that. Finally, add the second header (of the same one) to this white space in cursive.
Letters Inside A Banner
Start by writing down your header, then create a rectangle around it. Draw another rectangle behind it. To make it easier, start with a pencil drawing of a rectangle the same size, and with a pen, go over the parts that can be seen behind the front rectangle with your header.
Finally, add lines to your rectangle on the back, or color it black or pretty much in any color you like.
Pointy Banners
Start by creating a line with banners. Make sure you have as many banners as you have letters; they all are the same size. Then, color the banners and add letters.
Finally, add a little something: add a shadow to each banner with your grey pen.
Heart Banners
This little header will be perfect for your February designs. Start by drawing as many hearts as you have letters in your header. Then connect them with a line, like they are a hanging decoration or maybe a bracelet.
Add an extra layer to your hearts as you would be adding a shadow. Customize your hearts as you wish: color the hearts and blackout the shadow, color the shadow and leave the hearts blank, add lines to the shadow – up to you.
Finally, add your letters inside the hearts.
Bullet Journal Headers: Video
If you want to see better how to create these headers, be sure to give a look at my video below.
This post may contain affiliate links. They will be of no extra expense for you, but I receive a small credit. Please see my Disclosure for more details. Thank you for supporting Masha Plans!
Favorite Supplies For Bullet Journal Headers
As always, you can create your headers with whatever supplies you already have available.
But if you’re looking for recommendations, here are some of my favorites:
- Fineliners. This will help you a lot to create more exciting headers and, generally, to make them look better since fineliners usually have darker black ink and don’t really fade. I recommend these.
- Markes. Something to add color, and these are my favorite. Or you can try these since they are more affordable and come in many more colors.
- Grey markers. These are the best ones to add shadow to your letters.
- Stencils. These stencils are a fun way to create headers and banners without effort.
More Header Ideas
21 ideas is a good start, but there is so much more you can do!
Check out these posts for some more header ideas:
- 90+ Bullet Journal Header And Title Ideas
- Fun And Creative Bullet Journal Headers
- Fun And Easy Header Ideas For Cute Notes
- Minimalist Headers For Your Bullet Journal
- Easy Header Ideas For Your Bullet Journal
If you’re interested in headers, I think there are a few other posts as well you’ll find interesting:
- Beginner’s Guide To Brush Lettering
- Easy & Creative Bullet Journal Banners
- Sketchnoting: Introduction Into Visual Note Taking
Free Creativity Course
Creativity is something all of us have, all you need is o practice, and I’ve created this mini-course to help you get as many ideas as possible on how to discover that creativity within and decorate your Bullet Journal pages.
Sign up in the form below, and once you confirm your subscription, you’ll start getting emails with tips, tricks, and ideas on how to add creativity to your Bullet Journal.
And it comes with three exclusive freebies that will help you on your journey as well.
Which one of these headers do you like the most? What kind of headers do you usually use in your Bullet Journal? Let us know in the comments below!
Hope this post was useful if you find it so, please share! If you enjoy my content and want to show your appreciation, please consider supporting me with a cup of coffee.
And remember: Keep Bullet Journaling, and Don’t Be A Blob!


