How To Start A Bullet Journal In 2026
Learning about Bullet Journaling for beginners and ready to start one in the upcoming year? I got you covered with this easy step-by-step guide.
There are also seven tips to get you on the road to success in the new year and your new Bullet Journal.
One of my main goals with Masha Plans is to help you start your Bullet Journal, so don’t worry – I got you covered with anything you might need.
As the new year is approaching, we all start thinking about our new year resolutions and what we want to do better in the upcoming year.
For me when I started it was about finding a system to organize my life, and that system ended up being a Bullet Journal. If you’re here you might be considering this as well.
Be sure to scroll until the end of the post where I’ll tell you about my FREE Bullet Journal course for beginners to help you get started.
In this post, you’ll find a step-by-step checklist on how to set up your Bullet Journal, as well as 7 best tips to make sure you set up a fantastic BuJo and have lots of fun doing it.
This post may contain affiliate links. They will be of no extra expense for you, but I receive a small credit. Please see my Disclosure for more details. Thank you for supporting Masha Plans!
How To Start A Bullet Journal: Step By Step Guide
Since you’re here, I assume you already know what a Bullet Journal is.
But in case it’s something new, let me summarise it in a few words. It’s a productivity and wellness system, that can be fully customized to your own personal needs.
It can basically include anything you want – lists, notes, doodles, calendars, and trackers. The limit is really your imagination.
But here is how you get started:
- Get your supplies. You don’t need anything too fancy, any journal and any pen would work if you’re in a pinch and just want to get started. But we’ll definitely talk about it more later.
- Set your goals. Because Bullet Journal is a fully customizable system, you should think about what you want to achieve with it before you sit down to plan.
- Create a Key. Key is basically a page where you write down all the symbols you use in your Bullet Journal and what they mean.
- Set up an Index page. An index is basically a table of content for your journal. This is where you keep track of all the pages you include in your Bullet Journal and where you can find them.
- Create a Future Log. A Future log is where you plan your upcoming year, something that’s coming but is not immediate. Usually, here you’d include things like birthdays, holidays, doctor appointments, trips, big project deadlines, and such.
- Set up a Monthly Spread. This is a spread to plan your current month. You can make it as elaborate or as simple as you want. It can be a calendar, or maybe just a column of dates. The goal is for you to use this page to plan your current month.
- Create a Weekly / Daily Log. This is the heart of your Bullet Journal, this is where you plan your days and make sure you’re moving towards your goals. You can do it by setting up a weekly spread or just creating a new list separately for each day. It’s very personal and depends on what you like best.
The easiest way to explain it is just to watch a setup video from Ryder Caroll, the creator of the Bullet Journal method.
So here it is! It’s very basic and probably looks different from what you’ve been seeing on social media, but this is just to show you that you can make your journal as simple or as elaborate as you want!
And this is it, your journal is ready to go! Just be sure you do this:
- Update your index. Every time you create a new spread flip back to your index and add it there
- Experiment. It’s a fully customizable system, so it’s going to take some time for you to figure out the exact format that works for you. So don’t be afraid to experiment.
- Use it daily. The biggest impact you’ll see if you use your journal daily. It definitely can be a challenge, so be sure to check my post on How To Make Your Bullet Journal Habit Stick.
If you want something more detailed and with more examples, there are a few more posts you might want to check out.
The Ultimate Guide To Bullet Journaling For Beginners – this is a massive guide that has all the information you need to set up a perfect journal for you.
Step By Step Bullet Journal Setup – join me as I set up a brand new Bullet Journal setup, with explanations for each page and tons of examples.
Oh, and of course, these are only the basic pages; there are also things called collections.
Collections are basically fun and useful pages you can add to your Bullet Journal. It can be a spread to plan your work project, or maybe something fun like a pen swatch.
The number of ideas for collections is limitless, so it’s easy to get lost.
That’s why I recommend you start with these Must Have Bullet Journal Pages.
But of course, if you’re ready to jump right into it, you can always check my list of 300+ Bullet Journal Page Ideas.
Tips For Starting A Bullet Journal
With the basics out of the way, here are a few tips from a seasoned Bullet Journalist (I’m still not sure what’s the correct name for a person who does Bullet Journaling).
I have a lot of posts with tips and tricks, especially for beginners, and if you want more, be sure to read 13 Ridiculously Useful Tips For Beginners.
Pick A Good Journal
Your notebook is the heart and soul of your Bullet Journal, so picking the right one can make or break your love for Bullet Journaling.
Well, maybe it’s not so dramatic, but it will be helpful to get a good journal. So if you’re starting and want to invest in some stationery, a journal should definitely ve your top pick.
The wrong notebook can mean a lot of trouble and wasted nerves (speaking from experience). The binding can break, pages can ghost, and the lining might not be working for you.
Even though all those things can be fixed, it can kill any desire from your side to keep Bullet Journaling. Frustration is a powerful enemy.
You might not know yet what’s a good notebook for you, but here are a few things you might consider:
- Notebook cover. Do you want a softcover or a hardcover?
- Paper quality. Paper thickness determines what materials you can use in your journal. The less GSM paper has the more likely you’ll face ghosting or bleeding. Personally, I wouldn’t recommend anything less than GSM100
- Notebook lining. You can Bullet Journal in any kind of notebook, but the dot grid is a favorite among the Bullet Journal community for a reason. It gives you enough directions for drawing but isn’t distracting.
- Paper color. Do you want a notebook in pure white or ivory color? Pure white will give you brighter colors in your spreads, while ivory might distort the colors a bit.
- Amount of pages. More pages mean your journal will last longer, but more pages will also make the journal heavier. On average, I would save 170-200 pages last for around half a year.
- Size. How big of a journal you want to have – A5, B5, A4?
- Extra features. Do you want to have some pre-made pages in your Bullet Journal? Do you need the pages to be numbered? How many bookmarks do you need – one or two? Do you need a pen loop?
I add here a lot of characteristics, but I don’t get scared or overwhelmed by it – I’m just trying to give you all the options.
I think the important thing is actually the paper quality since that’s what can bring the most heartbreak with bleeding or ghosting.
You can find more details in my post, Best Notebooks To Use As Your Next Bullet Journal, but here is the short version with some of my favorites.
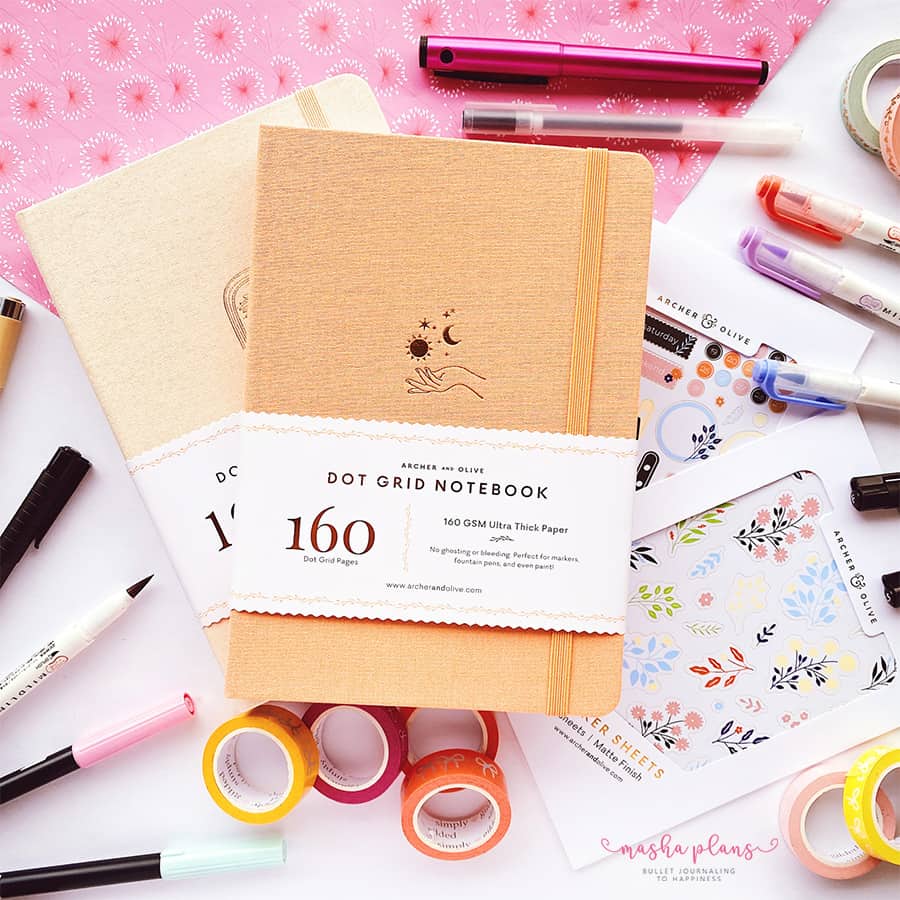
- Archer and Olive. These are my favorite journals with probably the best paper quality. They are considered premium journals, so they are on the expensive side. But you can get 10% off with my code MASHA10.
- Scribbles That Matter Pro. It’s a beloved brand that came out with a notebook with 160 GSM paper. You can check them out HERE.
- Leuchtturm 1917 Dot Grid Journal. These are some of the most popular notebooks for Bullet Journaling, and I know many people use LT 1917 as their first Bullet Journal. The journal has 249 pages of cream-colored paper and comes with everything you might need – numbered pages, elastic closure, ribbons. Check it HERE.
- Dingbats Notebooks. I like them they have high-quality coated paper. The only problem is that the paper is ivory, which means that some colors will be a bit distorted. Check out here the Wildlife Collection and Earth Collection.
- Lemome Journal. According to reviews, it’s a solid notebook for quite affordable price. The notebook offers 180 pages of cream-colored 120 GSM paper. This means the notebook will do pretty well with any ghosting or bleeding. Check it HERE.
Don’t Buy ALL The Supplies
Looking at Bullet Journal accounts on Instagram and inspiration on Pinterest it’s so easy to fall in a shopping spree and buy tons of stationery.
I know because I did so myself, and it was not pretty. I bought loads of stationery I saw others used, and I ended up with the buyer’s guilt because most of them remained unused to this day.
The thing is, we all have our own style with certain supplies we prefer. Like, look at me and my washi tape collections for example. I love them, they are all so pretty, but they just don’t fit with my style, so I end up never using any washi at all.
It takes time to figure out your own style and your own needs, so start from cheaper supplies, the ones you won’t be feeling sad not using.
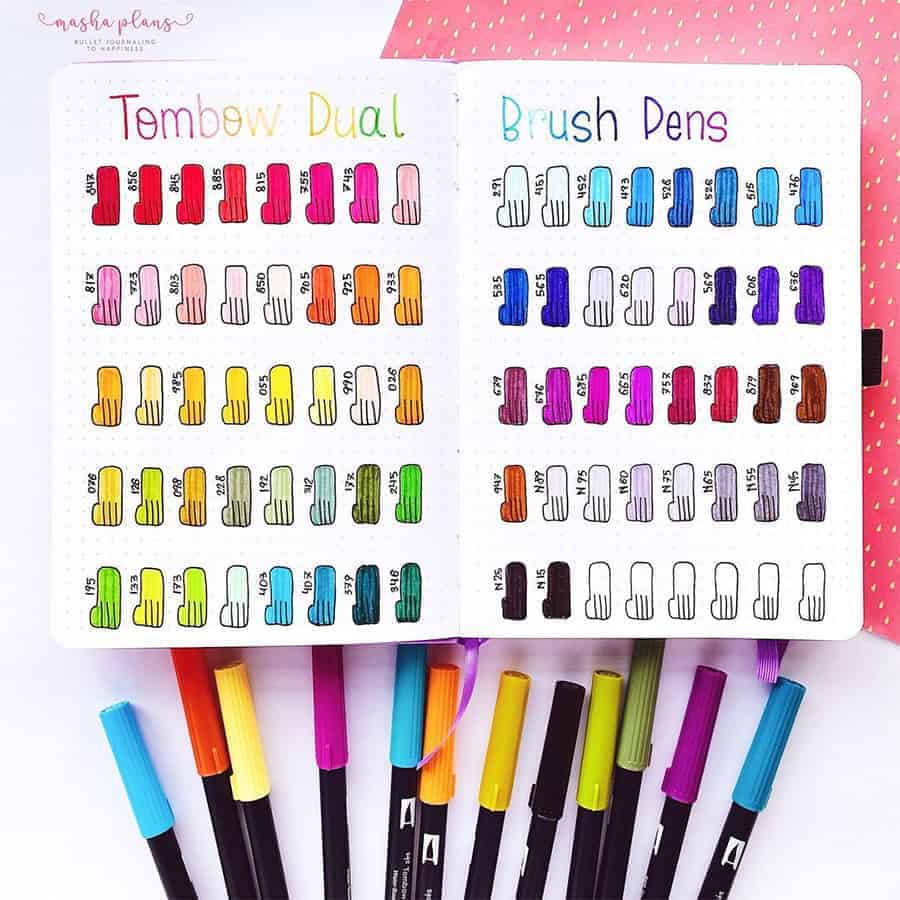
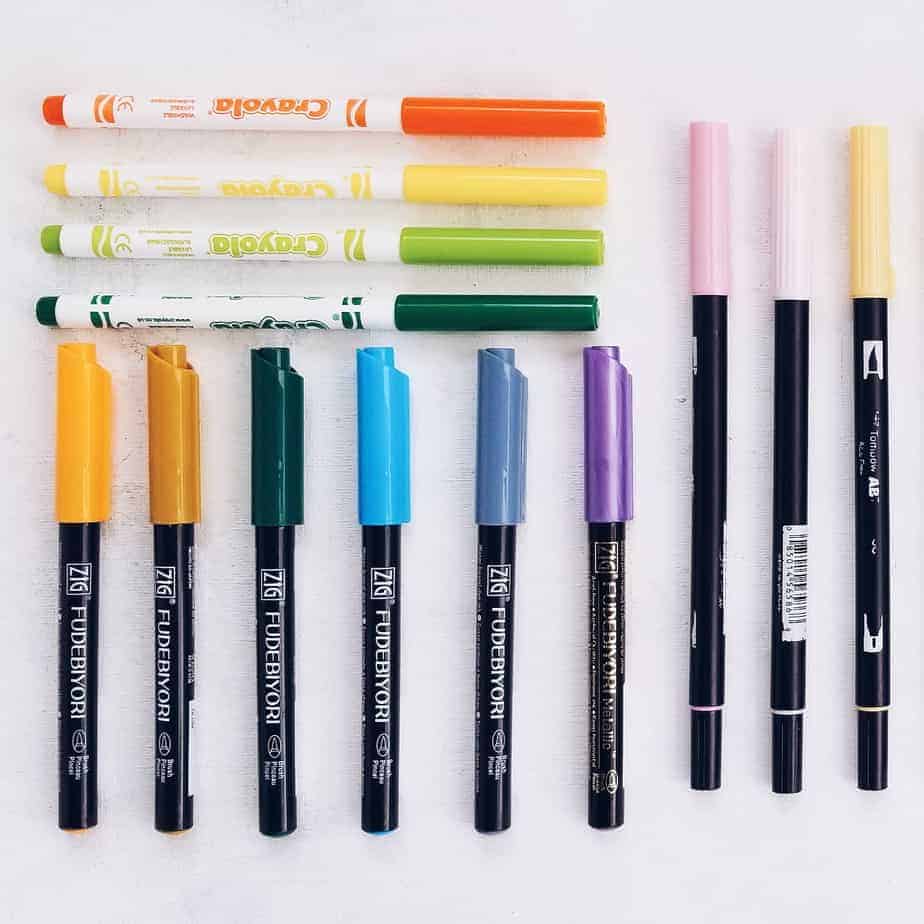
Instead of Tombow Dual Brush Pens, try Crayola Super Tips – they offer a wide array of colors as well, and you can use them for lettering.
Instead of designer washi tapes, buy a cheaper set and see if it fits your style. Wanna try other media – get Prang watercolor instead of Sakura Koi or Arteza watercolor pencils instead of Faber Castell ones.
In short, start with the basics. Once you get these and start Bullet Journaling, you’ll start getting an idea of what else you’d want to add to your collection.
Here are the things I’d call basics because you’ll use them disregarding your journaling style:
- Black fineliner pens. These are the core of your journal, they are the best to doodle and draw you setups. If you want to invest try Tombow Mono pens or Sakura Micron. But you can also just get a set of my favorite Unipin fineliners for a cheaper price.
- Pen and pencil. It sounds silly that I mention it here, but it’s really an important part of your Bullet Journal. You’ll use your pencil all the time, so it better be comfortable to hold (this one is my favorite). And you want an eraser that will keep your journal clean and won’t smudge. My choice is Sakura Foam eraser.
- Rulers. Rulers will help you make your pages look more neat and clean. Start from a basic $1 rule from Walmart. But here are a few extra ones you might want to add to your collections – Helix circle ruler will help you create those amazing circle monthly logs and habit trackers. Westcott ruler will help you with all the other shames you might use as your symbols or maybe as decoration.
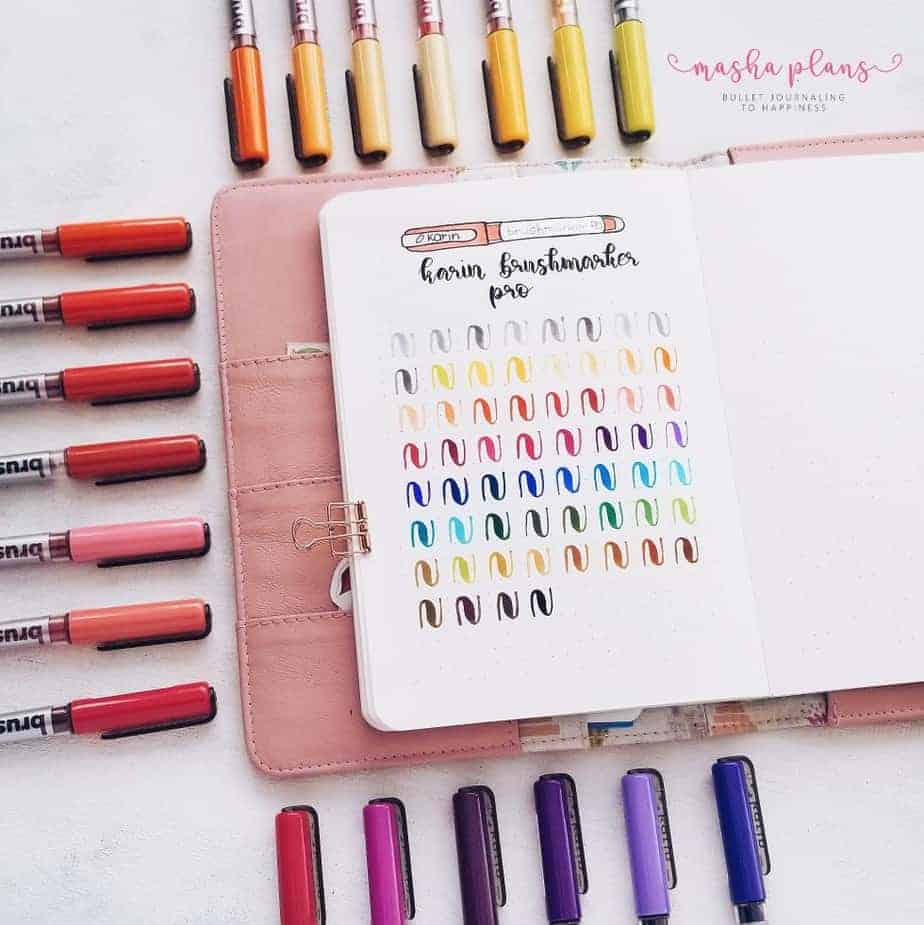
- Color supplies. Don’t overinvest in this just yet; as I mentioned before, you’d better start from Crayola Supertips, while you’re still figuring out what else you want. My personal favorites these days are Karin Markers and Zebra Mildliners.


Think About Your WHY
The reason why a lot of people fail with Bullet Journaling is that they aren’t sure what they want from their journal.
You don’t want your Bullet Journal to be something you do in January and completely forgotten by the time March rolls in.
To make the habit stick what you need to do is to realize why you’re doing it, what you want to achieve with your Bullet Journal.
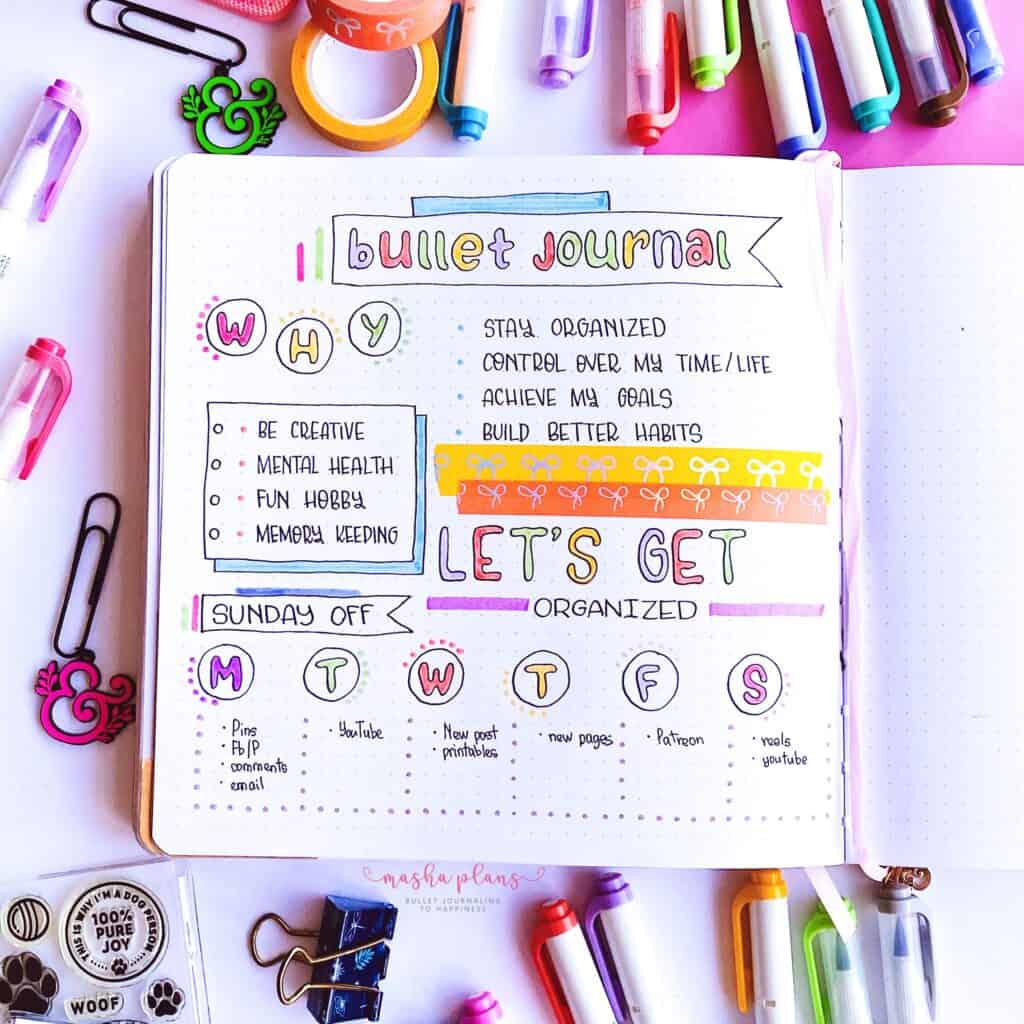
Do you want to reach fitness goals? To do more during the day? To close the work project? To finally start working on your dreams?
Knowing your “why” will make sure you stick with the habit and succeed in the end, disregarding whatever might happen on the way.
You Don’t Need To Be Artistic To Start A Bullet Journal
Looking at all the Bullet Journal Instagram accounts, it might look that you need at least an art degree to start yours.
This couldn’t be further from the truth! The Bullet Journal is made to make your life better, decorating it with Renaissance paintings or childish doodles, it’s your choice.
If you want to spend hours of your BuJo you can, but if you don’t want to or don’t really have those mad skills – it’s still fine. Just go minimal.
It’s your journal, your rules. What you need to do with it is making it work for you. If that means going with the original concept and only using a black pen – so be it! You roll the way you roll baby, nobody to judge you!
Now, if you want to decorate your Bullet Journal (I know you do, we all want our notebooks to be pretty!), there are still plenty of ways you can do it, even if you can’t draw. So don’t let it stop you from starting a Bullet Journal.
Here are a few tricks you can use:
- Stencils. If you check Amazon, you’ll find tons of Bullet Journal stencils, that will help you with anything you want, starting from daily and monthly boxes, ending with drawings and lettering.
- Washi Tapes. Washi tapes can be a great addon to your Bullet Journal pages – there are so many pretty ones, some of them will definitely resonate with you! But there are also washi tapes with days of the week, days of the month and other useful things like that. Just cut them out and use them as headers in your setups.
- Stickers. Don’t know how to doodle? Use stickers instead! Plus there are stickers that can help you with setting up habit trackers and other things. Explore!
Finally, creativity is not a special skill just Neo has, it’s a muscle we all possess. So the more you practice, the better you become.
This is a whole new topic, but I’ll just direct you to a few blog posts that I think will help you out on this journey to discovering your creativity.
Just Start
A lot of people come to me asking where should they start their Bullet Journal. The notebook and pens are bought but still, they sit in front of that empty page not knowing the next step.
This is a first-page fear, and I have the same every time I need to do something with a new notebook.
The tip here is pretty simple – start from the first page.
There are so many things you can do with your Bullet Journal, that it’s pretty understandable that you freeze when it’s time to start your setup. So take it slow and start from the first step.
Here are a few ideas on what you might want to have as your first page:
- Just write the date when you started your Bullet Journal. I love this option and it’ll be very convenient in the future when you’ll look back at all the notebooks – the first page will tell you all you need to know and the time of your life it was created.
- A quote. Way to start your year on a positive note – find your favorite quote and decorate your first page with it.
- A word. Think about what you want to achieve in the upcoming year, what are your goals and aspirations. Choose one word that would represent it and write it on your first page. It’ll be a good reference for future self when you need extra assurance or a reminder.
- Mandala or patterns. There is nothing more calming than drawing those, and maybe that‘s exactly what you need to calm your nerves and break that first page.
- Key. Make the first page the heart of your productivity and create the key with all the symbols you’re planning to use. My tip here – leave some space, since you might want to add some more symbols on the way.
Once you’re done with your first page, everything else will come bit by bit.
ALWAYS Do A Pen Test
Save yourself some grief and always pen test before using any new pen in your Bullet Journal.
First of all, it will help you understand which pens work in your journal and which ones don’t, and you’ll save yourself the heartbreak of using a new pen and seeing that it completely ruined your pages.
Also, it will show you the true colors your pen will have in your journal. As I mentioned before, as long as your journal doesn’t have pure white paper (like Archer and Olive), the paper color will change colors. Having a pen test will allow you to see what results you can count for.
Finally, pen test pages are great for tracking your stationery collection. You might have just one set of markers right now, but once your collection grows and you get more and more pens, some can get forgotten, especially if they aren’t very visible and you store them in pencil cases.
If you have a pen test with all the colors you have, all you need to do next time you’ll be choosing a color is to look back at the pen test page.

If you’re starting with your Tombow Dual Brush collection, I have a free printable pentest page with all the Tombow colors in our Facebook group.
Here are some tips on creating a pen test page:
- Make sure there isn’t anything important on the other side of the page. There is a chance that the pen will bleed or ghost; you don’t want to ruin anything important. That’s why I usually do my pen tests at the end of the notebook.
- Try layering your ink. Don’t just add one stroke and be done with it. When you’re using your pens for decorating, you’re likely to layer them in some places, so be sure to test that as well.
- Try different pressure. When lettering, the key to the whole thing is using different pressure on your pens. So make sure you do the same when you pen test to avoid unpleasant surprises later.
- Make sure to label your tests. If you don’t, it will be pretty useless, and you’ll have to start from the beginning.
Don’t Be Afraid To Make Mistakes
We ALL make mistakes; it’s in human nature. It doesn’t matter how far you are in your BuJo journey; mistakes happen even to the best of us.
The other day when I was setting up my November, I spilled some SOUP on my habit tracker. I was hysterical, but after a few cups of tea and a whole lot of chocolate, I was ready to face this and solve it.
The thing is, no one can prepare you on how to avoid accidents – they will happen one way or another. What you need to do is, learn how to accept and fix them!
Here are some tricks I find the most useful when dealing with Bullet Journal mistakes:
- White gel pen. My choice is Sakura Gelly Roll. White gel pen works as a corrector and allows you to fix mistakes very neatly, so much so that they become pretty much invisible. It might not work for larger things, but it’s perfect for those little things that drive you crazy.
- Washi Tape. These are great for fixing larger mistakes, especially headers. Black washi tape was my savior in my 2019 Bullet Journal setup. Darker washi tapes usually work better for this, since they are more likely to cover the ink completely, while the lighter ones might need two layers for full coverage.
- Blackout. My other favorite method – just blackout whatever area where you made a mistake and use a white gel pen to write over it. In fact, I loved this effect so much that I did it on purpose in my November setup.
- Cover with paper. If you ruined a whole page or at least a large part of it, there is an easy fix. First, you can print out a dot grid paper, or cut out a piece from the back of your journal and stick it to over the mistake.
- Use printables. If it’s completely unsavable – just cover it with a printable! Print whatever you want, use a Tombow adhesive and stick it to your page. Just like that, you have a pretty page, and nobody knows what it’s hiding underneath.
Speaking of printables, we always have something new being added to our Resources Vault, so be sure to drop by and get something for your Bullet Journal.
If you aren’t a part of Planning Mashers yet, make sure to join us HERE and get access to a wonderful community and TONS of free printables.
Free Bullet Journaling Course For Beginners
If you need an extra push to jump-start your Bullet Journal adventure, I also created a free course for Bullet Journal beginners.
It will lead you step-by-step through the process of setting up a Bullet Journal. I’ll share the best tips and techniques so in you’ll have your own fully functional Bullet Journal in no time.
Hopefully, I answered most of your concerns, and you’re ready to start your Bullet Journal right away!
What is your biggest struggle with starting a Bullet Journal?
Let me know in the comments.
I hope this post was interesting if you find it so, please share! If you enjoy my content and want to show appreciation, please consider supporting me with a cup of coffee.
And remember! Keep Bullet Journaling, and Don’t be a Blob!


This is awesome! This is my first time bullet journaling and I find it so much easier than my friends say with your tips and tricks! You Rock Masha!!!
Thank you very much, glad I could help! And Bullet Journaling should be easy, happy I helped you to see it.
the best bullet journal ideas i had ever seen loved them all masha
Thank you sop much! I’m so glad to hear you like these =)
Omg this post was amazing!!!!!! I will have to start mine right away!!!thanks for all the tips and tricks😁
Thank you! I’m so happy it was useful! Welcome to our BuJo family =)